One Monthly Goal- June

June 1st, 2018

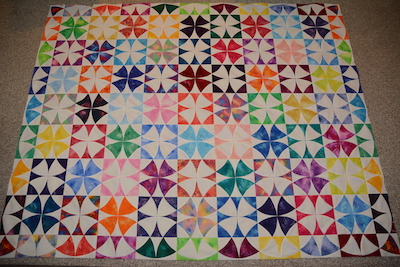
I’m trying to keep my OMG for June pretty simple. My goal will be to piece the back and then sandwich the Chic Country quilt top I finished piecing back in January.

If I start the quilting, that will be a bonus!

June is gearing up to be a busy month. My #2 son is moving back to our town with his family on the 6th. My Sweet DIL is anticipating help with their two young children as they settle in. And of course as Grandma, I’m very willing to help entertain kiddos, ages 5 months and 3 years old!

I’m thinking there won’t be a lot of sewing happening this month. Most likely I’ll be helping with the Grands, and also helping unpack and organize their home.

Oh, and BTW, the quilt top was made for the 3 year old! It would be nice to complete it for her as she settles into her new bedroom!

Linking One Monthly Goal with Elm Street Quilts.

One Monthly Goal – May Finish!

May 30th, 2018

My goal for May was to complete a UFO baby quilt top to be donated to an auction.

I did complete the quilt and delivered it before heading out on of town May 14th.

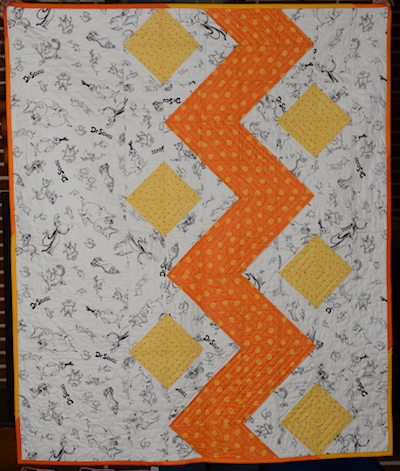
The quilt measures 40″ by 47 1/2″.

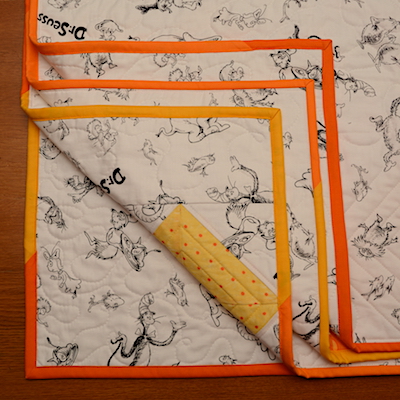
I attached the multi-color binding by machine.

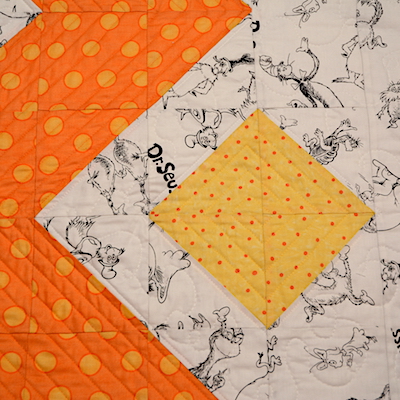
Machine quilted with straight line quilting in the large orange zig-zag, spiral quilting in the squares, meandering with loops in the background.

I’m pleased.

Linking to One Monthly Goal hosted by Patty of Elm Street Quilting.

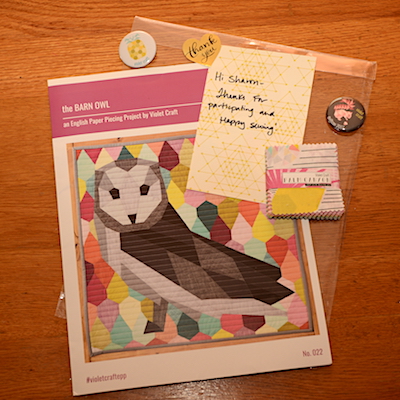
Did you know that OMG has sponsors with a monthly drawing from those who complete their goal?  Last month I was one of the lucky winners for a free pattern from Violet Craft!

I selected the Barn Owl English Paper Piecing pattern, and Violet sent along a few other goodies! Thank you Patty for hosting OMG, and thank you Violet for the pattern and goodies! I’m putting this pattern on my to make in 2019. …   If I can wait that long!

2017 BOM Top

May 8th, 2018

My To-Do list was very short this week and will continue to be so for the month of May.

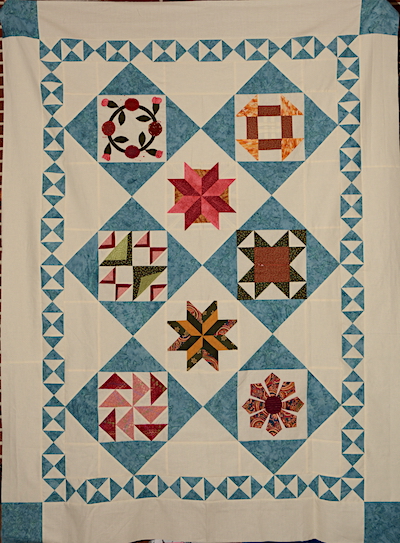
This past week I wanted to finish the quilt top from a BOM I participated in last year.

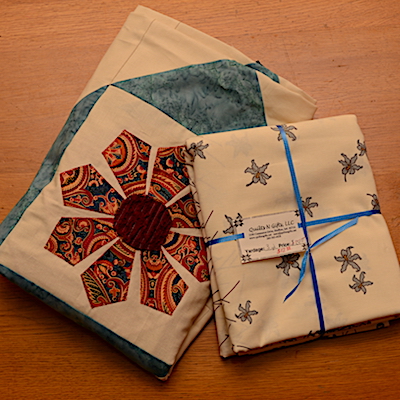
I surprised myself and actually got the 2 borders sewn on in just one day. I looked through my stash to see if I had something to use for the back. But didn’t find anything, so I stopped in the LQS and found a piece I liked on their discount wall.

The quilt top and fabric for the back will ‘rest’ in my to-be-quilted pile for a while.

How did I do on last week’s To-Do List:

  1. Sew borders on last year’s BOM from the Facebook Group: Sit Down Free Motion Quilters.  ✔️ All done!

To-Do List for this week:

  1. Machine stitch Dresden Plates in place, table runner project.
  2. Sandwich & quilt Dr. Seuss themed baby quilt.

Linking to To-Do Tuesday and Linky Tuesday. Come join the fun!

One Monthly Goal – May

May 2nd, 2018

Decisions, decisions. I’d like to have a quilt ready to donate to an auction coming up May 20th.

Having looked through my finished quilt tops, I’ve decided on a baby size quilt.

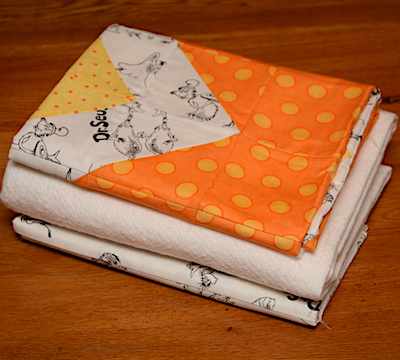
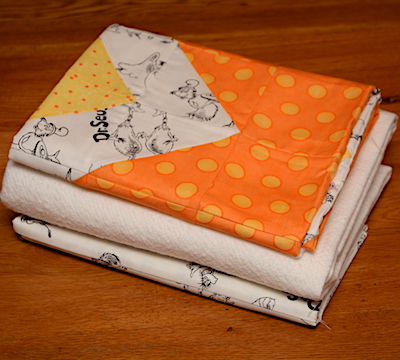
This one is Dr. Seuss themed.

I used two fun orange and yellow dot prints to create large zig-zag.

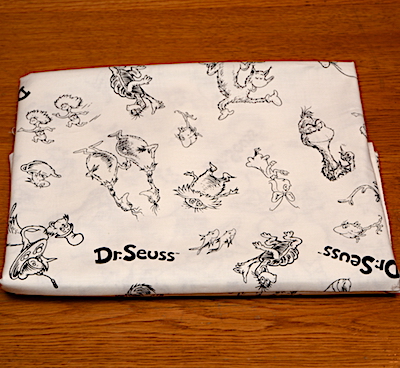
The back & back ground fabric has line drawings of Dr. Seuss characters.

My goal is to sandwich, baste, quilt, and bind all before May 20th.

Looking at my schedule, I really need to have this quilt completed by May 9th, because of other commitments for later this month.

I’m thinking some simple line quilting in the zig-zag and meandering in the background will work nicely.

Linking to One Monthly Goal hosted by Patty of Elm Street Quilts.


May Flowers – the EPP Kind!

May 1st, 2018

Happy May 1st!

I’m teaching a little English Paper Piecing, EPP, make-n-take at our local public library today. The library is offering a craft night the first Tuesday of the month. Crafts like felting, beading, card weaving have been offered and I’ve been asked to demo a quilting project. I decided on EPP because each participant should be able to finish a rosette during the class.

I’ve made up kits, and have my supplies ready, needles, thread, scissors, glue!

I have couple projects to show so those attending can see what you can do with EPP.

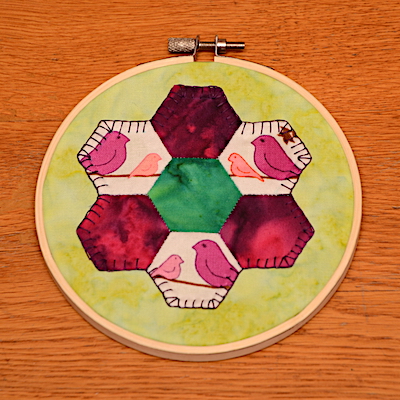
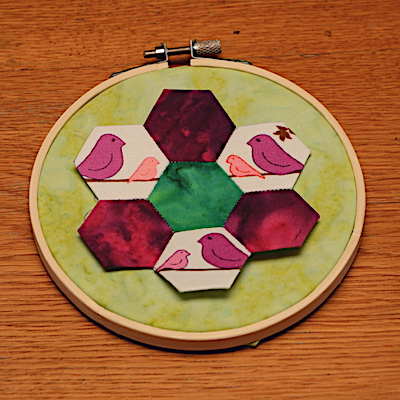
EPP Rosette stitched to a background and mounted in a hoop for displaying.

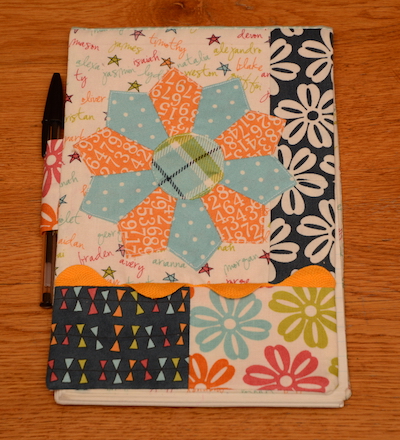
EPP Flower stitched onto a notebook cover.

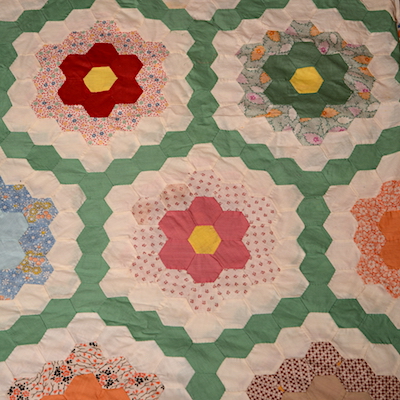
Plus I have this antique quilt top to show!

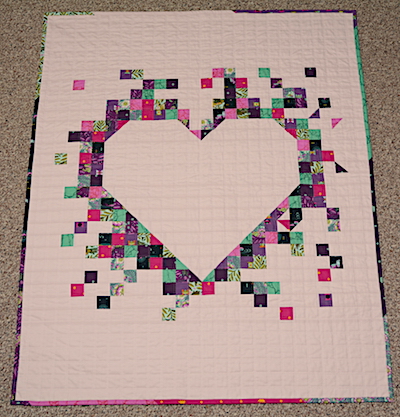
Last week I finished this baby quilt, I’m loving it!

Read all about this heart quilt design here.

How did I do on last week’s To-Do List:

  1. Finish quilting baby quilt and Bind it!  ✔️ Completed and ready to mail!
  2. Finish prep for EPP demo I’m presenting Tuesday, May 1st.  ✔️ Ready! I hope it is a fun class!

To-Do List for this week:

  1. Sew borders on last year’s BOM from the Facebook Group: Sit Down Free Motion Quilters.

Linking to To-Do Tuesday and Linky Tuesday.

One Monthly Goal – April Finish

April 29th, 2018

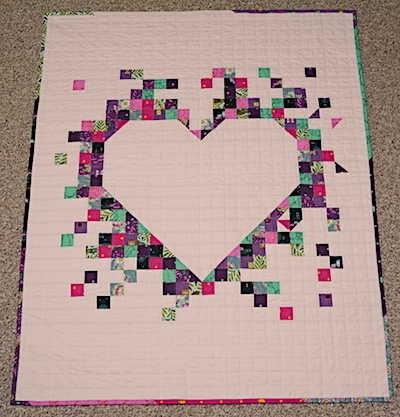
My OMG, a baby quilt, is finished!

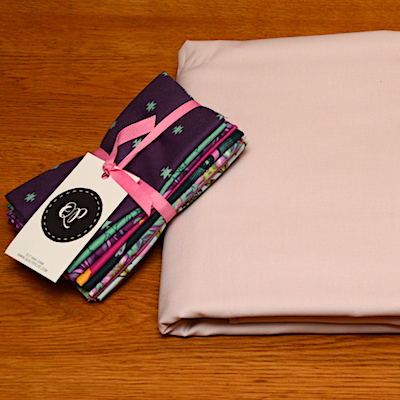
Recap – I bought a Tula Pink Spirit Animal Fat Eighth pack from Quilts Plus in Indianapolis, IN. And soft pink yardage for the background and back from Edwards Sewing Center in Fort Wayne, IN.

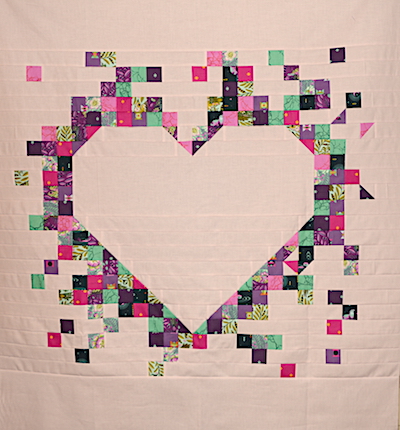
Before I cut into the fabric, I saw a wonderful heart quilt on Sarah’s blog Quilt Moderne. Seeing that quilt totally change my plans for this baby quilt! I asked Sarah for permission to copy the quilt, which she gave me, plus she shared some tips on how she assembled her quilt. Sarah mentioned the heart design was not original to her, she had copied it with permission from Rene Creates (blog link was not working when I wrote this post.)

I sketched out a drawing of my plans on graph paper, and calculated using 1  1/2″  finished squares and half square triangles for a quilt measuring 42″ x 51″.

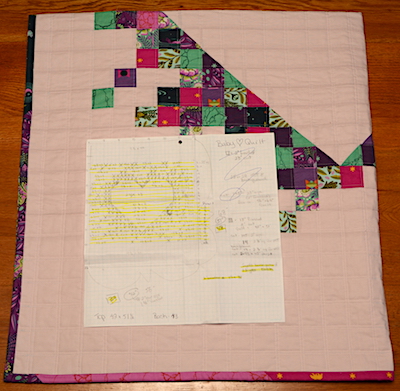
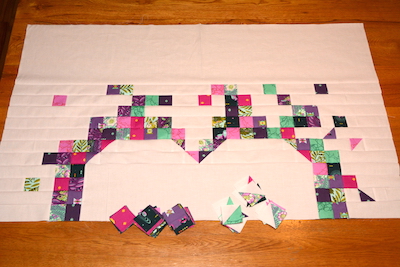
I worked row by row following the measurements I had calculated in my graph paper drawing. I used a yellow highlighter to mark through each row on the graph paper as I completed the row. That helped to keep me on the current row. Plus if I ever want to make this quilt again, I can still read my design! Above I’m at the half way point! And I was so super happy with how the quilt top was coming together!

Happy dance! The completed top!

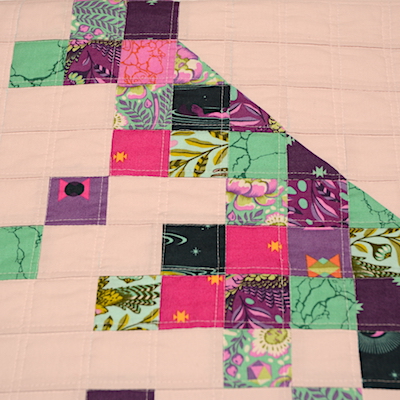
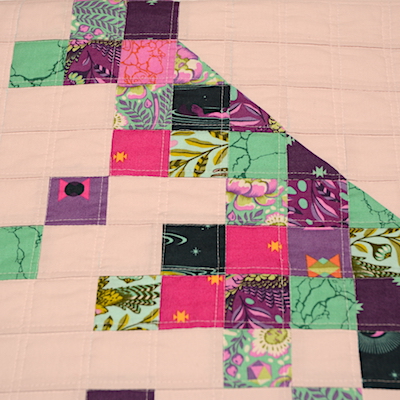
Close up of quilting. I did a simple grid with the walking foot attachment, stitching in the ditch and then 1/4″ to one side of the seams. More happy dancing! I love it!

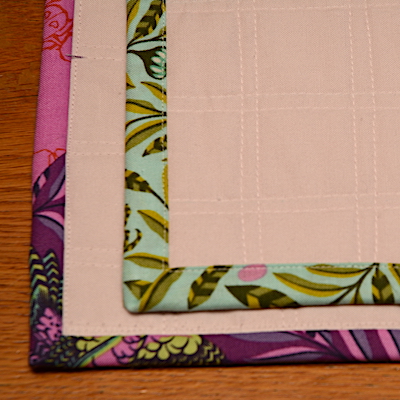
Binding attached by machine. I attached the binding to the back of the quilt and then pressed it to the front and stitched along the edge of the binding which shows on the front of the quilt. On the back, stitching shows on the back fabric just a hair in from the binding. I like the look of this type of binding and it will hold up well to multiple washing.

Finished Quilt! Pieced on my 1951 Featherweight Sewing Machine, at my sewing club days, using Aurifil 50 wt thread. Quilted on my Janome 8900 using So Fine! Superior Thread.

I hope my nephew and his wife love it as much as I do for their baby girl!

Linking to One Monthly Goal hosted by Patty of Elm Street Quilts.


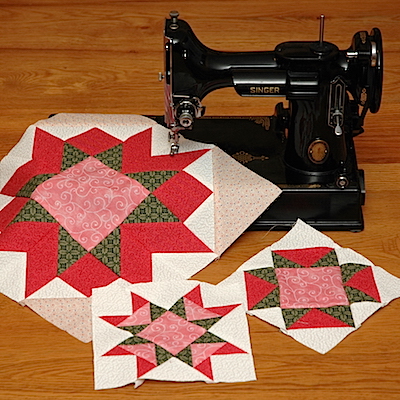
Featherweight Sewing Machine Probs

April 24th, 2018

I have a lovely 1951 Featherweight. I take it to my sewing group days.

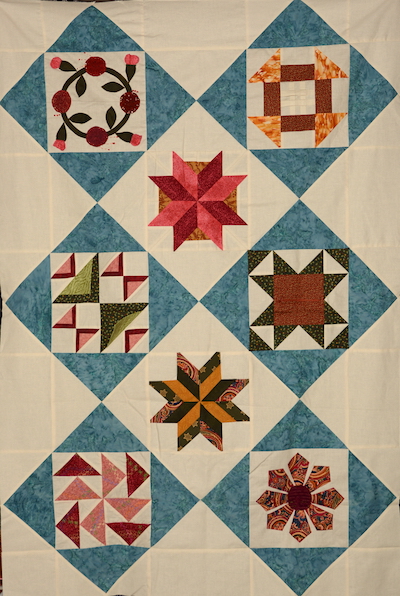
(Blocks are from a quilt I made and gifted Christmas 2016)

The last 2 times I used the Featherweight I had trouble getting the power to work. Actually, the last time I used it which was last Wednesday, it was not getting power. There seems to be a loose connection where the power cord attaches to the plug that plugs into the machine. Handyman Hubs has not taken a look at it yet, I’m hoping he can rewire it. If not, I’m looking for a new power cord. I’ve found several on line, so hope to have it up and running before my next quilty group meets to sew.

On to current sewing! I’m liking how the baby quilt is coming along.

Here is a sneak peak.  1  1/2″ squares, grid quilting with a walking foot on my 8900 Janome, using So Fine! Superior Thread.

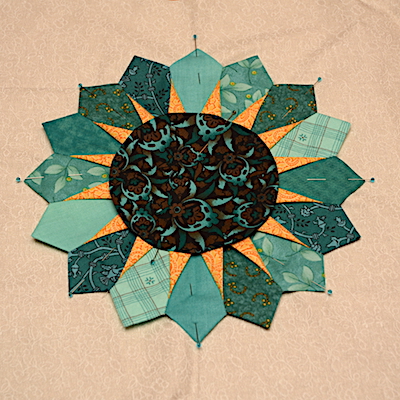
UFO Dresden Plate Table Runner is pinned and ready for machine blanket stitching.

This was started at a class I took in 2015. I’ve made three Dresden Plates for a table runner.

UFO 2017 BOM piecing top is in progress. I finished all the blocks last year, but never got them sewn together. Now it’s ready for the first border.

I have all the hour glass units sewn for the first border. I’ll work on that step at my next group sewing day.

Do you have any UFOs to work on? I’m pleased to be getting these two back underway!

How did I do on last week’s To-Do List:

  1. Sandwich & start quilting baby quilt! ✔️
  2. Work on UFO – Dresden Plate Table Runner. ✔️ I worked on 2 UFOs! The Dresden Plate and last year’s BOM from the Facebook Group: Sit Down Free Motion Quilters.

To-Do List for this week:

  1. Finish quilting baby quilt and Bind it!
  2. Finish prep for EPP demo I’m presenting Tuesday, May 1st.

Linking to To-Do Tuesday and Linky Tuesday.

EPP English Paper Piecing!

April 17th, 2018

No, I really didn’t get sidetracked! I am just finally caught up on a year long project and decided to share the progress!

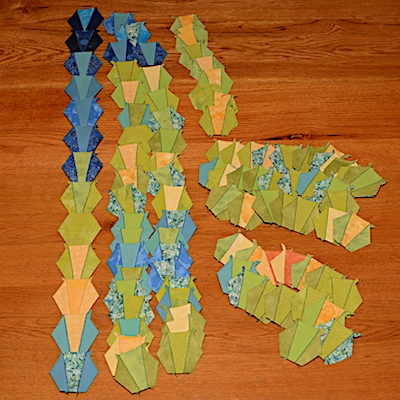
These pieced hexies are for my Temperature Quilt. I didn’t get all the fabric together until February. Since then, I have been trying to do two hexies a day to get caught up to present. I reached that goal this week! I have all the hexies pieced through today. But I still need to get caught up on stitching the daily hexies together into months. January is under way, left side of the photo. Each hexie is showing the low temp of the day in the two outer pieces, and the high of the day in the middle.

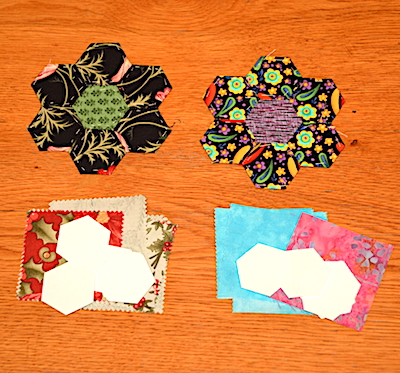
Another EPP project that I’m finishing is prepping for a class at my local public library. I’ve put together kits for each person to make a little rosette. And now I’m working on a few simple projects to show what you can do with the rosettes.

I need to stitch this rosette down to the fabric. It will be displayed in the 5″ hoop.

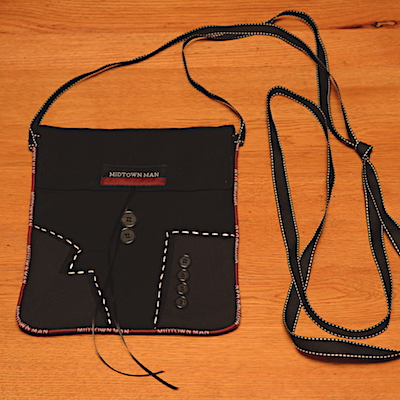
And for my To-Do list for this week, I did finish the purse made from a man’s suit.

I’m calling it the Midtownman Purse, that was the tag inside the suit. There is black ribbon stitched under the Midtownman tag, wrap the ribbon around the center buttons as a closure for the purse. I left the strap/ribbon long, which can be shortened to fit the build of the gal receiving this purse who wanted it as a crossbody purse.

How did I do on last week’s To-Do List:

  1. Sandwich baby quilt. ✗ Hmmm. No, but I did buy a batting for it today.
  2. Finish purse. ✔️ Ready to deliver this Friday!

To-Do List for this week:

  1. Sandwich & start quilting baby quilt!
  2. Work on UFO – Dresden Plate Table Runner.

It’s been a crazy week with my son and his family living 2 hours away but driving up to house hunt. After staying with us Thursday – Monday, they drove home late Monday just to get a call from the Realtor that a new listing will be available to look at Wednesday morning. They are driving back up tonight! Phew! I hope they find their dream house soon!

Linking to To-Do Tuesday and Linking Tuesday.

Suit to Purse

April 10th, 2018

I was asked to make a purse from a suit, something a graduate could wear under a graduation gown. With no further instructions, off I go to find my creative juices & get this thing under way.

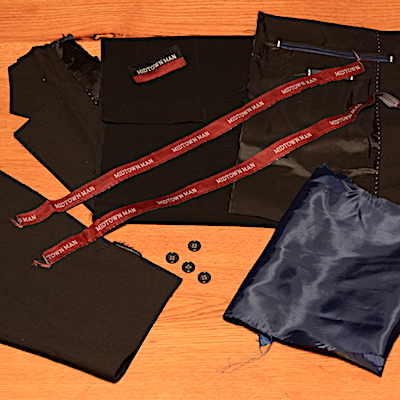
Part One: Cut apart the suit!

My plan is to use a leg with the cuff as the body of the purse. I’m going to embellish it with part of the lapel, sleeve cuff, and the Midtownman tag. Cording will be made using the Midtownman ribbon from the inside the waist band. I’ll add the inside breast pocket to the lining for the purse. I’m not sure if I’ll use the blue sleeve lining or something from my stash to line the purse.

I think I’ll use buttons and cording for a closure. And I also need to figure out a shoulder strap. But there is still lots of suit fabric available to play with a few ideas. Maybe belt loops will come into play at some point.

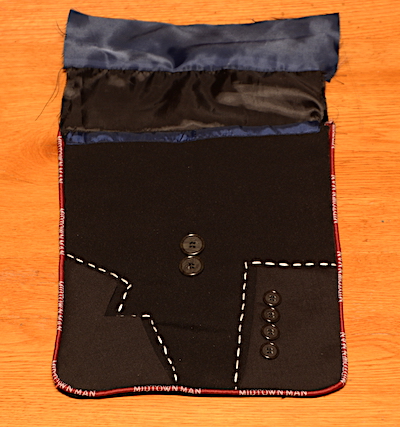
Part Two: Construction! Here is how it is all coming together.

I wish I would have photoed the lining with the breast pocket before stitching it inside the purse! I still have a way to go on construction.  Lining is not yet complete, closure not started other than the buttons attached in center of purse, and I am still puzzling over a shoulder strap. I think it looks far better in person than in the photo, so don’t be harsh with me! Thank you!

I hope you have had a productive week!

How did I do on last week’s To-Do List:

  1. Working on the other baby quilt (newest great niece quilt.) ✔️ Top done! I’ll show it later this month once quilted.
  2. Start order for a purse. ✔️

To-Do List for this week:

  1. Sandwich baby quilt.
  2. Finish purse.

Linking to To-Do Tuesday and Linky Tuesday.

Terry Cloth + Teddy Bears = Baby Quilt

April 3rd, 2018

A finish!

The baby quilt using a terry cloth robe is pieced, appliquéd, quilted and bound.

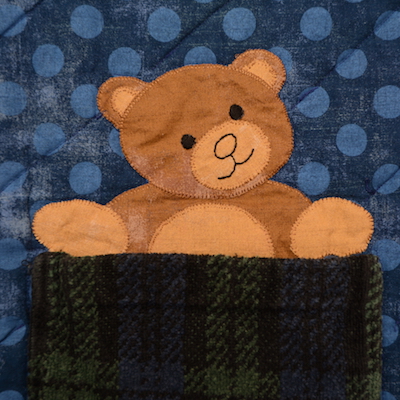
Here is the little teddy popping up out of the terry cloth pocket.
And here is his friend peeking around the ‘corner’ on the reverse side of the quilt.
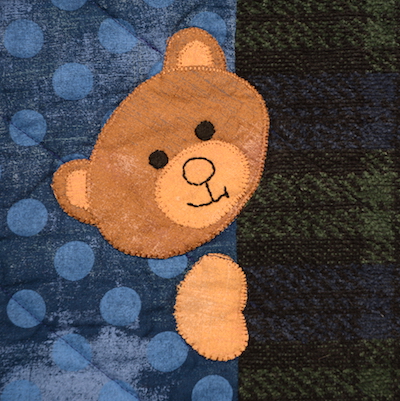
I hand embroidered the eyes, nose & mouth on both teddies and then used a machine blanket stitch to attach them to the quilt. I love the little smirk on this one, it is as if he is saying,”Tee hee, you don’t see me!”

Quilting is simple diagonal lines stitched with the walking foot attachment.
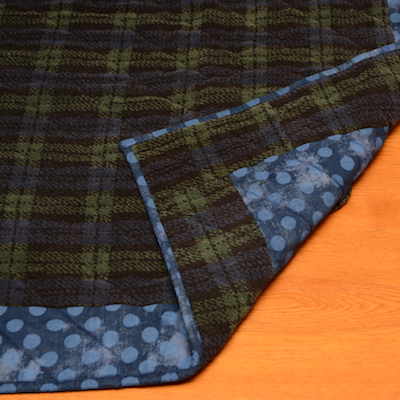
Binding done by machine.
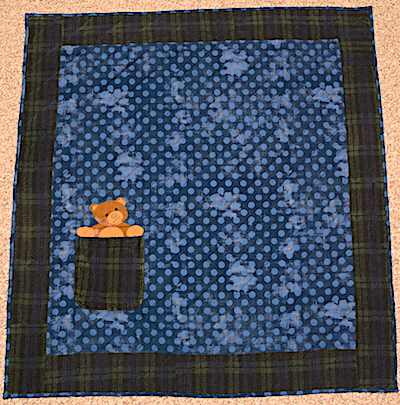
Teddy in a pocket side of the quilt.
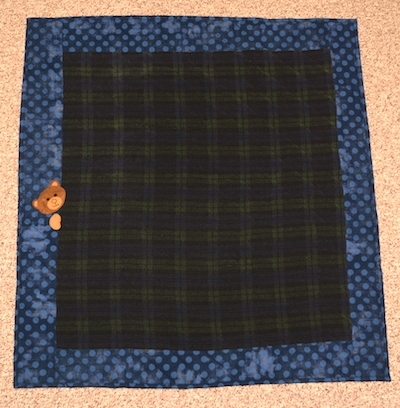
Teddy peeking around the ‘corner’ side of the quilt.
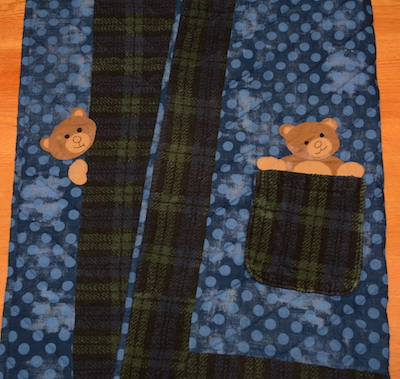
Quilt folded over to show both teddies.

Here the terry teddy quilt is all bundled up and ready to deliver.
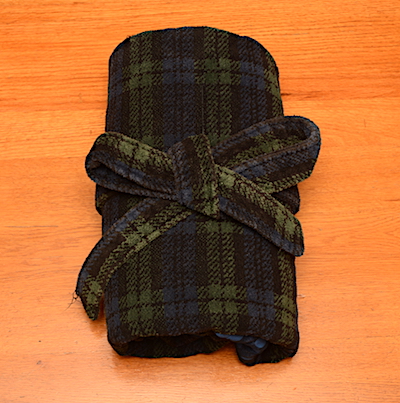
Quilt Facts and Thoughts:  The finished quilt measures 39 1/2″ x 42 1/2″. I was given the terry cloth robe with only a request to turn it into a baby quilt. That is called Creative Freedom, my friends! I purchased Moda Grunge to use with the Terry, with the plan to make the simple quilt as pictured above. The bears are machine appliquéd using Misty Fuse. I used Aurifil 50 weight, color 2745 for piecing and quilting. Color 2340 for the teddy appliqué.

Design – I thought using the pocket with an animal peeking out would be cute, and my daughter suggested using a teddy bear. Once the two sides were pieced, I thought the reverse side also needed a bear so I created the fella peeking around the corner. Once all appliquéd and pieced, I decided to use a thin batting and settled on Hobbs Thermore batting for quilted clothing, which I had in my batting stash from years ago. The terry was not the easiest fabric to work with, especially removing the pocket and belt loops! But I do like the final results.

Have your creative juices been flowing this week?

How did I do on last week’s To-Do List:

  1. Finish terry cloth robe baby quilt.  ✔️ Done! Happy Dance!
  2. Start baby quilt for newest great niece. ✔️Cut, cut, cut, and piecing done!

To-Do List for this week:

  1. Working on the other baby quilt (newest great niece quilt.)
  2. Start order for a purse.

I’m linking to To-Do Tuesday and Linky Tuesday.