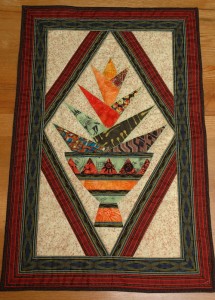
I’ve been trying some new-to-me quilting techniques while working on this little Paper Pieced Flower Pot.
I signed up for Cindy Needham’s Design It, Quilt It class on Craftsy. She recommends ditch stitching ESS Every Stinking Seam. She also recommends using Superior’s Bottom Line 60 wt thread for ESS. After all the seams are ditched, then she does her free motion quilting (FMQ) design.
I bought a sample pack of thread from Superior Threads last year, but never opened it up.
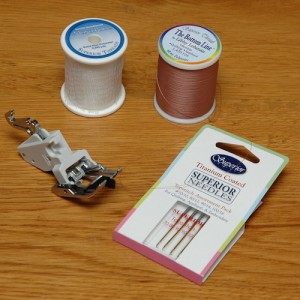
Today, I got it out and there are several of the types and weights of threads Cindy is using in the class. I filled a bobbin with Bottom Line #637 which just happened to be a great match for the back of the quilt. I used MonoPoly a Monofilament thread (Not recommended by Cindy, but I had it, so why not play with it?) in the Titanium Coated Topstitch needle #70/10 that also came in the sample pack. Superior says these needles last much long than standard needles. I’ll be happy to test that out!
To do ESS I switched out the 1/4″ presser foot for my new Acu Feed Stitch-in-the-Ditch Foot.
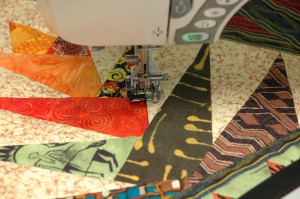
Following Cindy’s advice, I stitched in every single seam. It was easy with the seam guide on the Acu Feed foot and this project was not that large. I think I’m going to love the Bottom Line thread. I’ve never sewn with 60 wt thread before, it is so thin.
Next up was the free motion quilting. I kept the Bottom Line in the bobbin but used Master Piece in the needle. Superior says it is for PIECING but hey, the color was right, so I went for it. There was a bright green #128 in the sample pack that I thought would look good, but only did a tiny bit of FMQ. I’m just not sure how to quilt this little potted succulent. I moved on to some decorative stitching along the leaves, and the Master Piece 50 wt was good for that too.
The small wall hanging (20″ wide 31″ long) was finished with yet another new-to-me technique. I used a Flat Felled Foot to attach the binding.
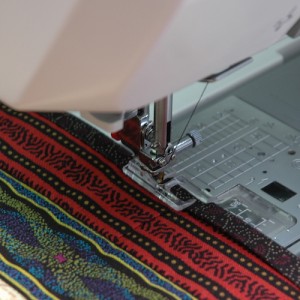
See the little hook type thing on the front left of the foot? It slips under the binding to guide it in place for stitching.
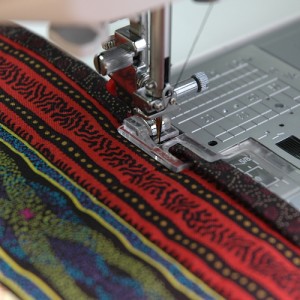
Above, the binding feeds over the ‘hook’ for nice even stitching.
I saw the technique on A Woman A Day blog: Happy Feet Quilt Binding by Lisa Yarost. Hmmm, maybe I saw it first on Pinterest. This was my first time to use the Flat Felled Foot and the results are not perfect, but I do like the method and will use it again. I didn’t read her article carefully and actually sewed the binding back to front instead of front to back, as she suggests. I was glad I switched it because the stitching is kind of off in places on the back. Which would have been the front, which I would not have been too happy about. On the back, it is ok as it is not as noticeable.
This was a paper piecing project from the book Paper-Pieced Flower Pot Quilts by Anja Townrow.
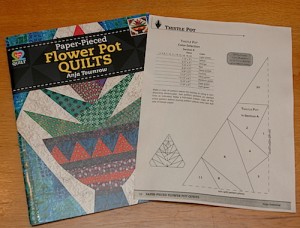
Critique: Cute designs, nice-ish directions for the paper piecing, but there are no instructions for how to put your potted plant into a quilt. Even though Anja shows each pot in several quilts, for some reason she didn’t include any yardage or piecing instructions for the little quilts in the book. Maybe I’m missing something? I just winged it. Only attempt these projects if you are confident in paper piecing and like to play with settings!
How about you? Have you made anything with paper piecing? Do you have a favorite method?
Next up is hemming a bridesmaid dress for my daughter, and helping her make wine bottle bags for an upcoming bachelorette party.
I’m linking to To-Do Tuesday and Linky Tuesday.
I’ll be doing a demo at Fabrics and Friends Quilt Shoppe in Roanoke, IN Saturday, June 20th on paper piecing.


