Archive for the ‘Applique’ Category

One Monthly Goal – January 2021 Finish!

Wednesday, January 27th, 2021

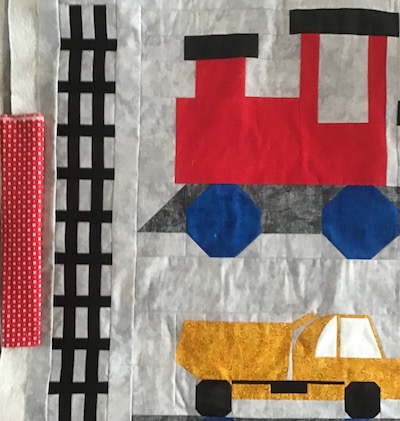
My goal to start the New Year was to bind a quilt for my grandson.

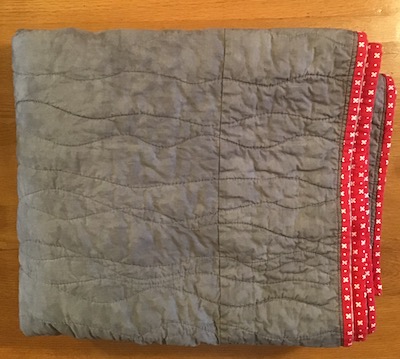
I used the red and white print for the binding.

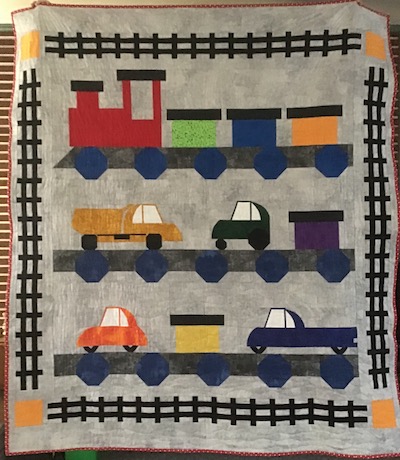
Bound and washed and ready to gift to my grandson for his 3rd birthday!

All Aboard! all bound.

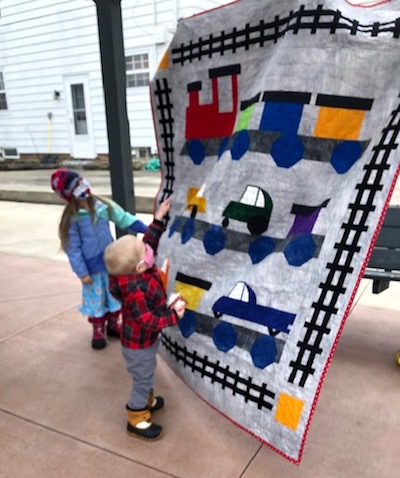
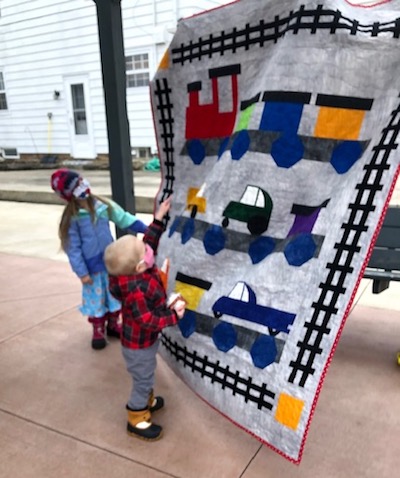
Here is my grandson and granddaughter inspecting the quilt!

He loved pointing to all the cars and the train engine!

After gifting the train quilt, I moved on to appliqué.

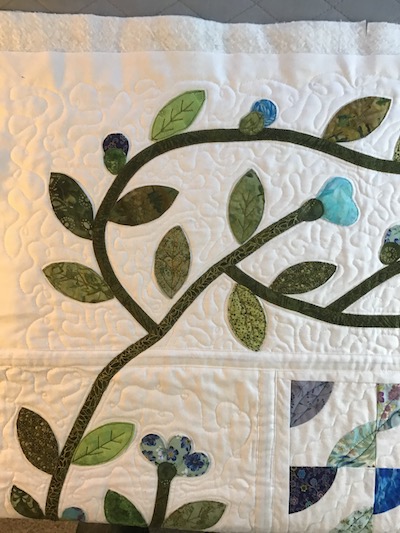
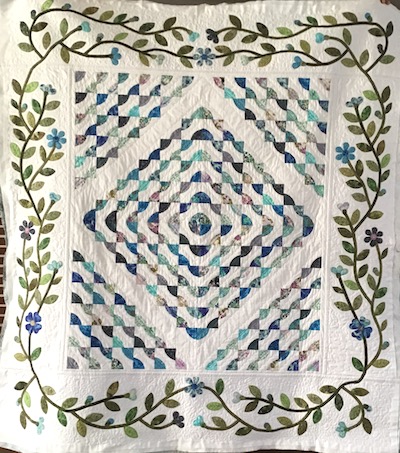
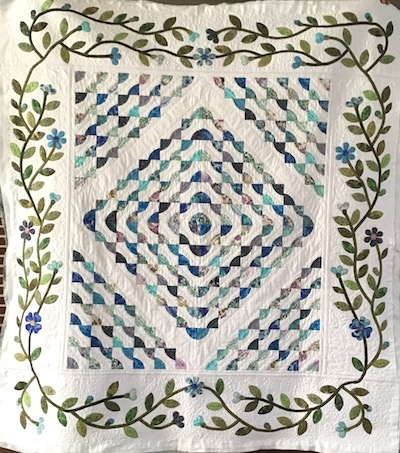
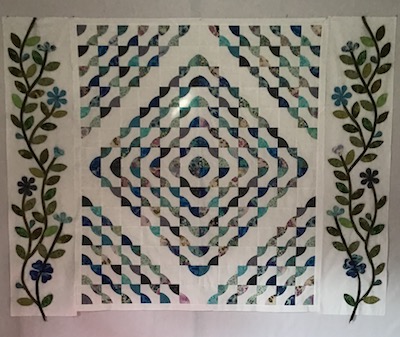
Vines, leaves & flowers now circle the Drunkards Path center to this quilt.

I think that all adds up to a good month!

How was your January goal setting and meeting those goals?

Linking to One Monthly Goal hosted by Patty of Elm Street Quilts.

Quilt Building

Tuesday, January 19th, 2021

Last week I forgot to show the picture of my grandson with his train quilt.

He was so adorable pointing at the train and cars on the quilt!

This week was all about working on the appliqué quilt for my son and his lovely wife! Today is their anniversary, and NO I did not finish the quilt in time to gift the quilt today.

I did complete the quilting on the top and bottom appliqué sections.

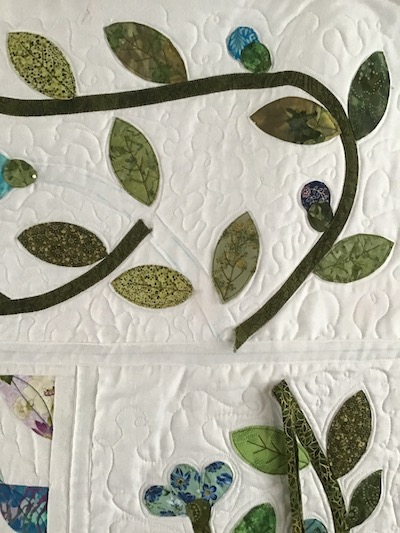
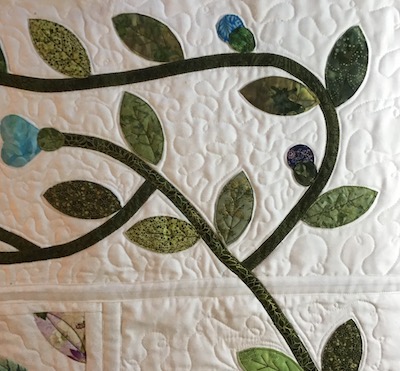
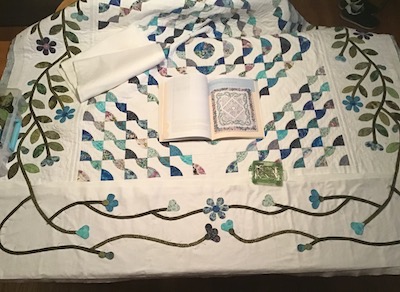
And attached the two section to the rest of the quilt. I used a quilt-as-you-go method. See the white sashing sewn over the seam attaching them together? The vine now has to be stitched in place going over the joining sashing. I hope that makes sense.

Above the vine is now stitched in place so it continues around the quilt.

The quilt so far, appliqué vine border completed!

Next is a clam shell border.

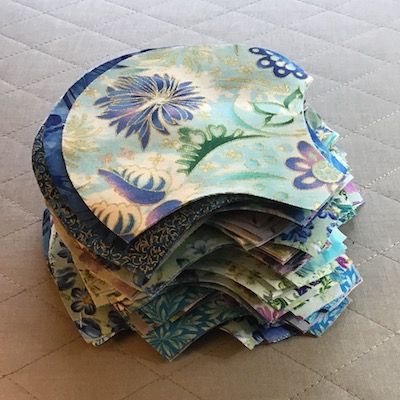
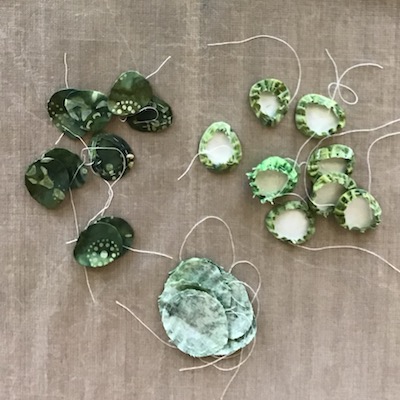
This is what a pile of 228 clam shells looks like.

Cut at 5 1/2,”  5″ finished.

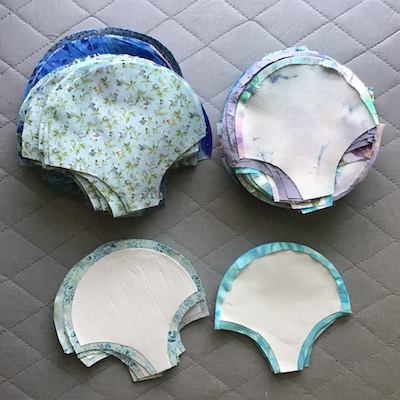
Top right – 90 of the 228 Clam Shells ready to line up on quilt border. I’m using freezer paper templates, pressing a 1/4″ edge over paper for a finished edge. Bottom of photo – 10 more in process.

Once the Clam Shells are all prepped they will be sewn around the quilt for a border of three rows of Clam Shells. I hope to start that process this week!

I feel like January is zooming by! May it be a good quilting month for all of you!

Last Week’s To-Do List:

  1. Quilt the two appliqué sections.  ✔️ Completed!
  2. Sew quilted sections to the quilt center.  ✔️ Attached!
  3. If there is time start Clam Shell Border.  ✔️prepping 228 Clam Shells

This Week’s To-Do List:

  1. Clam Shells!
  2. Maybe create a Fussy Cut truck pillow for my grandson – Project Quilting 12:2 Challenge.

Linking to To-Do Tuesday hosted by Home Sewn by Us!

A Week of Appliqué

Tuesday, January 12th, 2021

Progress! That is a good word for this past week!

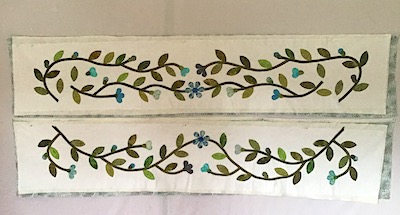
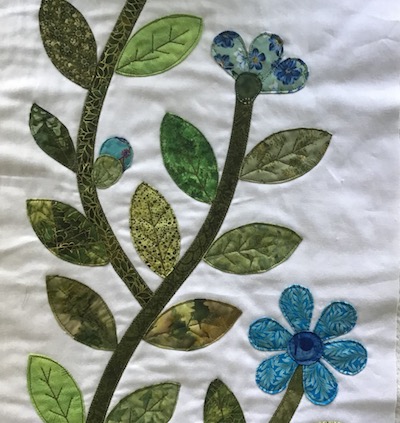
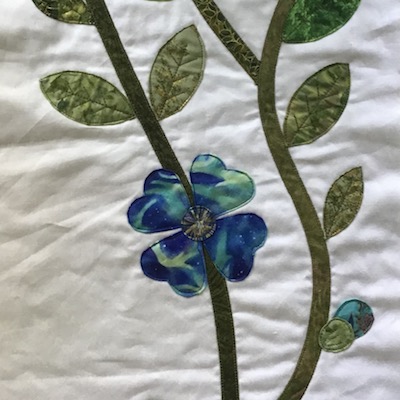
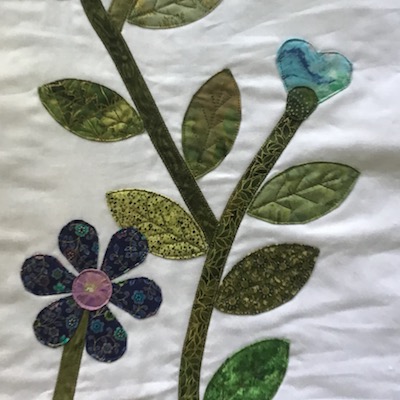
This week the top and bottom sections of  appliqué vines, flowers, and leaves was completed!

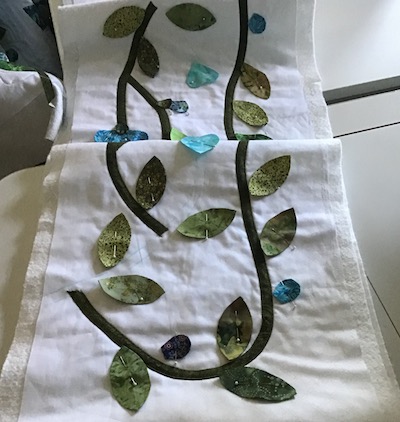
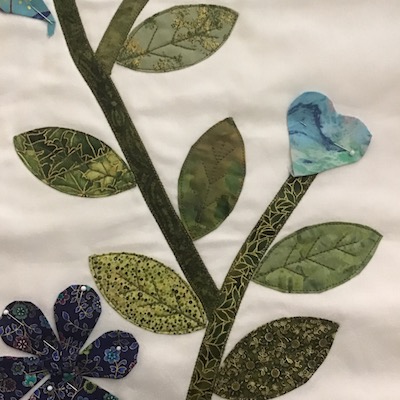
Vines pinned in place and then blanket stitched. Flowers, leaves and buds added after stitching vines.

Oops, I did not have enough of the green bud bits.

So I got busy making more little 1″ green pieces for buds.

Work in progress – buds, flowers, leaves pinned in place ready to machine stitch.

Stitching complete! Sections are now sandwiched waiting for quilting.

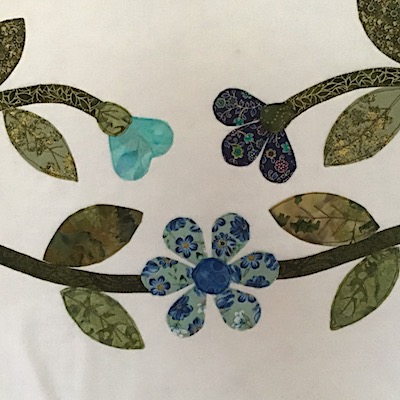
Close up of turned appliqué machine stitched in place.

Quilting these two sections starts today! Then they will be attached to quilt using Pauline Rogers Quilt As You Go method. If all goes well with completing these 2 sections, the next step in making this quilt is creating a clam shell border.

Last Week’s To-Do List:

  1. Applique!  ✔️  Applique is completed! The 2 sections are sandwiched!

This Week’s To-Do List:

  1. Quilt the two appliqué sections.
  2. Sew quilted sections to the quilt center.
  3. If there is time start Clam Shell Border.

Linking to To-Do Tuesday hosted by Home Sewn by Us.

Mostly Appliqué

Tuesday, October 6th, 2020

Wow! Stitching the appliqué flowers in place didn’t take as long as I thought it would.

3 petal flower, bud, and six petal flower

4 heart shaped petal flower, bud

Heart shaped bud, 6 petal flower. There are 20 flowers appliquéd in place in a mix of shapes and sizes show in photos above.

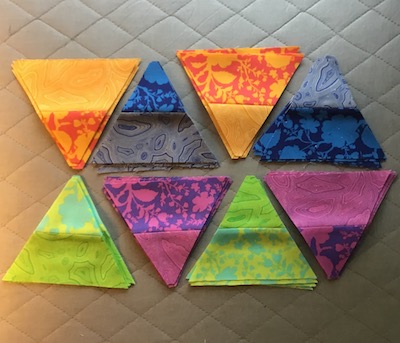
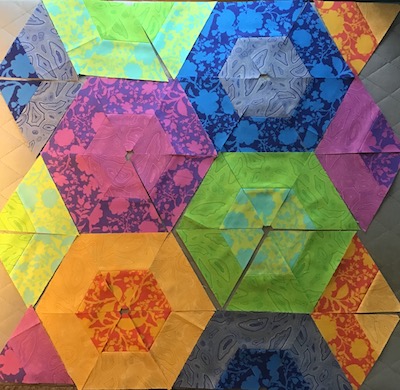
Next up was sewing strips and cutting triangles for the Jawbreaker pillow.

Jawbreaker is a Jaybird Quilts pattern, fabric is Tula Pink’s True Colors.

Playing with lay out. This week it will be sewn into a 20″ pillow top.

Granddaughter time!

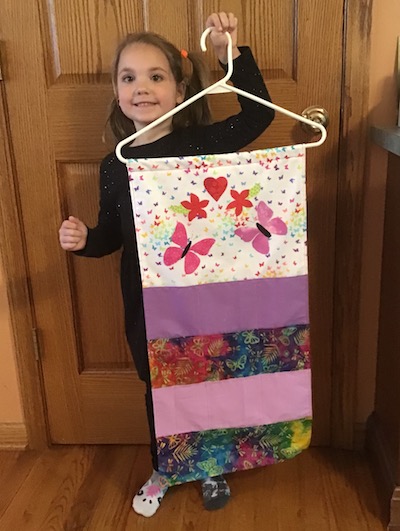
I had broken up the Pocket Organizer sewing into 3 lessons. But she just didn’t want to stop sewing when she came over this week.

We got the 12 pockets stitched, and the back sewn on which in my mind was lesson 2. Then she moved on to the appliqué pieces which was lesson 3. She traced the butterflies and heart from templates on to fabric with Misty Fuse attached to the back. After cutting the shapes out, they were pressed in place. Directions say to outline appliqué pieces with glitter glue. It went to her house for that step. Finished pocket organizer sewn on to a hanger and ready for use!

Another new project has creeped in. A nephew and his wife have announced they are expecting their first baby. Time to make a baby quilt. I’ll use Geo Zoo panel by Robert Kaufman. I hope it goes together easily so I can drop it off to them later this month.

Last Week’s To-Do List:

  1. Stitch appliqué flowers in place. ✔️ This step went much quicker than I thought it would!
  2. Prep Jawbreaker third project in #Journey2Nebula. ✔️ Ready for sewing.
  3. Lesson 2 with granddaughter, Pocket Organizer. ✔️ Lesson 2 & 3, the organizer is finished and super cute!

This Week’s To-Do List:

  1. Sew Jawbreaker into a pillow case, project 3 in #Journey2Nebula.
  2. Baby quilt!
  3. If there’s time, figure out next step in appliqué.

Linking to To-Do Tuesday hosted by Home Sewn by Us.

One Monthly Goal – October 2020

Thursday, October 1st, 2020

Lots and lots of appliqué!

Here is where I am at the moment.

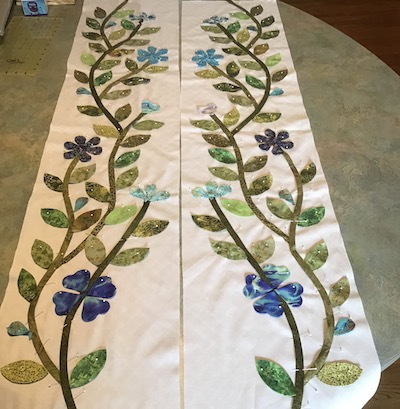
Leaves and vines are sewn in place on the left & right sides of the center of the quilt.

Next up, sewing flowers in place.

I’m just starting to stitch the flowers in place. For the leaves, I found the walking foot worked best for stitching. I might try free motion for the small flower petals.

Phew! That’s a lot of machine stitching and will be my October goal.

If I complete that, I’ll move on to pinning the appliqué pieces on to the top and bottom 12″ border of the center of the quilt.

Here’s a reminder to where I’m heading.

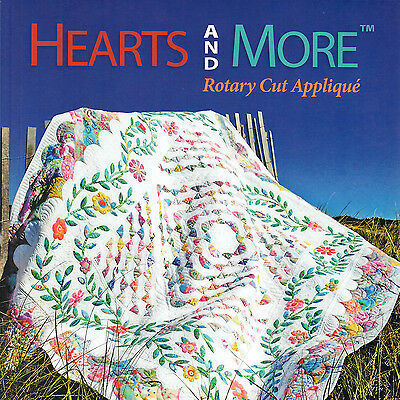
The quilt I’m making in on the cover of Sue Pelland’s Hearts and More book.

Linking to One Monthly Goal hosted by Patty of Elm Street Quilts.

More Appliqué and More Projects!

Tuesday, September 29th, 2020

I’m still moving along on the appliqué pieces for the quilt I’m making for my son and his bride.

This past week I made flower centers.
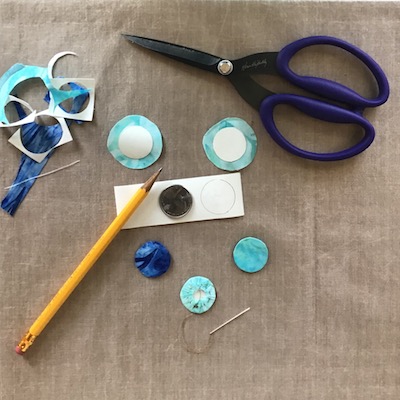
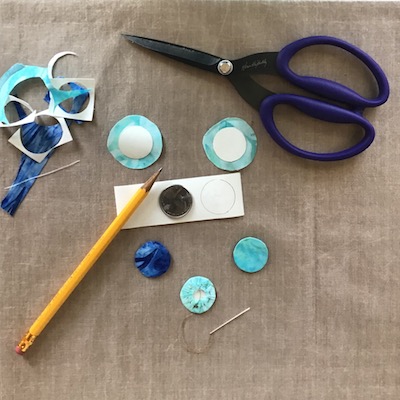
To make the circles I made freezer paper templates. I layered three pieces of freezer paper adhering them together with a hot iron. Then I traced a quarter on to the freezer paper, and cut out the circles. Adhered the circle templates to wrong side of fabric. Cut around the circle templates with a generous 1/4″ seam allowance. Using thread and needle, hand baste around the circle in the seam allowance. Pull the thread and it wraps around the freezer paper. Next I added some starch to the edges and pressed with hot iron giving me a nice fabric circle for the center of the flowers on the quilt. The freezer paper templates pop out leaving a nice fabric circle. Template can be used multiple times!

Plus I moved along in stitching the leaves in place, I switched from free motion quilting to using a walking foot.
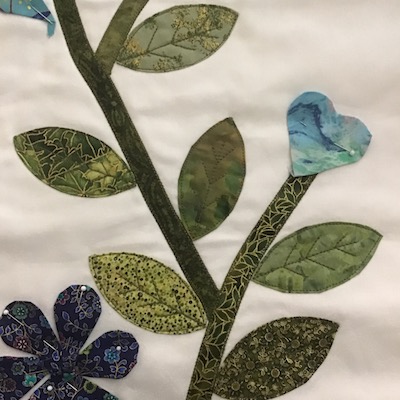
I’m happier with the results. I stitched along the edges and then stitched veins in the leaves. Next up will be stitching flowers and buds in place.

Journey 2 Nebula, second project completed!
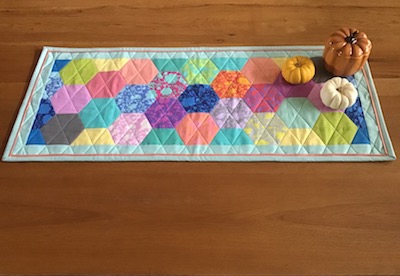
Lucky Charms, I made as a table runner instead of a pillow. Flange binding. Pattern by Jaybird Quilts.

A new project popped in this week. My granddaughter wants to learn to sew. We selected fabric to make a pocket organizer for her room.
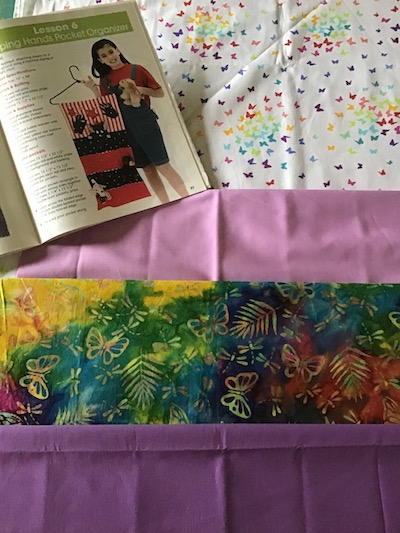
She loves pinks and purples. Can you tell!?
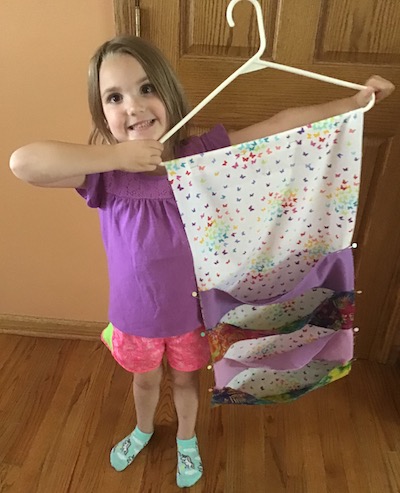
The pocket organizer is going together faster than I thought it would! She sat on my lap at my sewing machine, so she could carefully sew the fabrics together. She learned placement of her hands to keep her fingers away from the needle. She loved pushing the button to cut the threads at the end of the seams, and figured out the knee lift to control the presser foot!  Here she is proudly showing family the beginning of her pocket organizer.

That’s progress on three projects this week. Rain is predicted for most of this week, so it should be a good week for more sewing.

Last Week’s To-Do List:

  1. Finish stitching leaves in place. ✔️ Slow going but completed!
  2. Prep flower centers, hope to start stitching flowers in place. ✔️Flower centers and buds made.
  3. Quilt & bind Lucky Charms #Journey2Nebula. ✔️

This Week’s To-Do List:

  1. Stitch appliqué flowers in place.
  2. Prep Jawbreaker third project in #Journey2Nebula.
  3. Lesson 2 with granddaughter, Pocket Organizer.

Linking to To-Do Tuesday hosted by Home Sewn By Us.
One Monthly Goal – September 2020 Finish!

Monday, September 28th, 2020

Appliqué vines, leaves, flowers, buds! Oh My!

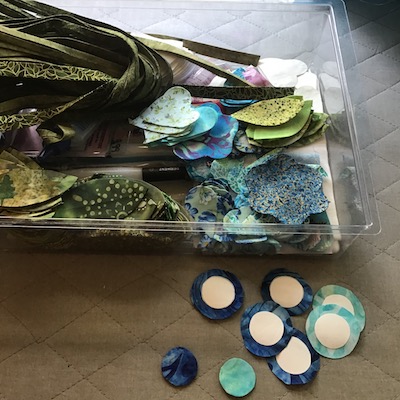
Above is the box holding some of the appliqué pieces I’ve made this month.

The last pieces I’ve worked on were circles for flower centers.

Not only did I get the appliqué pieces prepped, using a turned appliqué method, starching the edges and pressing the edges under each piece, I also pinned the pieces in place for the two sides of the center of the quilt.

Photo above, missing buds and flower centers.

Once I figured out placement and photographed for placement, I removed everything but the vines.

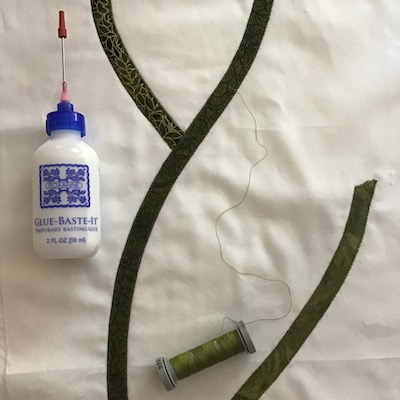
I used Roxanne’s Glue-Baste-It to hold vines in place while machine blanket stitching.

Then I pinned the leaves and flowers back in place.

I’m stitching leaves in place using a walking foot.

I still have a long way to go with machine stitching the appliqué pieces to the quilt. October’s goal?

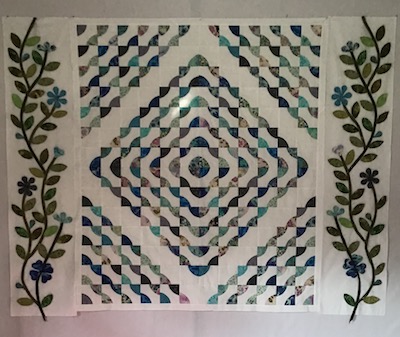
Here is what the appliqué looks like on design wall with the center of the quilt.

Goal for September – lots of appliqué prep! I completed my goal, and moved on to stitching the pieces on to the quilt!

Linking to One Monthly Goal hosted by Patty of Elm Street Quilts.