Archive for the ‘Sewing’ Category

A Few Things

Tuesday, January 24th, 2017

Happily, I got the 2 borders on the quilt for my son and daughter-in-law. I was coming down with some bug, and didn’t even think to get a photo with them holding up the quilt top while they visited this past weekend. Sigh.

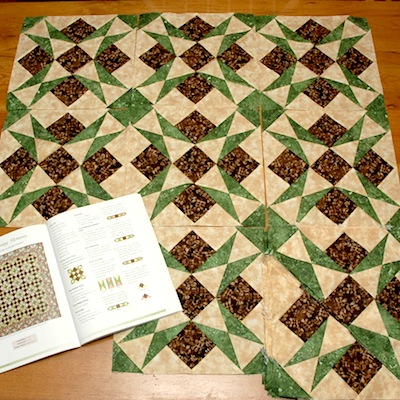
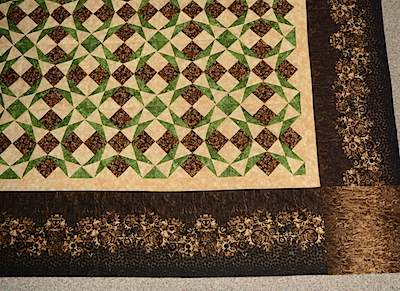
So here is a photo of one corner of the finished quilt top. The fabrics are Northcott and Moda Marbles.

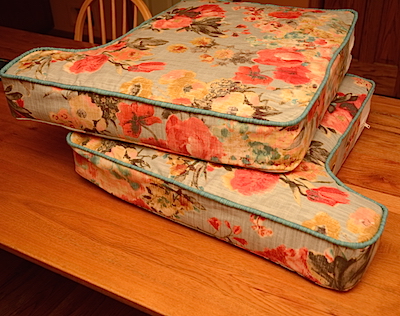
Cushion covers! I finished 2. Still have not made it to the store to buy one more zipper. I seam to be spending most of my time since Saturday fighting this bug. Too much coughing and not enough sleeping.

That’s all for this week. I hope you are all staying well. I think I’ll go back to bed now as I got so little sleep last night.

How did I do on last week’s To-Do Tuesday List?

  1. Continue sewing cushion covers. ✔️
  2. Cut and attach border to Remembering Victoria quilt. ✔️
  3. PJs. ✗

To-Do Tuesday List for this week:

  1. Sew back for son’s quilt.
  2. Finish center sofa cushion.
  3. Working on Leah Day’s 2016 BOM.

Linking to To-Do-Tuesday and Linky Tuesday.

Old Stuff or I’m Late!

Tuesday, January 17th, 2017

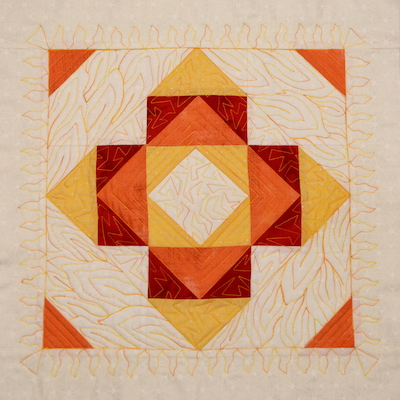
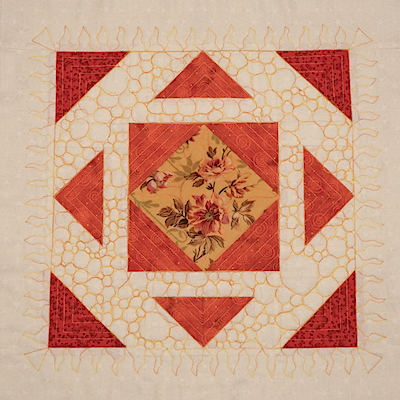
Catching up! Slowly I go. November and December blocks from Leah Day’s 2016 Machine Quilting Block Party are quilted! The next step is putting all the blocks together in Leah’s quilt-as-you-go method. I’ll be so happy to have this one checked off my list. Too bad I didn’t keep up with it, I fell behind in November.

Actually, Leah shared instructions back in September to start the quilt-as-you-go method, so I’m really behind since September, as I don’t have any of the blocks sewn together.

Another project I have going (bought fabric about a year and a half ago) is making a slip cover for my sofa. I’ve been working on covering the cushions this week. I got pieces cut out  - had to work up my nerve to cut into that fabric! Today I sewed 2 zipper closings. What in the world happened to that third zipper? Looks like I need to run to Joann’s for a third zipper.

And since I like hopping around from one project to another before finishing one. UGH! Why do I do this to myself? I also calculated out borders for the quilt I’m making for my son and DIL. Sadly this is another UFO as I got to one point in the piecing and just didn’t like the quilt. I’m convincing myself to finish it. Son and family will be in town next weekend, so I really need to got those borders cut and attached so I have progress to show them!

This is an old photo. The blocks are now finished & sewn in rows, and ready for borders. This quilt is Remembering Victoria from Elm Creek Quilts book.

How is your week going? Have you ever started a quilt for someone and just didn’t like it? How did you solve the problem?

How did I do on last week’s To-Do Tuesday List?

  1. Sew cushion covers for sofa.  ✗  I should have said sew three zipper strips.  But I even failed at that b/c I only have 2 zippers. Oops! Need to run to Joanns for a third zipper.
  2. Mark and quilt last 2 blocks from Leah Day’s BOM. ✔️
  3. Plan borders for enlarged Remembering Victoria pattern from Elm Creek Quilts book. This quilt is for my son and DIL. She picked out the pattern and fabrics. ✔️ Got it figured out.
  4. Pjs??? ✗ I really don’t like making garments, alas, not even really simple ones.

To-Do Tuesday List for this week:

  1. Continue sewing cushion covers.
  2. Cut and attach border to Remembering Victoria quilt.
  3. PJs.

I’m linking to To-Do Tuesday and Linky Tuesday.

Hobo Bag Success

Tuesday, June 7th, 2016

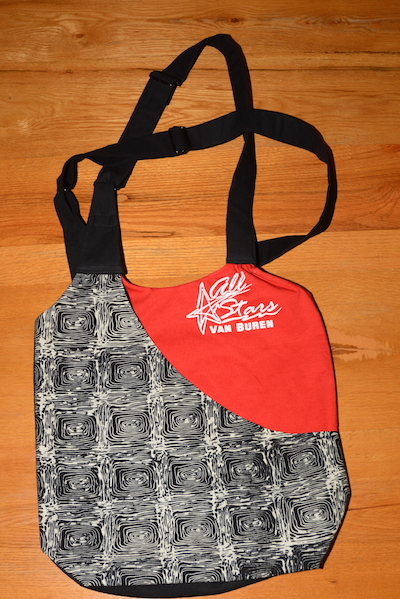
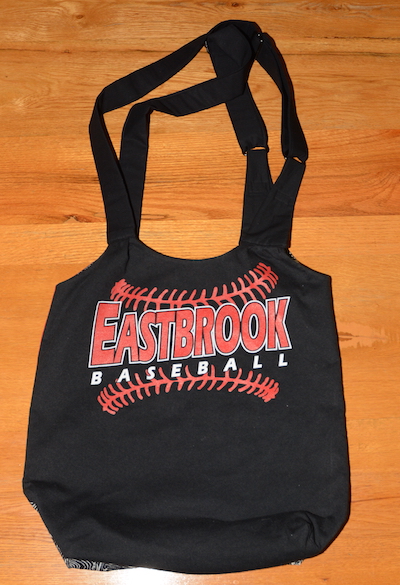
Last Summer, I was asked by a client if I could make a hobo bag/cross-body bag out of t-shirts. I thought that would be doable, so playing around with a t-shirt I no longer used, I came up with a design. Life happened, and even though we chatted on the phone several times, we did not meet up again until this Spring. She liked my design, gave me two t-shirts, we picked out fabrics, and TaDa! Here is what I created for her.

Batik fabric creating a large outer pocket.

She wanted her bag to be larger/deeper/wider.  I added a squared bottom to get the wider. I cut the t-shirts as large as possible to increase the size. I used one shirt for the side of the bag with a large outer pocket created with Batik fabric.

Another t-shirt was used for the other side of the bag.

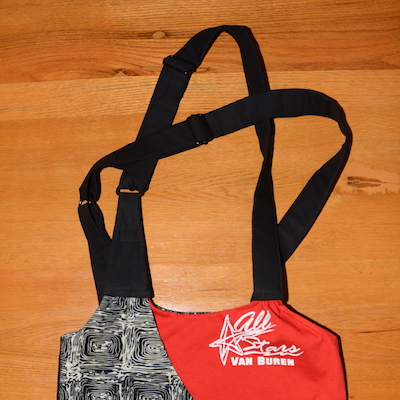
For the shoulder straps, I used a solid black fabric and fusible interfacing to add durability. Then I decided to get all fancy-shamancy and add hardware making the straps adjustable. This was my first time to make adjustable straps, which I found out are really very easy to make and attach to the bag.

Can you see the black hardware rings and sliders in the above photo?

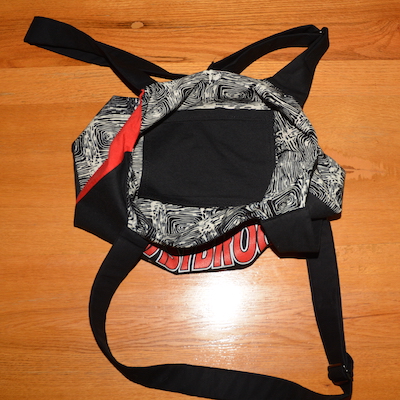
I used one of the black t-shirt sleeves as an inner pocket.

The lining is the same fabric as the outer pocket.

I’m happy to report that my client was very pleased with her Hobo Bag!

So far I’m keeping up with Leah Day’s Machine Quilting Block Party.

Block #6 Solar Flares

Family news! Son #2 has accepted a job 2 hours south of us. I’m happy for him, since this is a step up for him in his chosen career, but that means less time with him and his family. Life will be changing for all of us. Less grand baby time, less time helping DIL who comes over weekly for sewing lessons – she’s making a quilt! Less shared meals. I’m sure we will all adjust to ‘less’ but hopefully more quality visits. After all, my hubs and I are the ones who moved away from our families. 10 hours, not 2!  That all said, I think this month will be filled up with helping them. They are on their 3rd round of house hunting. And grand baby is spending the day with me!

What about you? Are you keeping to your regular sewing schedule this Summer?

How did I do on last’s week To-Do List?

  1. Start June’s Machine Quilting Block Party BOM ✔︎ Block cut and sewn together!
  2. June’s One Block Wonders pattern should be available Friday! ✔︎ Printed off pattern. I’ll have to ponder what fabric to use this month.
  3. Helping son pack and move. ✔︎ This is going to be on-going for a while. I’ve mostly been doing childcare, with several trips with them to house hunt.

To-Do List for this week.

  1. Continue childcare for son and DIL as they prepare to move, they hope later this month or early July.
  2. Prep for out of town wedding this weekend. (laundry, pack, gift shop, etc)
  3. Maybe Monday mark and quilt block 6

One Little Giftie

Wednesday, December 9th, 2015

This Little Pretty will be a gift to a quilting friend. My quilting group meets this Thursday. At my home. I’ll be making cookies. Last minute, I thought I should whip up a little gift for each of my 3 friends.
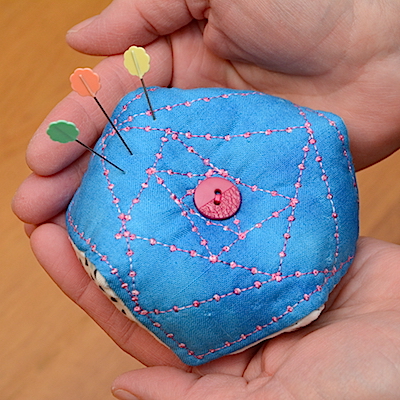
I found this pincushion pattern in Jane Monk‘s book, Tangle Stitches.

For the top of the pincushion I used a piece of batting, a piece of muslin, and a blue marble all cut a 4 1/2″ square.
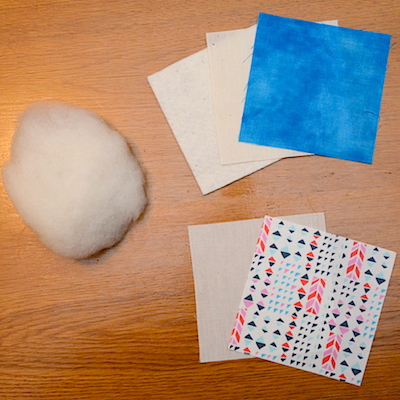
For the bottom of the pincushion I used a piece of muslin and a piece of quilters cotton both cut at 4 1/2″ square. The ball of white wool roving will be used to stuff the pincushion.

Assembly: For the top, layer the two pieces of fabric right sides together, position over the batting.
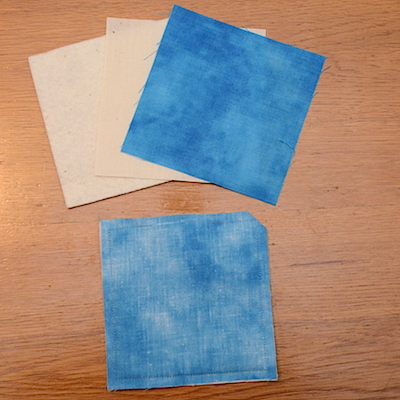
Stitch around the four sides of the sandwich, leaving an opening on one side, trim the four corners (I have one corner trimmed in the photo.) Pull the right sides out through opening. Press, and whipstitch the opening closed.

Now for the fun part! Decorative stitch a design into the top of the pincushion, using a favorite stitch. I set up my sewing machine with the walking foot stitched for this part, and didn’t have any problems stitching the design. (see top photo)

For the bottom of the pincushion, layer the two pieces of fabric right side’s together, leaving an opening on one side, trim the four corners, and pull the right sides out through the opening.
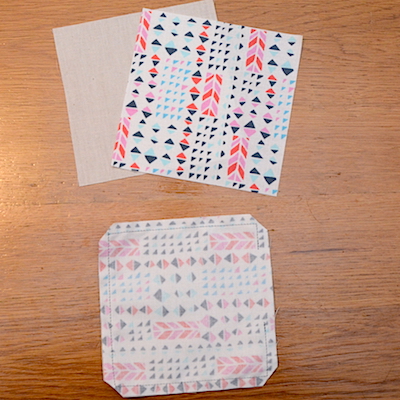
Press and whipstitch the opening closed.

Attaching the top to the bottom:
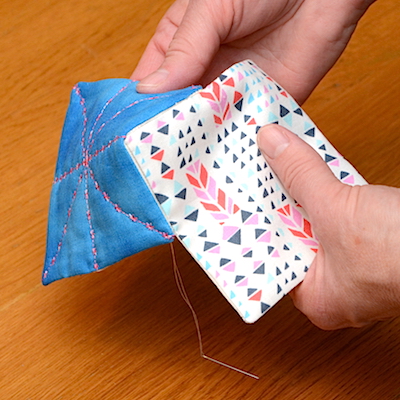
Off set the top and bottom pieces, starting the stitching on the corner of the top but in the center of one side of the bottom.

Whip stitch the top and bottom together from the inside for a nice clean finish.
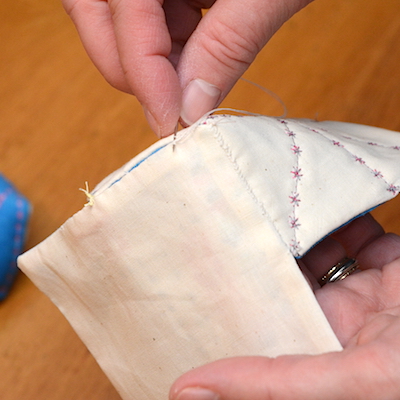
I found if I did a little anchor stitch to hold the corner of the top to the center of the bottom side, it helped to hold the edges (sides) in place as I whipstitched them together.

Jane’s book has a better picture of the shape of the pincushion -
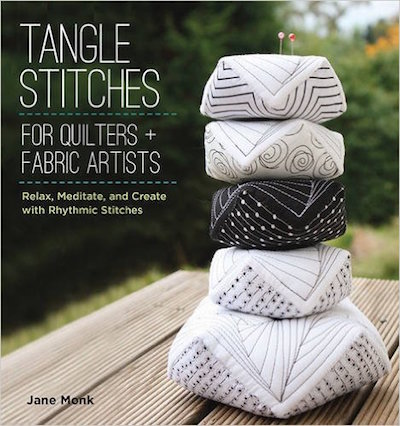
Aren’t they lovely!? Jane has many Zentangle type quilting motifs and projects in her book.

Have you ever made Pincushions? These are my first! One down, 3 to go.

This week my To-Do list includes hosting my quilting group, finishing up the pincushions before Thursday, continue working on the t-shirt quilt.

I’m linking to Linky Tuesday and To-Do Tuesday.
 

A Little Bit of Garment Sewing and Linky Parties!

Tuesday, July 7th, 2015

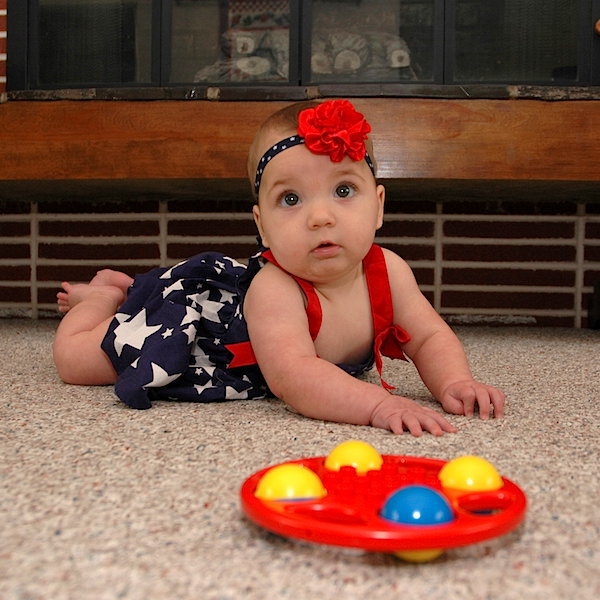
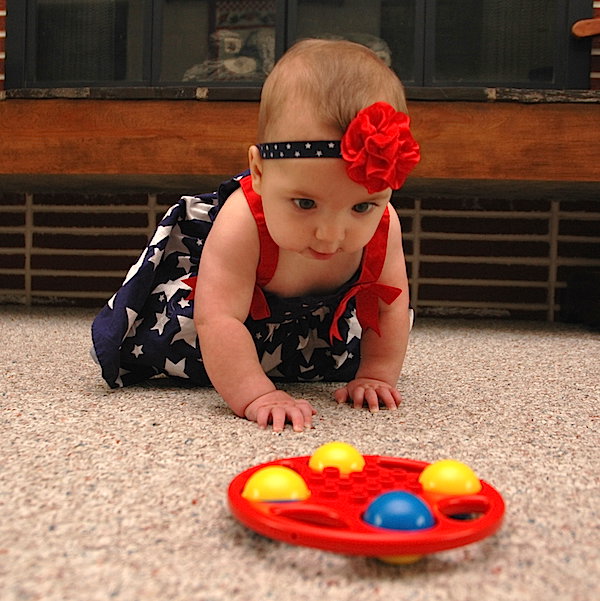
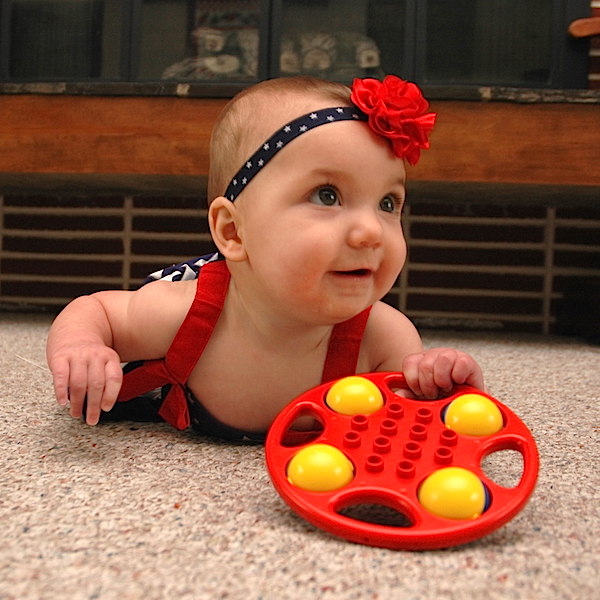
First up, the cutie grand baby is just about crawling! She is adorable, if I say so myself! She and her parents came for a visit on the 4th of July, Independence Day here in the USA.

You think I should try and get that toy?

Determination!

Got it!

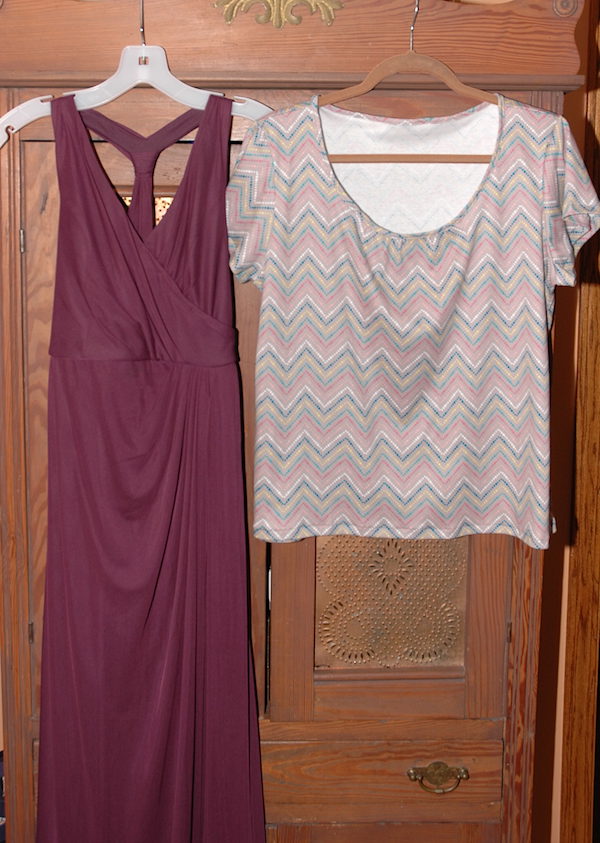
I did a little garment sewing this week. I hemmed a bridesmaid dress for my daughter. Hope she likes it. And I took apart a favorite t-shirt to use as a pattern to make a new one for myself. It is ok, considering I didn’t have pattern instructions to follow. I did a lot of guessing and practicing on fabric scraps.

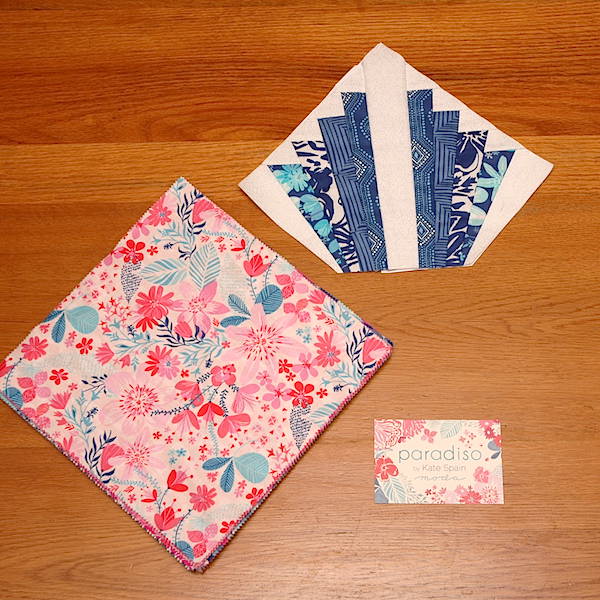
With both of these projects complete, I think I’ll stay away from knits for a while and stick to woven cottons! Something like a little paper piecing with Kate Spain’s Paradiso fabric line.

How about you? Do you like garment sewing?

This week I hope to continue working on the Paradiso quilt. Plus meeting a customer who wants some hobo bags made out of some clothing that is sentimental to her. I spent time today looking for hobo bag patterns and have 3 to show her later this week when we meet up.

I’m linking to To-Do Tuesday and Linky Tuesday.

News Flash! I just went over to Connie’s to grab the link to her Linky Tuesday and am pleasantly surprised that she has shared my Mr. Juggler from last week’s link up! Thank you Connie! I am honored!


Flannels and Featherweights

Tuesday, May 12th, 2015

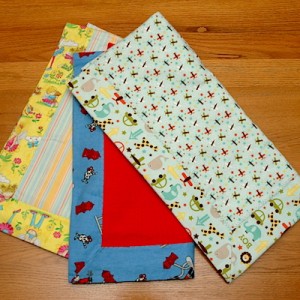
Self-binding Baby Blankets are my current ‘go-to’ for baby showers.

Here are just a few, made from two coordinating flannels.

Fabrics and Friends Quilt Shoppe just got in a shipment of Riley Blake Flannels. The top/right blanket are Riley Blake. The other 2 blankets are older prints, I don’t know the manufacturer.

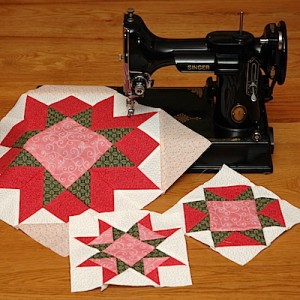
Tomorrow is Featherweight Club at the quilt shop. Here are last month’s blocks.

The club meeting sneaks up on me ever month! I just made the blocks yesterday. So much for avoiding last minute to sewing!

Not photoed is the table runner I free motion quilted but still have the binding to tack down. And also the Dance of the Dragonflies is almost complete! I cut out the border pieces today. Pictures promised next time!

I’m linking to Linky Tuesday and To-Do Tuesday.
This week’s list will be binding the table runner and finish piecing Dance of the Dragonflies. I know, I listed them last week, but successfully worked on both, even tho not complete! I had forgotten about the Featherweight Club and then had a few baby blankets that needed to be made. That is life, right!?


Fabric Marbling

Wednesday, April 22nd, 2015

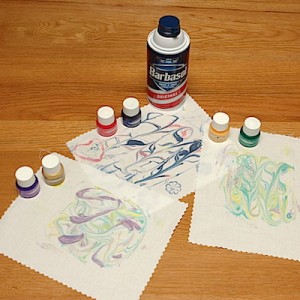
I got together with a friend and played with Barbasol Shaving Cream and Fantast/x All Purpose Inks. Here are a few of our pieces -

Simply spray some Barbasol on to a plate. Add a few drops of the inks in different colors. Use a toothpick to swirl the inks around. Lay PFD fabric on top of the shaving cream and ink, lightly press until you see the colors coming through the fabric. Peel fabric up off of shaving cream, lay on flat service and wipe off shaving cream with an old credit card, ruler, or squeegee. Allow to dry and then heat set with a hot dry iron. Your fabric is now ready to use a a project!

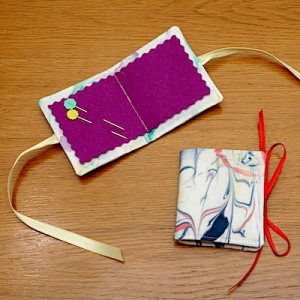
I used the fabric to make these needle cases. Aren’t they cute!?

Cut your marbled fabric into 2- 3 1/2″ x 5″ rectangles. You will also need a thin piece of batting that size. Layer the fabrics right sides together and place the batting on top. If you want the ribbon ties, cut two pieces each 7″ long. Pin the ribbon between the two layers of marbled fabric at the ends with the ribbons in the sandwich, making sure not to catch the ribbon in any stitching other than on the two ends. Stitch 1/4″ around the four sides of the layered fabrics and batting, leaving about 2″ opening on one long side. Trim corners. Turn the needle case right sides out through the opening. Press the opening seam allowance in 1/4″ and then top stitch around the needle case 1/8″ from edge. Cut craft felt or wool felt about 1/4″ smaller than the needle case. I used a pinking rotary blade for a decorative edge. Line up felt in the center of the needle case and stitch through all thicknesses down the center of the case, which will be the spine of the needle case.

I hope you enjoyed this little tutorial and find time to play with some fabric marbling!

Have you ever used PFD (prepared for dyeing) fabric or inks? What did you make?

I’m linking to Stitch All The Things To-Do Tuesday.
This week I plan on working on Dance of the Dragonflies, and cleaning out my sewing room.


Pillowcase Collaboration

Saturday, March 7th, 2015

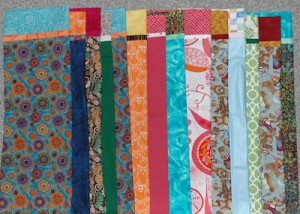
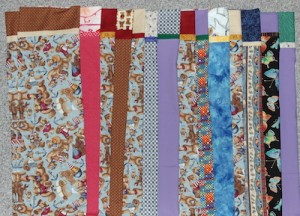
Cleaning out the stash! We have all heard “She who dies with the most fabric wins!”  Well, guess what!? I don’t want to be that gal! I want to use up my stash or find good homes for fabrics – people who will actually put the fabric to good use. And of course, I do intend to use my favorites in planned projects.

This past Wednesday, a friend and I got together and created lots of pillowcases for ConKerr Cancer, an organization that gives pillowcases to children in local hospitals fighting cancer.

The sewing actually started last week when another friend came over and got my serger up and running. Thank you, Pat! To test out the newly repaired serger, I sewed up several pillow cases. 4 maybe.  Then this week another friend came over and we now have a total of 24 pillow cases ready to donate. We both had so much fun that we each looked at our fabrics again and have come up with more pillow cases combinations.


Oh, Baby!

Tuesday, December 2nd, 2014

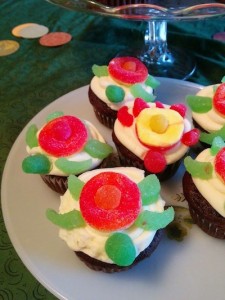
My girls held a baby shower for my daughter-in-law, at my house a few Sundays ago. The theme was Turtles. So much homemade goodness! My middle daughter loves to bake. She made this lovely & yummy Turtle cake and cupcakes!

Kim, our expecting mommy, and Turtle Cake

Turtle Cupcakes

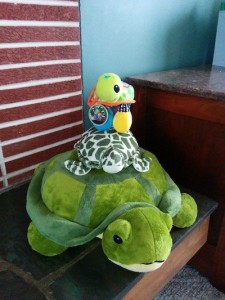
Turtle toys!

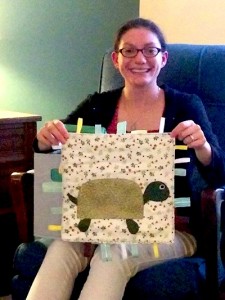
I followed the theme, and made a turtle ribbon blanket. Babies love the texture of the different ribbons. To add more texture, the background is flannel, the back is Satin, and the turtle shell was made with Texture Magic.

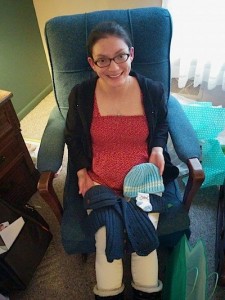
Kim received several homemade goodies. Here she holds a knitted sweater, hat, and booties. She also received hand knitted baby wash clothes, and homemade burp clothes.

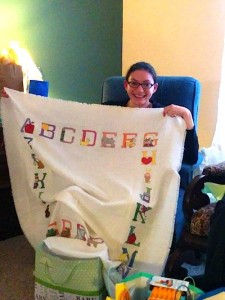
Kim’s Grandmother sent a cross stitched Alphabet Blanket.

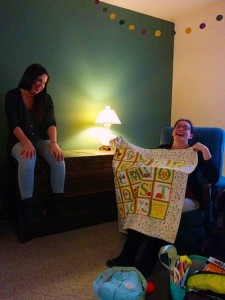
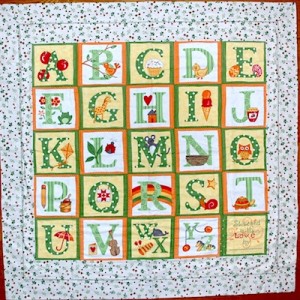
I sewed up a receiving blanket using an alphabet panel. “T” is for Turtle!

The girls forgot to get a picture of the four of them all together. They pulled off a nice party for Kim with 19 guests in attendance. Lovely day!

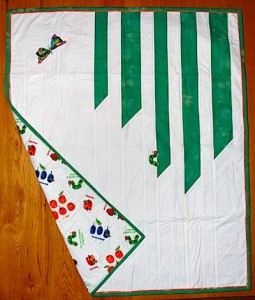
One more picture! At the shower given to Kim by our church, I gave her a Very Hungry Caterpillar quilt and several books.

I sewed up a very simple front with green wedges as leaves, appliqued the VHC on one of the leaves, and the butterfly floating near by.

Baby is due December 30th! My first grandbaby!


Deadlines and Classes

Tuesday, September 9th, 2014

Oh dear! I’m so very late! I signed up to make some charity quilts and I thought I had until the end of October, but I found out Saturday that they are due by September 30th! Oh no! I was a month off! I am usually not a procrastinator, but this time I have really messed up. That means I have put the babies quilts on the back burner, once again, sigh, and have amped up the charity quilt production. No pictures yet!

And just because that is not enough to be doing, I’m going to be teaching 3 classes at Fabrics and Friends Quilt Shoppe in Roanoke, IN this Fall! Tee hee! So excited about that!

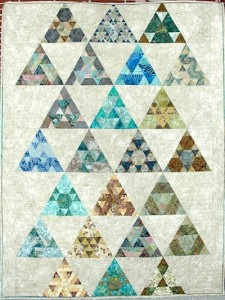
Toes in the Sand Quilt Top.  The Pattern is by Jaybird Quilts and uses the Hex N More Ruler. I love love love this ruler. We have kits made up in Batiks, or gals can buy their own color way. This will be a 2 part class to learn cutting with the ruler and machine piecing the shapes (hexies, half hexies, diamonds, and triangles) and will included some in-set seams.
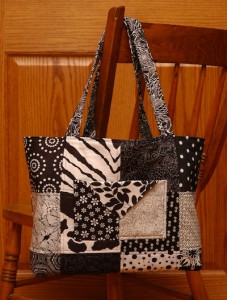
Charm Party Tote by Quilts Illustrated. This nice sized tote is constructed from a favorite charm pack.

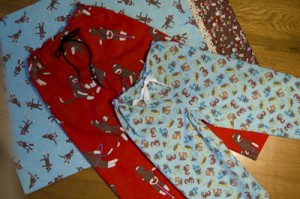
Beginning garment sewing – easy PJ bottoms. Flannel and an easy drawstring casing.

I’m linking up to Freemotion by the River Linky Tuesday.