Archive for the ‘Sewing’ Category

Christmas Table Runner and a Hostess Gift

Friday, December 14th, 2012

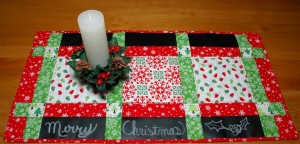
Still playing with the chalk board fabric. Here is another table runner using traditional reds and greens for Christmas.

I inserted the chalk board fabric into the outer border. You can write a message on it, or use to label food  served!

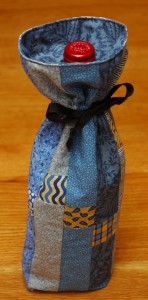
And here is a little hostess gift for a party my husband and I will be attending. Wine in a homemade gift bag.

Casserole Carriers

Tuesday, November 20th, 2012

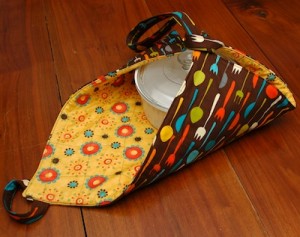
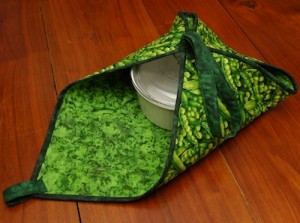
I love this fork/spoon/knife fabric! I’ve wanted to make something from it since I first saw it! When I was asked to make a casserole carrier – I went right to this fabric. It turned out well. But I tweaked my plans for the second carrier.

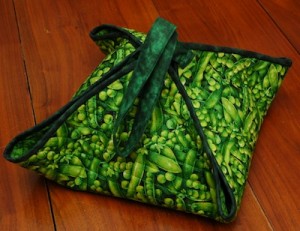
For this carrier, I used pre-quilted fabric and simply added a Moda single-fold bias binding. Then I made the handle and loops from a Moda Marble. I shortened the length of the handle and loops for this model and like the dimensions better than the first model.

The fabric for the body of the carrier is cut at 22″ square. I used about 3 yards of the single-fold binding with mitered corners and mitering the ends together. I used a 3″ wide strip of Moda Marble folded with batting in the center for the handle – 24″ long. And 7″ long loops on two opposite corners.

Slippers

Friday, November 16th, 2012

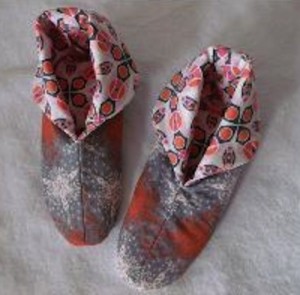
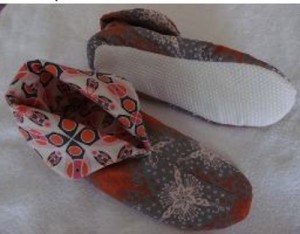
Warm & cozy slippers for the chilly fall weather. Bamboo batting between the inner and outer fabrics for added warmth and comfort. Non slip fabric for the soles. And Sofcomfort® insole slipped in for added comfort.

Construction of slippers was loosely based on pattern from the book Boutique Slippers published by House of White Birches. Just like when using a cooking recipe and modifying it to make it my own, this I also do with quilting & sewing patterns.

How about you? Do you tweak patterns while sewing?

Two Totes

Friday, August 31st, 2012

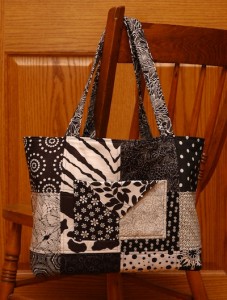
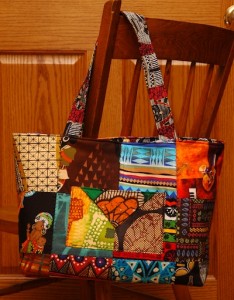
Black & White

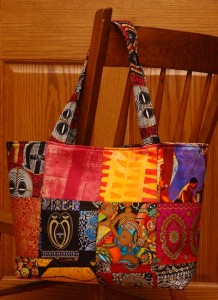
Ethnic Prints, front

Back

Pattern: Charm Party Tote by Penny Sturges

To stiffen the bottom, I used Pellon Peltex  72F Double-sided Fusible Ultra Firm Stabilizer. I have found using two pieces of 72F makes a nice firm bottom for purses and bags.


Homemade

Friday, December 30th, 2011

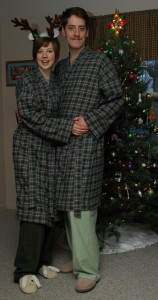
Daughter # 1 and her hubby asked for his & her matching plaid bathrobes for Christmas.  My Dear Hubby and I did some on line searching for said matching plaid his & her bathrobes and came up short. Did I mention that flannel was also a requirement in the matching part of the his & her plaid bathrobes? Phew! What a list to try to accommodate!

Since the on-line search did not pan out, I up and said to Dear Hubby that I could make plaid matching his and her flannel bathrobes for the two. I  already had 6 pairs of flannel PJ bottoms in the making for my crew. So just how difficult would it be to find 12 yards of matching plaid flannel? A lot harder than I expected! I found out that our local Joann Fabrics flannel comes only  8 yards to a bolt. What is up with that!? And since it was now so close to Christmas, there was not two partial bolts of the same fabric to be had. Oh bother. I could go to the local quilt shop, but their flannel is expensive. I had already bought flannel there for the PJ bottoms when the shop held a BOGO for each yard of fabric purchased. It was their anniversary sale the first weekend in November. And a great sale it was! My only other option seemed to be to check out the local Hancock Fabrics store. Boy was I pleased when I found they carry bolts of flannel with 12 yards per bolt! And I was even more pleased when I found a bolt of green plaid! And then I learned they had  Simplicity patterns for one dollar each! I bought two of the same pattern so I didn’t have to trace anything. A his and a her pattern each! Now I just hoped I had the right plaid to make the couple happy with their homemade Christmas gifts.

Here they are wearing their PJ bottoms, matching green plaid bathrobes. Notice they are also wearing slippers – given to them by daughter # 2 who did not know what I was up to with making PJs or bathrobes!

A Little Sewing & Gift Wrapping

Saturday, April 23rd, 2011

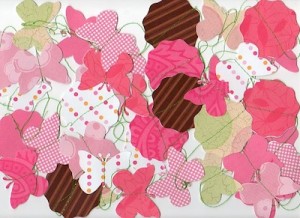
I signed up for Julie Fei-Fan Balzer online class It’s Sew Easy. She is such a fun gal and I’m thoroughly enjoying her classes, watching her videos and hopping around looking at how the other students are interpreting the lessons. But, I’m way behind in doing the actual sewing. Here are my first little bits. I skipped the painting part and just grabbed some scrap booking papers.

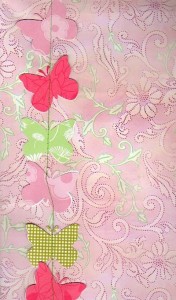
This is a streamer made of punched out butterfly and scalloped circle shapes.

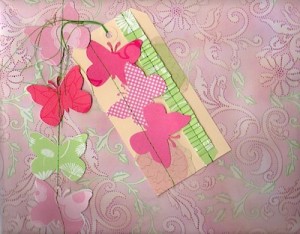
I used the streamer to decorate a baby gift for a friend. The gift is a baby blanket with an appliqued butterfly, purchased, not crafted by me. The butterflies decorating the outside coordinate with the blanket inside!

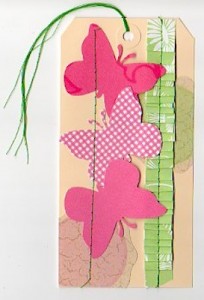
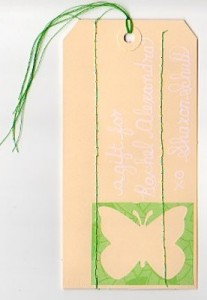
Next I made a gift tag using more butterflies and a little paper ribbon technique I saw on a blog. It took me a while to locate the source of the ribbon. It’s Every Life Has A Story! blog’s post: {Make It} Paper Bag Ribbon.

Gift with streamer and tag:

Julie does lots of painting on her papers, tags, fabrics before sewing. I do plan on experimenting, following her instructions, but for now, I’m happy with my scrap paper results. I hope Becky and baby Rachel will be pleased too!

5 Finishes and Finishings

Thursday, December 9th, 2010

Funky Monkey fabric by Moda. One pillow case, one jammy bottom child size 2, and one size 6.

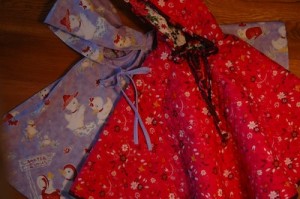
Two ponchos. Child size 6 made from pre-quilted fabric.  Child size 4 made from 54″ wide fabric, lined.

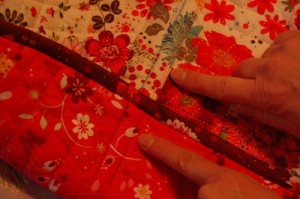
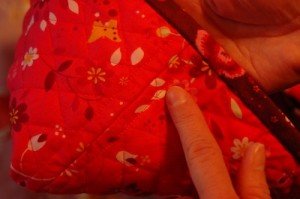
I searched back to my years long ago in garment making to put a nice finished touch to the seams of the pre-quilted poncho. The photo above shows the finished look where one side of the inside seam allowance is trimmed to 1/4 inch, and using remaining 5/8 inch seam allowance, turn under to cover the seam and top stitch. You see the top stitching on the outside of the garment. I’m pointing to the top stitching on the red outside, and to the covered seam of the inside of the poncho.

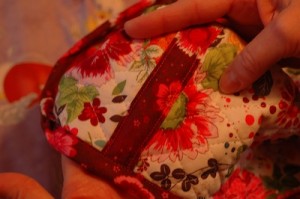
To finish the inside seam of the hood, I used the bias-covered method. I made a single fold bias strip from a coordinating fabric, trimmed the seam allowance, and top stitched the bias strip over the seam allowance. The following picture shows the outside top stitching.

The lighting is not the best in these photos. But I think you can see the garments ok. I used bias binding to finish the outside edge of the hood, the hem of the poncho and for the ties at the neckline. I have not made a garment in years! And I have to say I had fun with these projects! But I think I’ll stick with quilting for my main outlet in sewing!

Hearts at Rainbow’s End

Monday, May 31st, 2010

This is my one finish for the month of May with OPAM sponsored Peg and Kris. This is a year long challenge to finish at least one project a month and then post it  on your blog. Of course if you are making more than one project a month, you share those as well. I’ve had a very slow month.

I bought this pattern from vendor Kaye Moore, while at the International Quilt Festival, Chicago, in April.
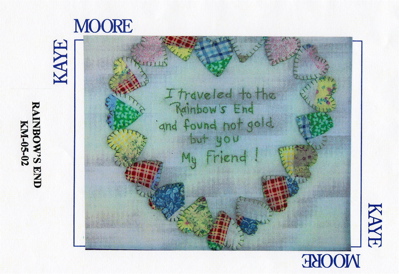
kaymooreheartspattern

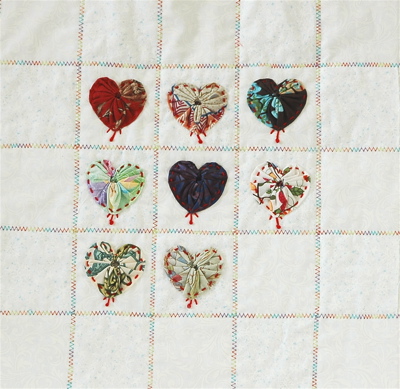
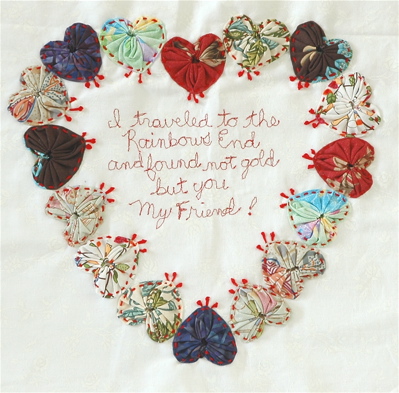
I changed it up just a bit by hand stitching yo-yo hearts to the background fabric and free motion stitching the saying.
challenge2

I really love how this turned out! I am not a hand embroiderer, so I’m very tickled by my attempt at those french knots! This was playing and I hope to do more, learning hand embroidery!  The idea to free motion machine stitch the saying came from Rebecca Sower’s red thread sessions. Altho I have done free motion quilting, I’d never done free motion writing, but once I saw Rebecca’s session # 3, I knew that was how I would apply the saying for this project. (Thanks for the inspiration Rebecca!) And the last bit about this piece is the fabric is all from a swap/challenge hosted by Melissa of Ardea’s Nest. 8 of us swapped fabric and then use a piece of each of the fabrics in one project. I used the fabrics to make the heart yo-yos. Thanks for hosting the sawp/challenge Melissa! It was fun being a part of it and I’m just plain-o tickled with my piece!

And, I just kept playing with the hearts – this piece is not finished yet. I know, I need to learn some other embroidery stitches. :-)

challenge3

(Photography by Noel Schutt. Thanks son!)
Sewing Up Some Color

Friday, October 16th, 2009

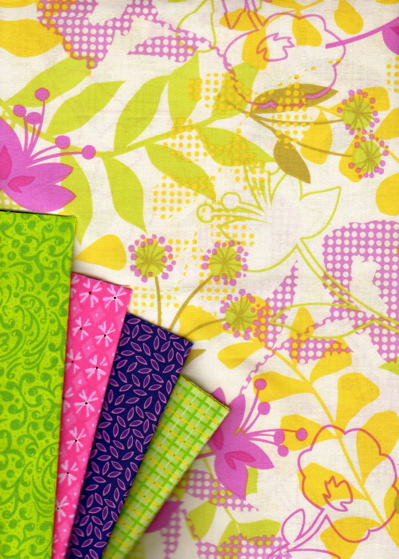
These pretties will soon be an apron.
apronfabric-11

Let's Play with Dolls

Thursday, October 15th, 2009

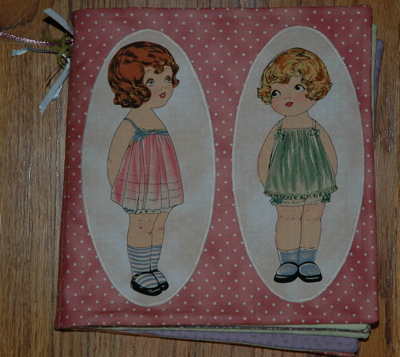
Cloth Doll Book is complete.

clothdollbook-1

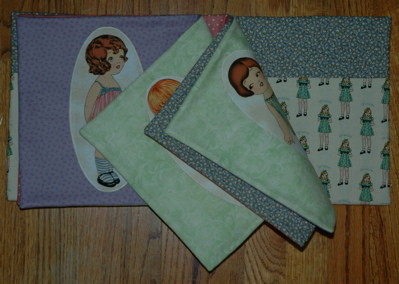
There are pockets on the front and back inside to hold the clothes.

clothdollbook-2