April 18th, 2011
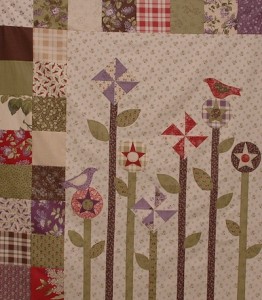
Here are three of my most recent creations. I have been a fan of Jan Patek for a long time! Here is one of her wallhanging made with Lilac Hill Moda Fabric.
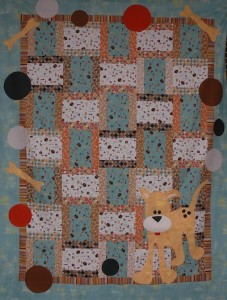
And for all the dog lovers in the world – isn’t this a cute quilt?! Go Fetch! is the pattern using Basic Grey Moda Max and Whiskers fabric line.
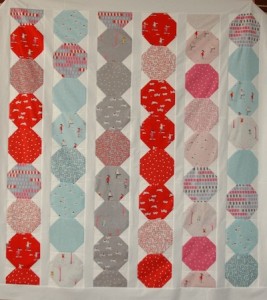
And how about some Sherbet Pips? I love this retro fabric and snowball pattern! Sherbet Pips by Aneela Hoey for Moda. Hmmmm. I’m seeing a Moda theme here.
Tags: Fabrics and Friends Quilt Shoppe
Posted in Quilting | 1 Comment »
March 20th, 2011
to have grandchildren visiting! I have not entered the wonderful world of grandmother-hood yet. But this past Tuesday I had the delight to have two little girls visiting while their mother ran a few errands. The first order of the day when these little ones visit is to play with my cat. He soon scooted off to my studio and the “grand chase” was under way. Note that this is all normal behavior at our house! My cat loves to be chased and will keep the game going much longer than I care to play! The girls can stay interested in this activity about as long as the cat is willing to play! On this particular day, once in the studio, this little doll caught the eye of my 5 year old guest.
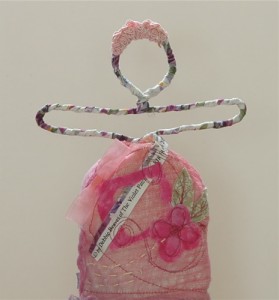
I took her down from her perch, and my little friend asked how she was made, which I explained, and then she asked if I’d teach her. For the next two hours, I kid you not! we three had fun rooting through my fabric, ribbons, bows, lace, beads, and other goodies and the girls each made their own doll, with just a bit of help from me (sewing) and my son (who bent the wire for us.)
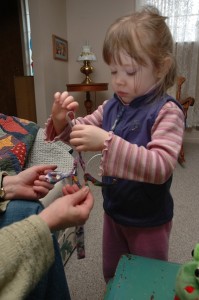
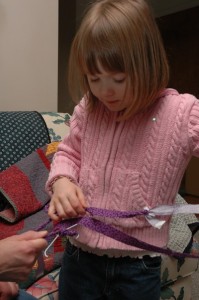
We wrapped fabric strips around wire bodies, sewed up dresses, and embellished them with all the goodies the girls selected for their new dollies.
Wrapping wire body with fabric strips:
The finished dolls:
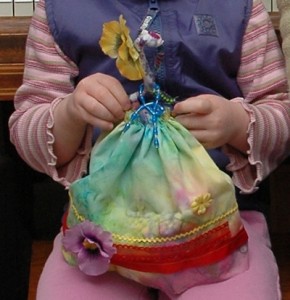
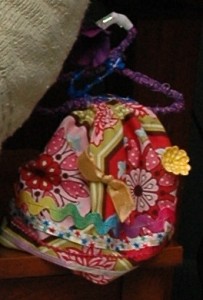
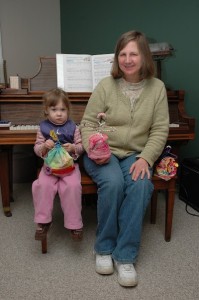
(photo above missing one camera shy little girl, and not the best photo, but oh well)
For the rest of their visit, the sweetie pictured played with the three art dolls, her older sister moved on to a doll house. And I watched them play while reading my new Cloth Paper Scissors magazine. These two very creative girls come by it naturally as their momma, Lisa Ransom Smith, is a Pastels Artist.
Tags: Children and Art
Posted in Crafting | 3 Comments »
March 15th, 2011
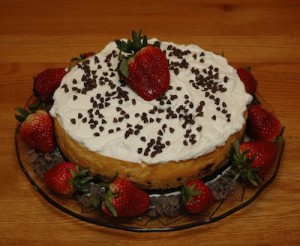
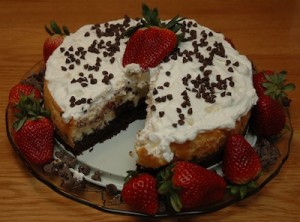
Chocolate Cheese Cake with a Brownie bottom and whipped cream topping. Yum! Made by little ol’ me for my daughter’s 19th birthday.
Tags: Birthday
Posted in Baking, Family | 2 Comments »
March 11th, 2011
I read somewhere that some gals like to see projects in progress, not just a photo of the completed project. That sounded like a good idea to me. I must admit, I do like seeing the progress on blogs myself, and at least some explanation of the process. That said, here is a photo of a few items I’ll be playing with this coming week. I’m thrilled to get to try out Leaves Galore quilting rulers created by Sue Pelland Designs. I’ll be making up some models for Fabric and Friends Quilt Shoppe, Roanoke, IN. And I love the Mistyfuse stabilizer! Have you ever used it? You need to use a teflon sheet with the Mistyfuse – oops forgot to put that in the photo!
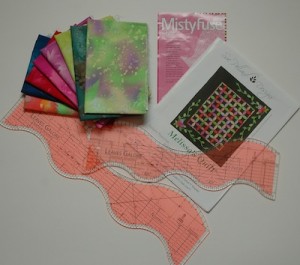
I’ll try to show an in progress photo next. I have many ideas using these rulers swirling around in my head for quilts and also for paper crafting.
Tags: Fabrics and Friends Quilt Shoppe
Posted in Quilting | 2 Comments »
February 24th, 2011
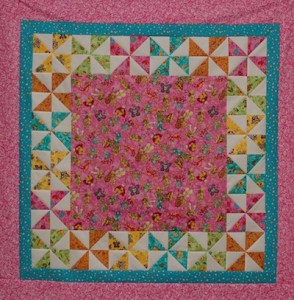
A little girl just might love this bright and happy bug quilt. Dancing Bug Fabric, Me & My sister Designs – Easy as 7 pattern.
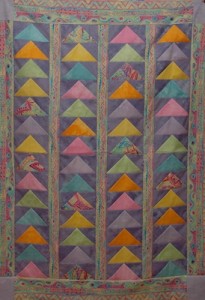
This is a Ricky Timms pattern and fabric, line is Oodles of Doodles. 3D Flying Geese. This was a fast and easy quilt using the one-seam method to make the geese.
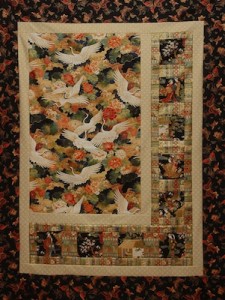
Sidelights Pattern, Orientals. I think this pattern would work great in a fussy cut kids print.
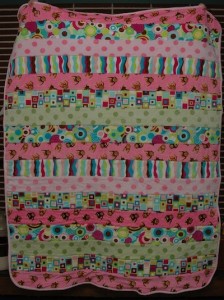
A soft Shannon fabric quilt (like Minky fabric) sewn with the sew and flip method.
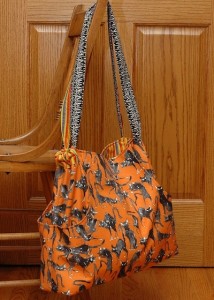
And Purses! This orange print with black cats is a friend’s favorite fabric. She loves it! I call it the scary cat fabric. The pattern is called “Multi Tasker Tote.”
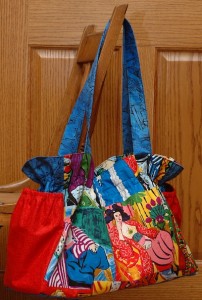
This next purse uses the “Peace Bag” pattern. But I did not put the peace symbol on the purse. Front, showing off the lady fabric:
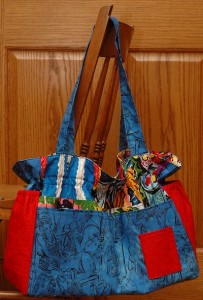
Back of bag.
That’s all folks! Till next time!
Tags: Fabrics and Friends Quilt Shoppe
Posted in Quilting | No Comments »
February 7th, 2011
I’ve been oooh-ing and aaah-ing over several blogs this past year that are all about art journaling. The journals all look so lovely. There are so many types and techniques shared in blog land, that I finally decided to just take a deep breath and jump in! First, I bought Dawn DeVries Sokol’s DVD Art Journaling, Pages in Stages. I bought watercolor paper and have painted a book full of background pages. I really like her DVD, easy to listen to and follow her directions.
Other ladies I’m watching are Julie Fei-Fan Balzer and the group she has going called Art Journal Every Day, Mary Ann Moss, Diana Trout, Kelli Perkins, Lenna Andrews. Each have their own personal style and all share ‘how to-s’ on their blogs. And since I like sewing, I keep an eye on the fabric journals too. Gals like Sue Bleiweiss, Terri Stegmiller, & Rebecca Sower.
With so much inspiration, I’m trying my hand at several techniques, playing around, and hopefully finding what will be ‘me,’ what I’ll be comfortable with to make art journaling a part of my everyday life.
Here’s what I’ve been playing with so far.
Two pages, in their various stages from the DVD Pages in Stages, coming along just fine I think.
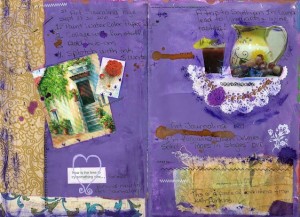
Another Pages in Stages, layering just beginning -
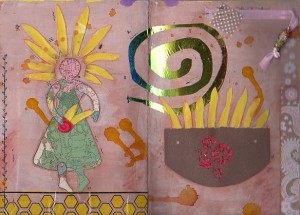
Playing with sewing on to the page -
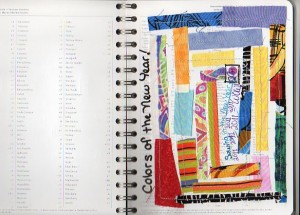
The next two are from ideas shared on Art Journaling Every Day. Creating a background on watercolor paper. I used watercolor pencils.
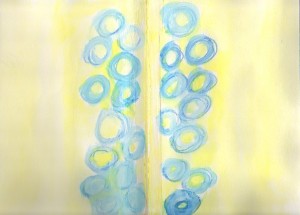
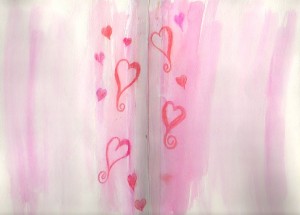
And the last two pages are my attempt at sewing shapes along the edges of watercolor paper. I will add watercolor pencil in or around the sewn shapes. The first page also has a fabric strip sewn down the edge. I really like the shapes on the second page.
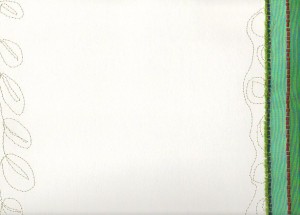
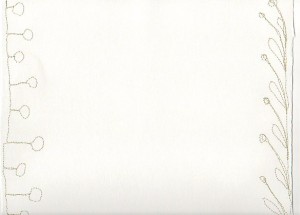
So you see, this is just a beginning. I’ve got lots to learn and more to try.
Tags: Journaling
Posted in Journaling | 5 Comments »
January 26th, 2011
Alas, my running record of 21 years without a rotary cutter mishap has just ended.  I was busily working away on a quilt, when Yikes! I shaved off the side of my finger with the rotary cutter. There are way too many capillaries in one’s finger tips, I think.
Here are some quilt tops that might make you smile. Hope so!
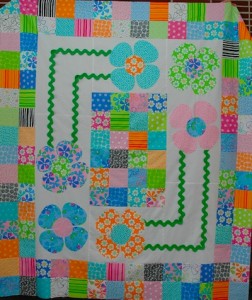
This quilt is made with Dilly Dally Fabric by Me and My Sister, the pattern is Got a Feeling by Abbey Lane. I like the large rick rack used as flower stems. Rick rack is making a come-back in the sewing world.
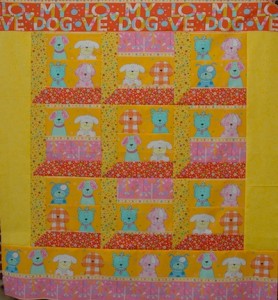
This fun quilt is made with Love My Dog fabric from the Playful Pups line by Benartex. The top is similar to a pattern found in the Fall 2010 Fons and Porter’s Magazine by Debby Kratovil. I just changed it up a bit.
And this quilt is made with Peek-a-Zoo fabric by Henry Glass Fabrics.
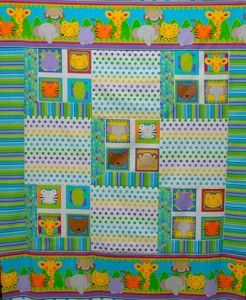
These three quilts are shop models for Fabric and Friends Quilt Shop, Roanoke, IN. 260-676-2149.
Tags: Fabrics and Friends Quilt Shoppe
Posted in Quilting | 3 Comments »
January 2nd, 2011
2010. My Fav quilt tops of the year.
Funky Monkey – Monkey’n Round Fabric line by Moda. The pattern is an enlarged version of Hullabaloo. They are sock monkeys! I think the finished size was 62″ x 62″.
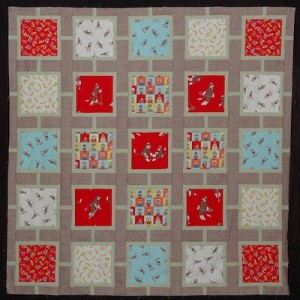
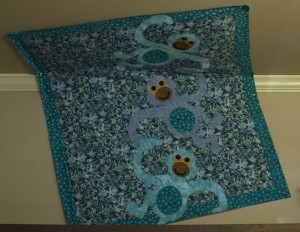
And my second fav is another monkey quilt. Pattern by Blue Meadow Designs, Monkey Business Baby Quilt, Finished size: 38″ x 47″. This quilt reminds me of the old Barrel of Monkeys toy. Do you remember the red plastic barrel that came full of primary colored monkeys that could hand on each other in a long chain? I think this would be a fun toddler quilt in those colors along with a Barrel of Monkeys. The quilt is hanging in a quilt shop, half on the wall and half on the ceiling, so not the best pic but you get the idea.
Tags: Fabrics and Friends Quilt Shoppe
Posted in Quilting | 1 Comment »
January 1st, 2011
Happy New Year Everyone!
I thought I’d bring in the New Year by giving a little tour of my studio. I am mainly a quilter, which shows up here! Over the past couple of years I’ve played with some fiber art and this year I’ve signed up for Mary Ann Moss’ Remains of the Day on-line class. Find info for her classes on her blog, Dispatch From LA. I’m so excited about taking her class! I’m also joining Julie of Balzer Designs for her Art Journal Every Day project. I’ve signed up for January and will consider doing so one month at a time. This year will find me dabbling in art journaling. I’ve seen many bloggers proclaiming “I am an Artist!” Don’t think I’m there yet, but hope to be able to proclaim that one day!
Enjoy the tour!
My studio is in a former bedroom with built-in bunk beds, two built-in desks and one dresser. As you walk down a long hallway here is the view into the room.
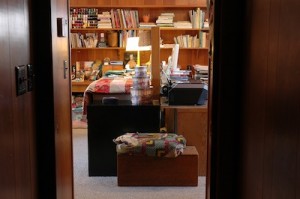
I’ve divided the 14′ x 24′ room in half with an office partition. As you enter the room, on the right is the ‘office’ area. The computer table backs the partition. The bunk beds on this side of the room serve as a daybed on the bottom, (great for late night computer movie watching) and the top bunk is storage for fabric and supplies for commissioned quilts waiting my attention.
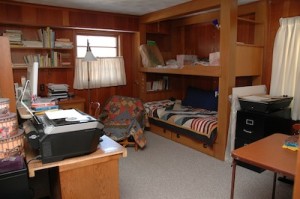
As you look to the left, this is my sewing area. My cutting table/cabinet is backed up against the partition (I’ll show another angle of it later in this post.) Here you see the sewing machine on a desk, and shelves with quilt books, thread rack, misc love items. The most recently completed quilt top hangs at the bunk beds and nicely covers up a jumble of supplies!
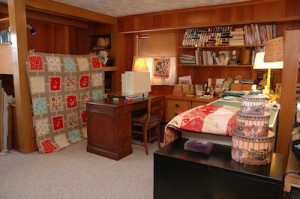
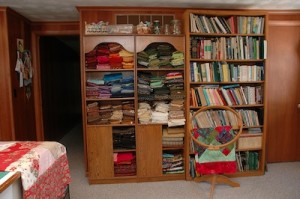
Moving on around the room to the left of the bunk beds, is the ironing board (not in photo) at a back window (where I can watch the wildlife activity in the back yard). Just to the left of the window is a walk-in closest used mostly by my husband and housing some of my batting, you can just see the closet door on the right of the photo. Then there are two book cases, the books are my hubby’s and the fabric collection is mine! (The dark hallway on left is our starting point of the tour. Photo taken looking back across room from where the sewing machine is located.)
Standing at the ironing board and looking across the room, you can see the large white cabinet in front of the office partition. The cabinet top is my cutting area. Perfect height for me! Love it! I was able to purchase the cabinet from a quilt shop that went out of business. File cabinets hold patterns, etc.
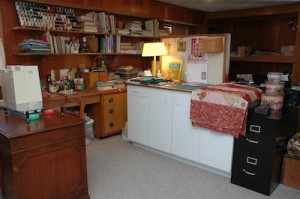
Tis the end of the tour! Hope you enjoyed it!
Tags: Studio Tour
Posted in Quilting | 3 Comments »
December 20th, 2010
Panels. Some quilters love them. Some quilters avoid them with a passion! I suppose they do come in handy for whipping up a charity quilt, or to make a quick baby quilt. I was recently challenged to come up with a variety of designs for a pile of panels. So take a look for yourself and let me know what you think. Do you like panels? Do you ever use them for a quick gift? Do any of these inspire you to use them, if they have been something you have avoided? I’m just wondering and would love your feedback. These are all now hanging in a quilt shop, so the photos are not the best. I just didn’t think to take pictures of them while I still had them at home!
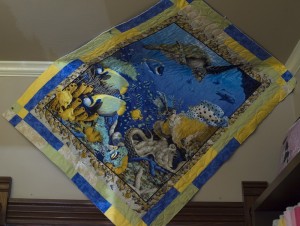
Strip piecing around the panel with four patches in the corners.
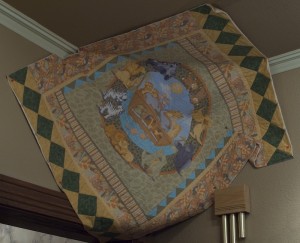
Noah’s Ark, using coordinating fabrics around the panel and then pieced diamonds top and bottom.
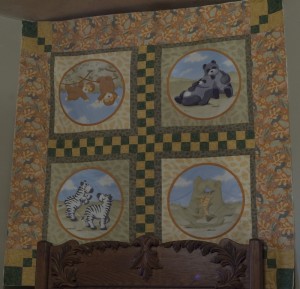
Noah’s Ark, pillow panel. Cut into fourths, and checker board piecing separating the panels, coordinating fabric for the borders, with 4-patch in a 4-patch in the corners.
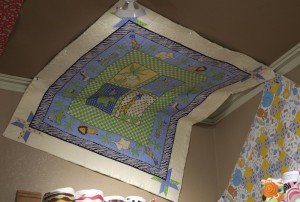
Not easy to see this one, but star blocks in the corners from coordinating fabrics. Jungle panel.
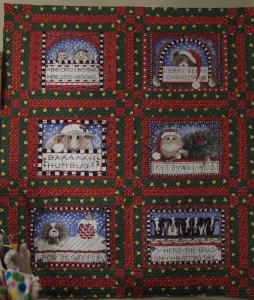
Christmas puns! Pillow panels say: Here comes Santa Paws, Merry Beary Christmas, Baaaa Humbug!, Kitty Klaus, Up on a Woof Top, and I Herd the Bells on Christmas Day. I cut the pillow apart and pieced in sashing with corner stone 9-patches.
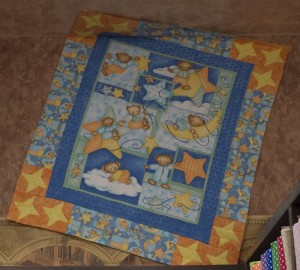
This sweet bear panel is a soft flannel and makes a nice baby quilt. I added the blue border and then the pieced stars in the corners and used a coordinating print for the outer border.
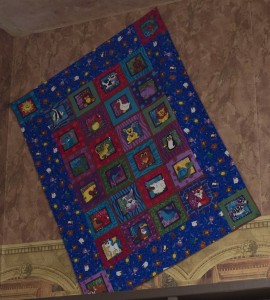
Alphabet panel. I cut the bottom row into four squares and placed them in the corners with a coordinating print for the border. Simple as it gets!
There are a few more, but tis all for now. Hope you enjoyed the show and tell!
Tags: Fabrics and Friends Quilt Shoppe, Panels
Posted in Quilting | 1 Comment »


