Playing with Flange Bindings
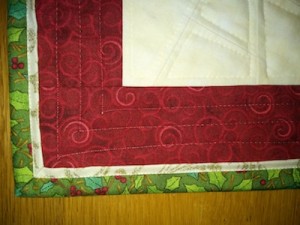
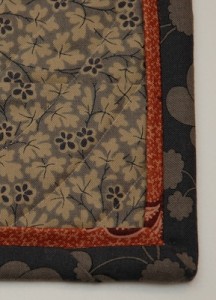
Tuesday, December 3rd, 2013I’ve been seeing posts on Pinterest lately about a binding method gals are calling a Faux Flange Binding. Some of the first links I followed didn’t give instructions. Playing around with dimensions, I came up with a size I like for a finished binding and flange. I’m calling this technique an “All-In-One Flange Binding” because it is not a faux flange – it really is a flange! And the technique combines the flange and binding together.
Here’s how I made the All-In-One Flange Binding -
Materials Needed
Two fabrics to coordinate with your finished quilted quilt top.
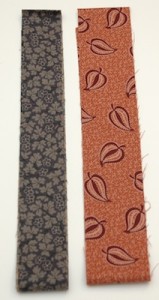
One fabric is for the binding, strips cut at 1 1/2” wide.
Coordinating fabric for the flange, strips cut at 2” wide.
(Instructions do not include yardage needed for binding. Consult your favorite binding chart or app for yardage needed.)
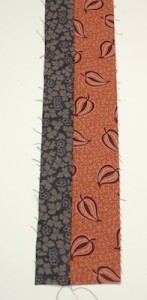
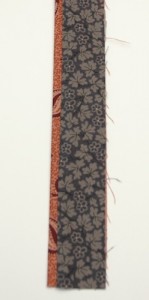
Sew together the binding strip and the flange strip, side-by-side using a 1/4” seam allowance to make one long continuous strip. Press seam allowance towards darker fabric.
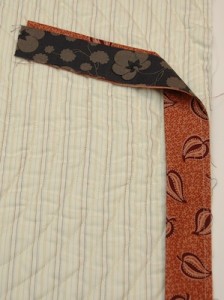
On the front of the quilt, press binding towards front of quilt, covering seam allowance. There will be about 1/2″ of binding fabric showing on the front with a 1/4″ flange.
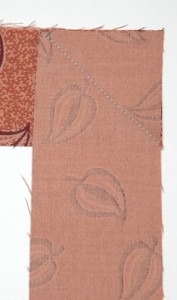
Press a miter at each corner. Pin if necessary to hold binding in place.
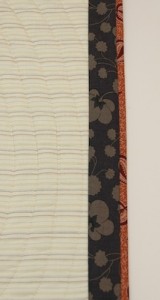
Stitch in-the-ditch between the binding fabric and the flange fabric with thread coordinating with the flange fabric. (I used a rust for the top thread to match the flange, and a cream in the bobbin to match the quilt back.)
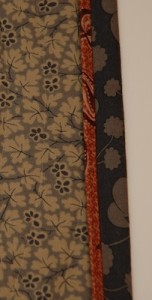
You will have about a 1/2” of binding fabric and a 1/4” flange showing on the front of your quilt.
Your quilt is complete with a flange to add a nice pop to your quilt! And it was all machine sewn! Quick and easy!
