Wrapping up January 2017 & a Label Making Tutorial
I do like it when my plans for the week come together. And, actually, January has been a pretty good start to the New Year.
Last week I listed the following on my To-Do-Tuesday list
- Sew back for son’s quilt. ✔️
- Finish center sofa cushion. ✔️
- Working on Leah Day’s 2016 BOM. ✔️
1. The back for my son’s quilt is all sewn together and the batting purchased. I even used an extra block to make a label which is sewn into the back.
How about a little Label Making Tutorial for those that do not have alphabet embroidery on their sewing machines?
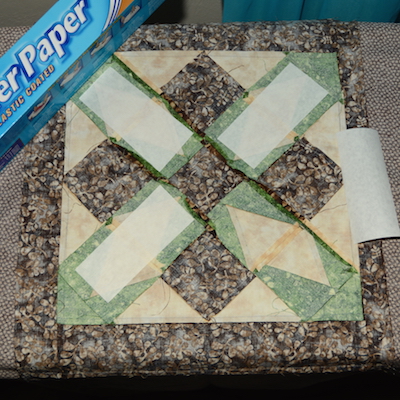
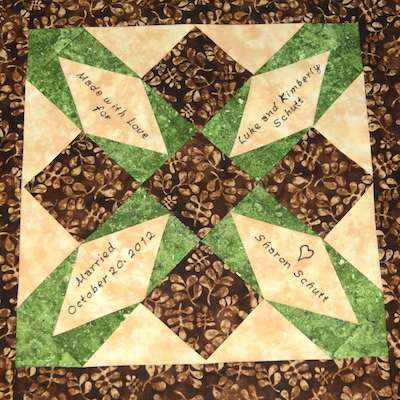
Here is the extra block I used to make a label.
I had to figure out wording that would fit into the cream diamond shapes.
But first, the block needed some prepping.
On the back of the block I ironed on Reynolds Freezer Paper with a hot dry iron. Shiny side will adhere to fabric.
The freezer paper will give stability to the fabric, keeping it from shifting while writing on the fabric with a fabric marker.
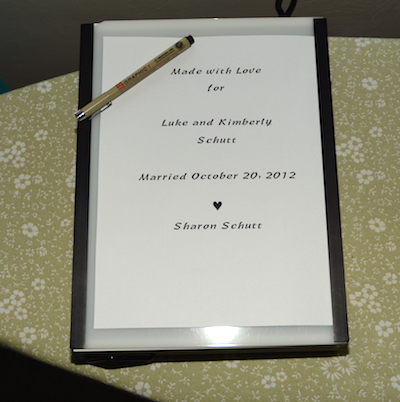
Since I do not have the best handwriting, I used a light box to trace the wording.
I selected a font on the computer and figured out what I wanted to document, and printed out the label spaced for the area I had available in the block. I used font Symbol, size 36, printed Bold for the label. (above)
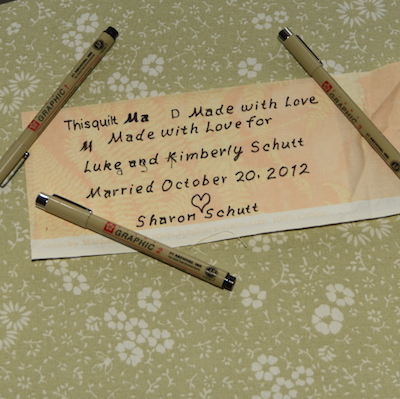
Often, I will practice with different size pens to find what is right for the label.
For this label I used Pigma Pen Graphic #1.
Here the light box is on, the printed label is under the block, and the words are being traced.
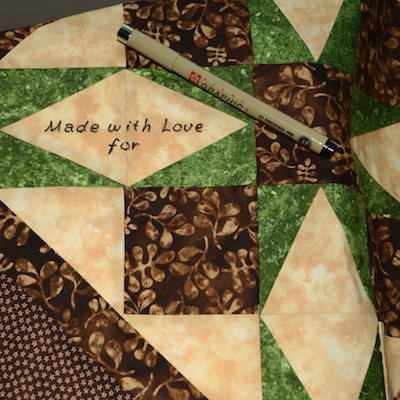
Once words were traced, I removed the block from the light table and used a press cloth, pressed the writing with a hot dry iron to set the ink into the fabric. Remove the freezer paper and the label block is complete! (Did you notice the date 2012? Yes, I’m that far behind in getting the quilt completed for my son and DIL.)
Now, Back to my other finishes for the week!
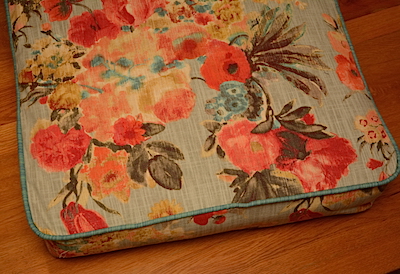
2. I finished the center sofa cushion cover. It just took me a while to get to the store to buy more zippers, which was my only hold up on finishing the cushion cover.
I think covering the cushions will actually be the easiest part of the whole slip cover making process!
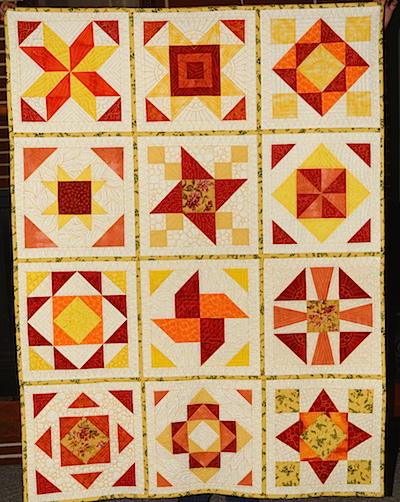
3. My version of Leah Day’s 2016 Machine Quilting Block Party is complete!
I’m happy with how it turned out.
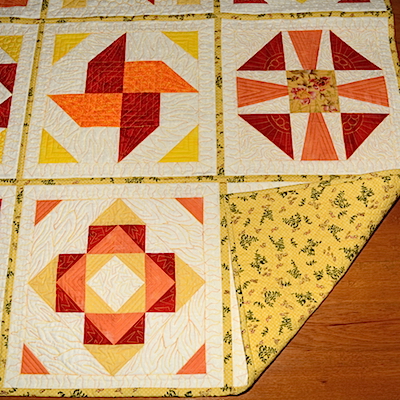
The backing is the same yellow print as the sashing and binding. Leah has a new BOM for 2017, but I’m not particapating this year.
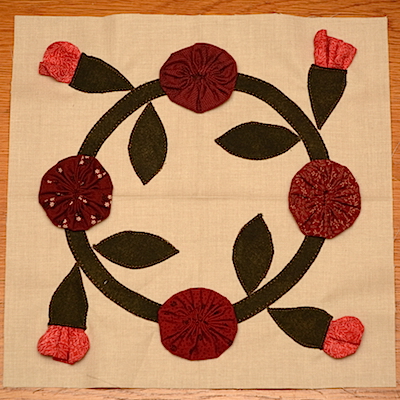
I’ve decided to follow along with the Facebook group Sit Down Free Motion Quilters and their BOM. Yesterday I finished the block for January.
This BOM will have a mix of pieced and appliqué blocks with the free motion quilting part starting up later this year. Jeanne Harrison has posted videos on youtube for constructing this block, and also has many other videos on free motion quilting. Check out Facebook to join the group!
As this month comes to an end, it is time to think of a new goal for the month of February to link to Elm Street Quilts One Monthly Goal. You can see the goal I achieved for January here. I’ll be posting my new goal later this week.
2017 has started out well for me with my quilting and sewing goals. I have 2 finished quilts, a new BOM under way, baby steps on the slip cover, all are putting a smile on my face!
How about you, has January been a successful month?
Now for my weekly To-Do Tuesday List :
- Next step in sofa slip cover. Buy muslin to sew up 3 pillows covers.
- I have so many things I want to get to – I’m a little overwhelmed right now with which to do next! FMQ sampler is one.
- Start a new quilt? or start quilting a finished top?
Tags: Machine Quilting Block Party, Quilt Label Making, Sit Down Free Motion Quilters FB Group


January 31st, 2017 at 14:46
Love the label tutorial, thank you! Yay for finishing the cushion covers, and double yay for your beautiful free motion quilt. That turned out amazing!
I can’t wait to see your new BOM progress. Sounds like a lot of fun! Happy Sewing this week!!