O.K. So Monday and most of Tuesday weren’t the best days for working on the kitchen. Family takes priority. I did get a little bit of work done.
So far on the vents, I have made one vent smaller, I have torn out two return vents, and I have torn out one supply vent to move it to a different location. Let’s get this puppy done.
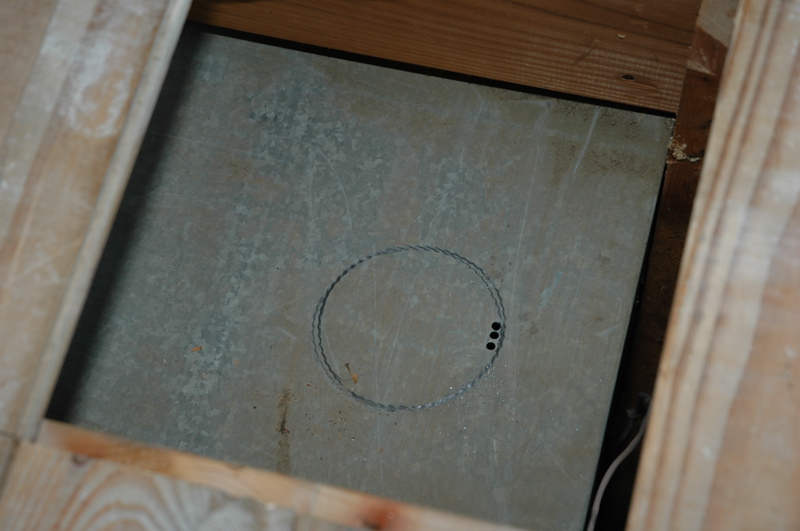
Open up the floor so that I have access to the main supply trunk. Head to the basement to try to fit a round peg (5 foot of ductwork) into a square hole (the space between the floor joists.) Fuss and fume because it won’t fit. Do some serious bending to the pipe to persuade it to fit. Hope that it snaps together when the time comes. Go back upstaris to turn the air conditioning off. Bore holes in the main supply so that I can use my Sawzall. (As with any of the pictures on my blog, click on the thumbnail to see the larger picture.)
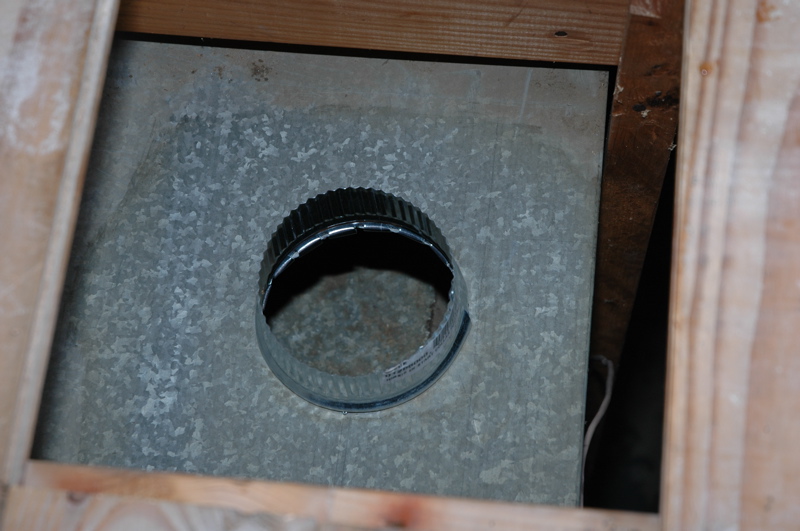
Cut out the hole. Insert the starter piece. Bend all those tabs “under” to fasten it to the main supply trunk. Hmmm… If only there was a product to seal ducts… some type of tape… hmmm… someone ought to make something like this… they could call it “duct tape.” Oh, yea! They do make such a beast. Call my son, the duct tape professional (he actally has a t-shirt that says this) to seal the opening. Add the damper vent. (It’s recycled, so it’s dirty.)

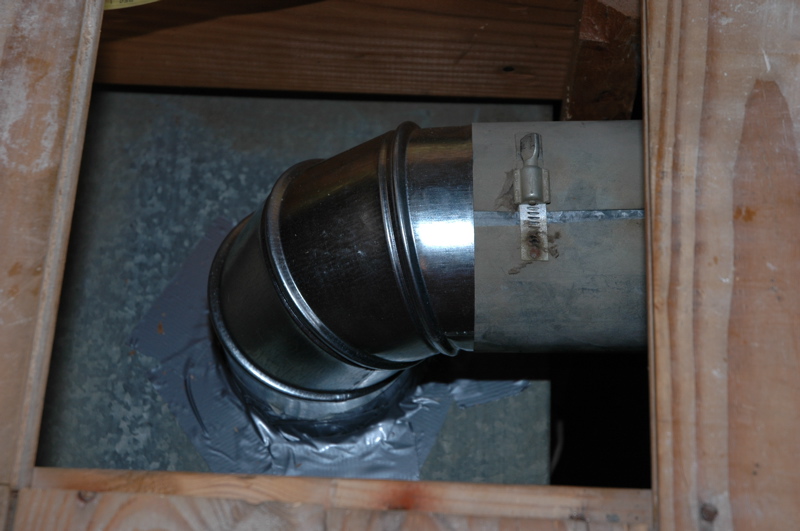
Head to the basement to snap the vent together into a pipe. Fuss and fume again because this doesn’t go so well. Finally get the job done. Connect the 90 angle to the end of run, beneath where the new cabinet will be placed.
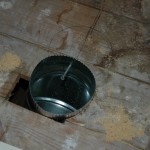
Ta-dah! One more task done.
Here is what the kitchen looks like now:
Images (L -> R):

It sometimes seems that half of my remodeling time is spent shopping. This was that week. Here’s a summary:
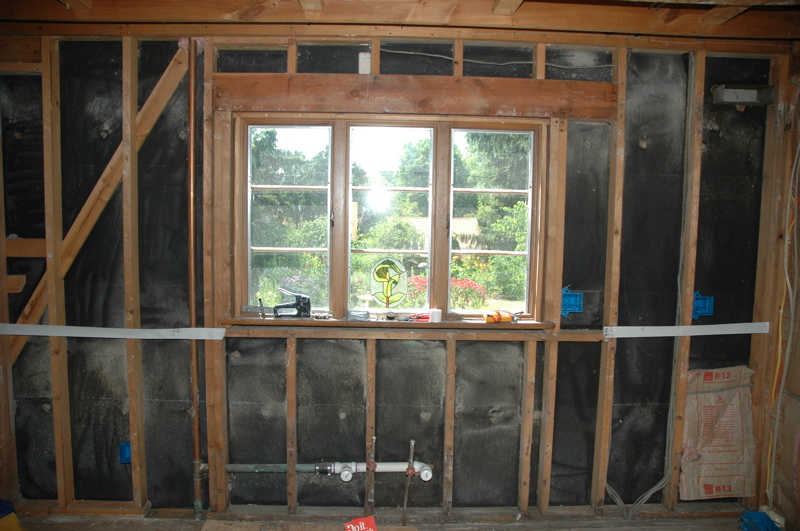
7/3 Order a replacement window from Brueggemann Lumber Do-it-Best. Our old window was a three section casement window. The new window will be a bit smaller at 48″ x 42″. We ordered an Anderson casement double window with prairie grille. Aden had just put in a window order yesterday. Our order will not be put in for a while. It will arrive at the end of July.
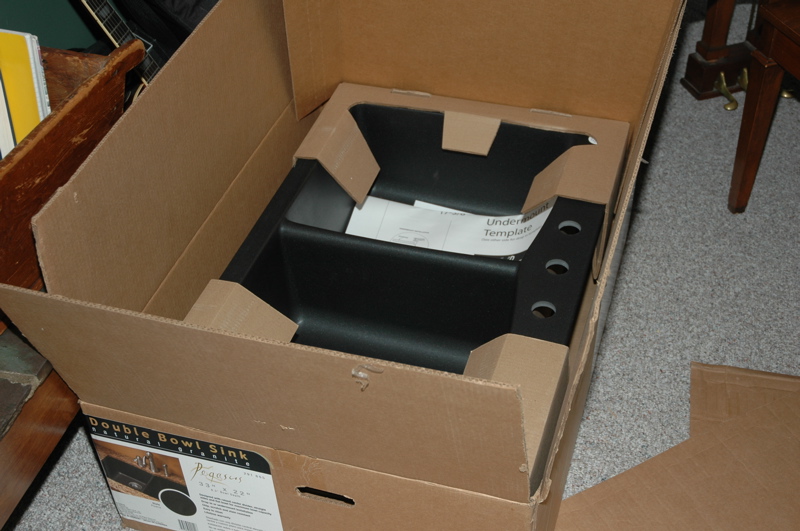
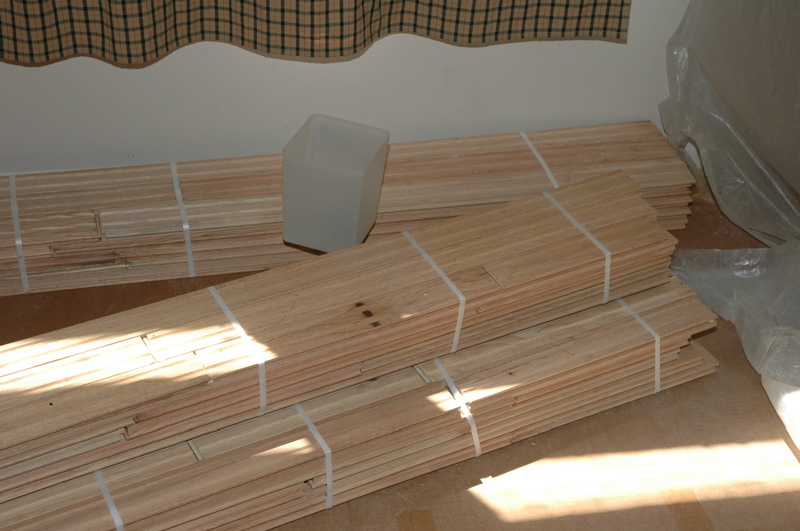
7/4 Buy new “granite” sink  , unfinished flooring
 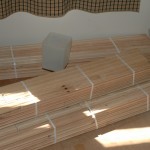 , and wiring material from The Home Depot. Man! Copper sure has increased in price since the last time that I bought wire.
7/5 Look at lighting at All-Phase Electric. Buy another electric box from The Home Depot.
7/7 Buy plumbing parts from Menard.
Oh yea, I put hoses, calipers, rotors, and brake pads on my friend’s other car.
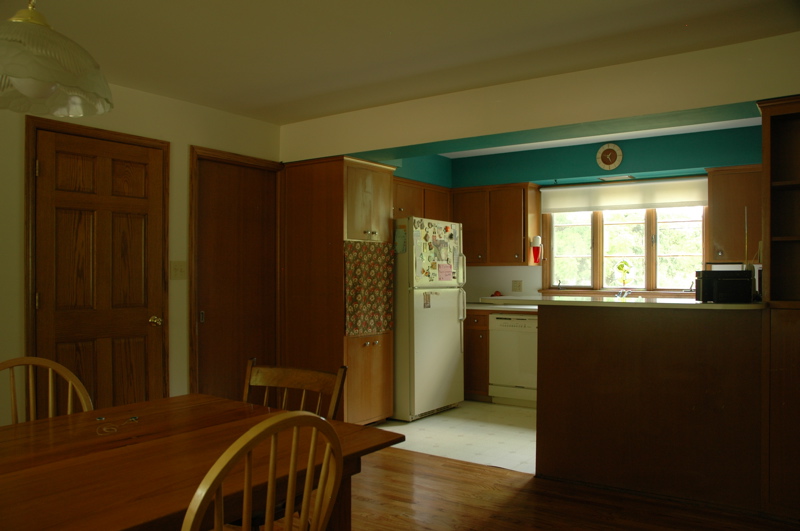
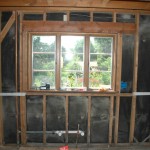
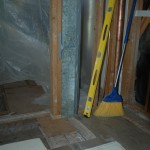
Look at the old south wall.

Here’s the opposite side to that door (with Sharon.)

(Ignore the big hole in the ceiling. Did I mention that my shower leaked? Forget the dark spot next to it where my sink sometimes leaks. This room will be gutted and remodeled next. That window to the left will be turned into a double French door with a view to my gardens in the back yard. The area on the right will have bookshelves and a desk.)
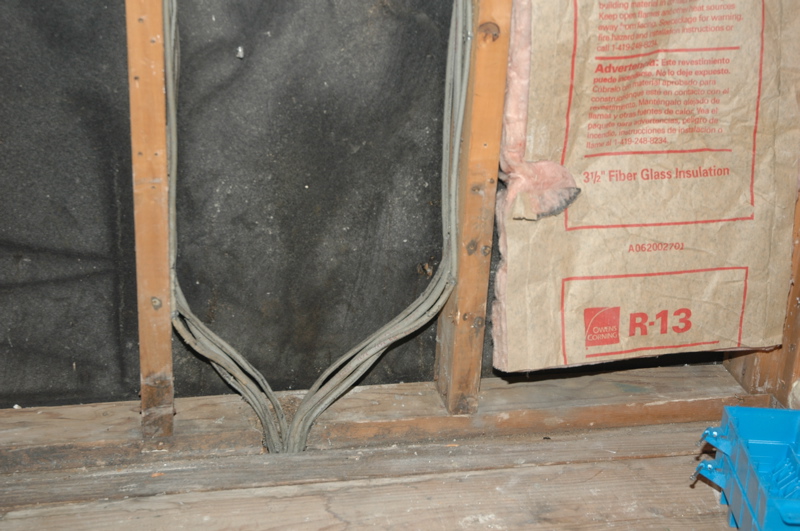
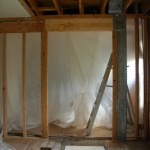
At the left of the first picture, you’ll see my nice new door that goes to my newly remodeled basement. See that second, plain door? It’s a pocket door. It slides to the right to the area behind the old wall stove. That door’s gotta go. See the refrigerator? Lurking behind the wall is a vent that goes up to my bathroom. (Yea… the same bathroom with the once leaky shower and the sometimes leaky sink.) One of the problems with remodeling is that you never know what is behind a wall until you tear it out. Well, I guess that I could have looked more carefully in the basement. I would have seen the vent.
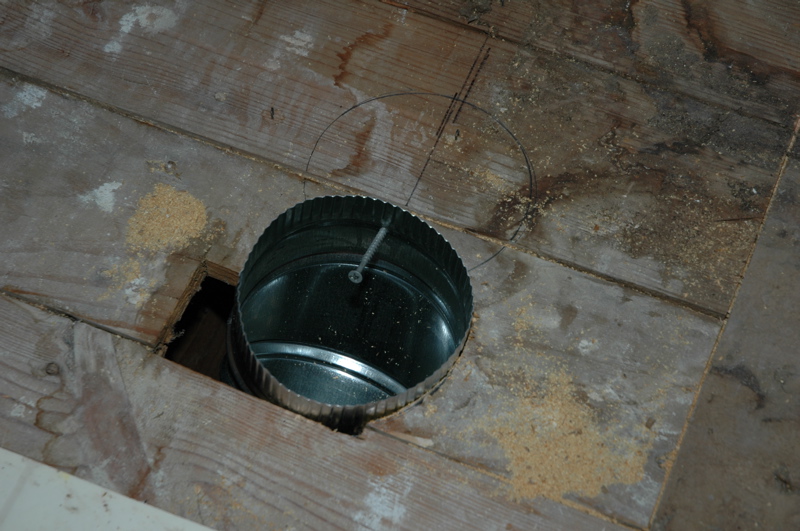
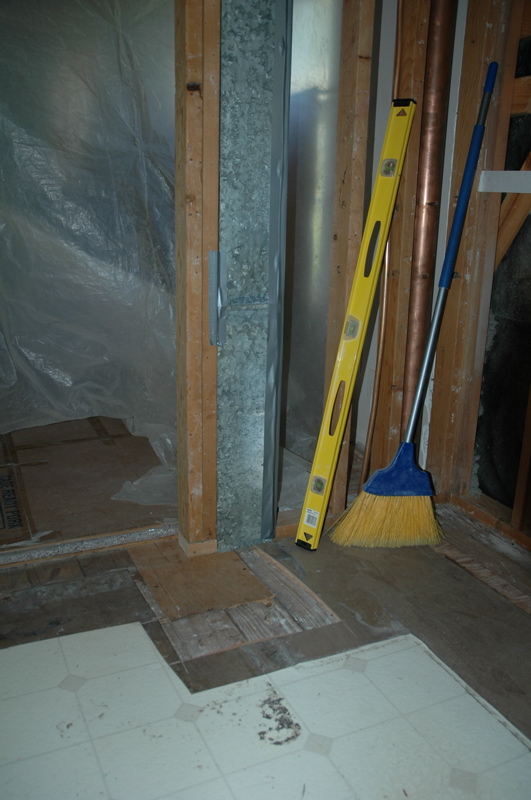
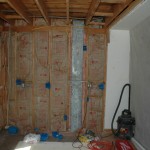
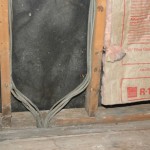
The plaster is out. Shucks. There’s a vent there. (You knew that already.) It’s 3 1/4″ by 10″. The pipe feeding it is only 5″ Time to look a the blueprints to see the location of the new doorway. Double shucks. The vent is in the way. What to do…? Ah, hah! If I cut the vent down to 3 1/2″ x 5 1/2″, I’ll be able to make it fit and I’ll have almost the same area for air flow.
Bottom line? Sure up the floor over part of the old vent opening, install a new floor, frame in the new opening, and cut the old vent to make it fit the new space.
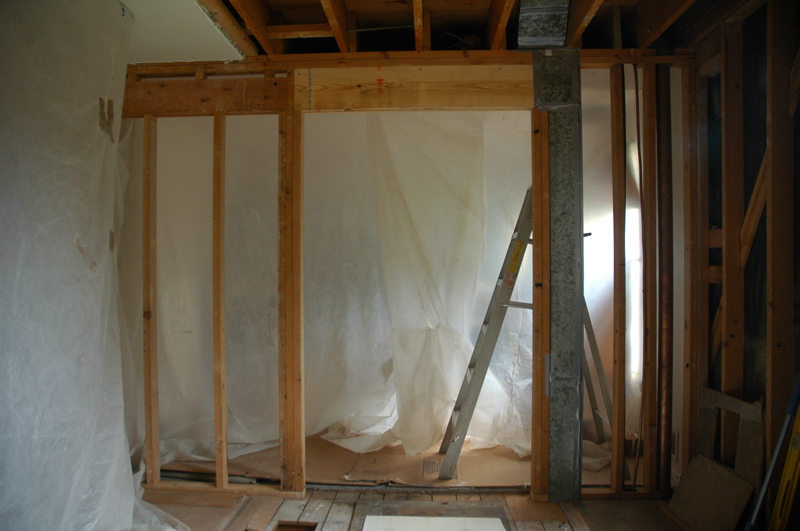
Images (L -> R):
- New floor covering part of the old vent space.
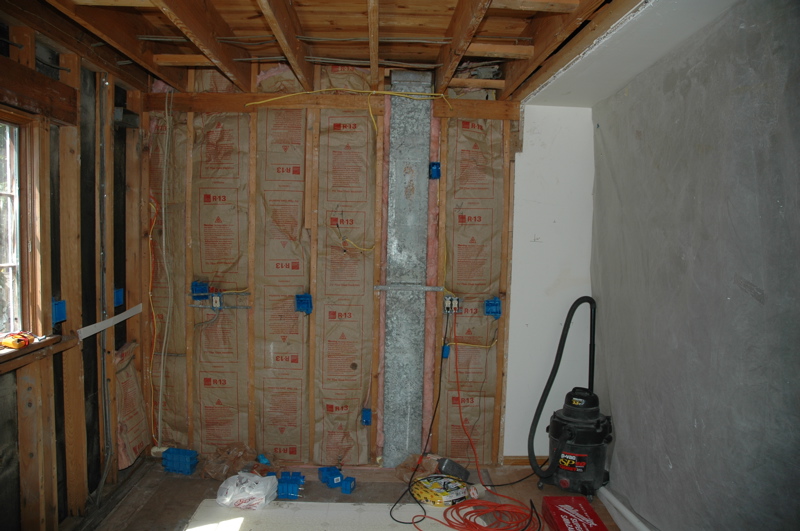
To tell the truth, I’ve been waiting to rip out the kitchen walls for some time. I wanted to get to the old wiring. A few years ago, I paid an electrician to replace my old “push button” breakers to modern breakers. They installed a 200 Amp box at that same time. What they did not do is to identify the new circuits. Furthermore, most of the wires in my house run into the breaker box through a single conduit. Individual wire cables had been “stripped” so that it was impossible to tell which “hot,” “white,” ground wires went together.
When I remodeled the dining area a couple of years ago, I also had to tear out most of one wall and part of the ceiling of our adjacent garage so that I could get to the wiring. It was at that time that I found out that I could not tear out the old wires. I had to leave some circuits cut, but live in electric boxes in the wall. I desperately wanted to tidy up this electric clutter. Today I was able to cut out the old, unused wiring. The picture below shows the results after I tore out five circuits.
I really don’t like tearing out plaster. Really…
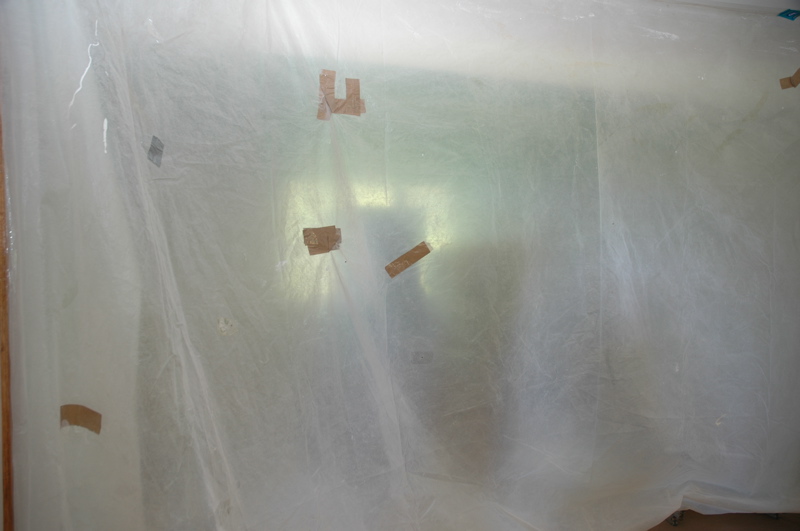
6/20 Start by going to Kroger to get lots of banana boxes. Enclose the whole kitchen area in plastic. Packaging tape works well. Supplement it with staples put through cereal box cardboard. Tie a bandana over your head and put a good respirator over your face. The respirator will keep you from blowing black crud out of your nose for the next three days. Rip out any remaining trim. Bang a hole in the wall with your hammer. Grab the plaster and pull hard. Try to get big chunks of plaster. This saves a lot of cleanup time. Get someone to carry those filled boxes out of the work area.
These days, people use paper tape to tape the seams between pieces of drywall. In the olden days, they used steel “tape” between seams. There are a lot of seams between the surfaces of cabinet soffit. They are all edged with steel edging. Man they used a lot of it.
6/21 Rip out more plaster.
6/22 Rip out the last of the plaster from those areas on the soffit that you have been avoiding.
6/23,25 Replace hoses, calipers, rotors, brake pads, ball joint, and a CV axle on a friend’s car.
6/25 Rip out the wood in the headers.
Man I dislike tearing out plaster walls…
Images (L -> R)
- Plastic sheeting encloses the remodeling area.
- One tired and sore camper.


This morning, we went shopping for a new dishwasher. GE has put a recall out on our old one and is giving customers a rebate on the purchase of a new one. I usually buy my appliances at Elwood’s Appliances. The owner, Mike, is married to Janet who worked with me. Their son Ben now owns the store. They get good buys on scratch-and-dent items. That makes appliances more affordable for me.
It ends up that Sharon reminded me that our 20+ year old microwave is dying. We ended up putting a deposit on a new GE over-the-stove, convection microwave.
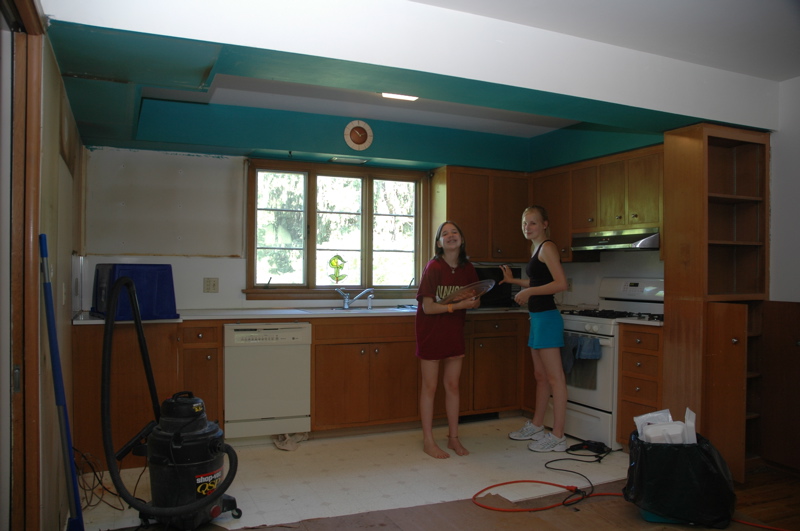
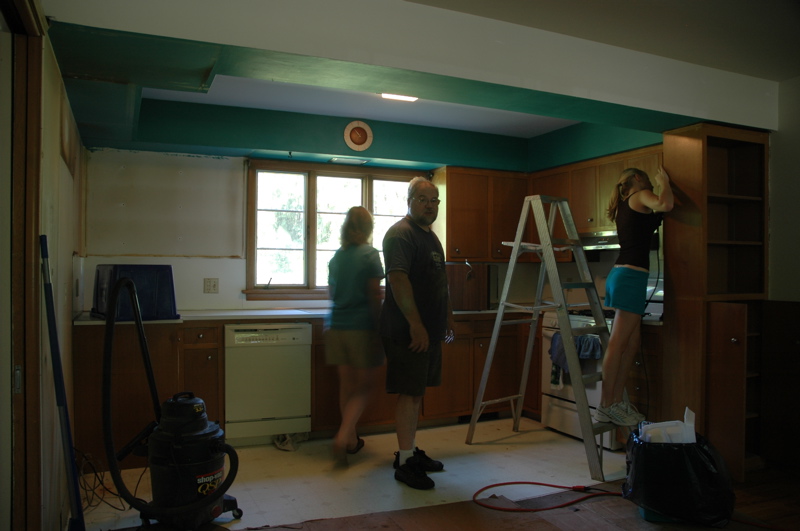
The rest of the cabinets came out today. Thanks goes out to Anna and Charis for their help.

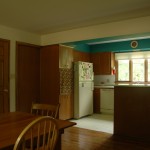
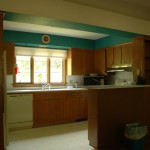
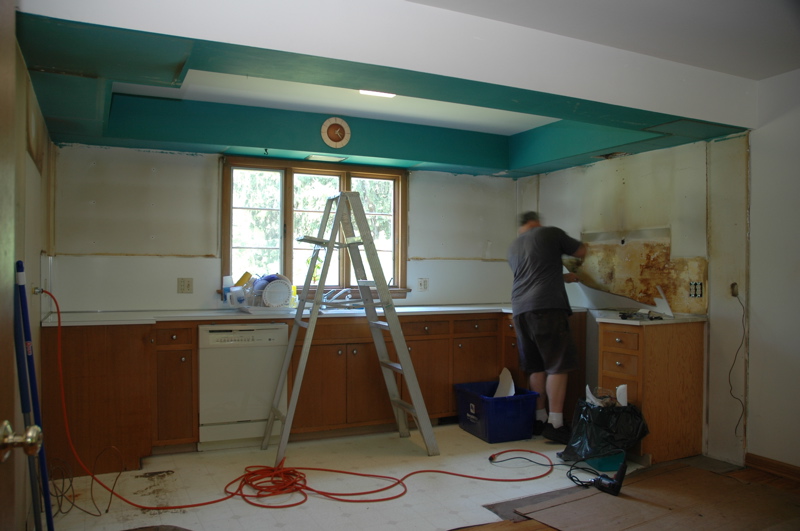
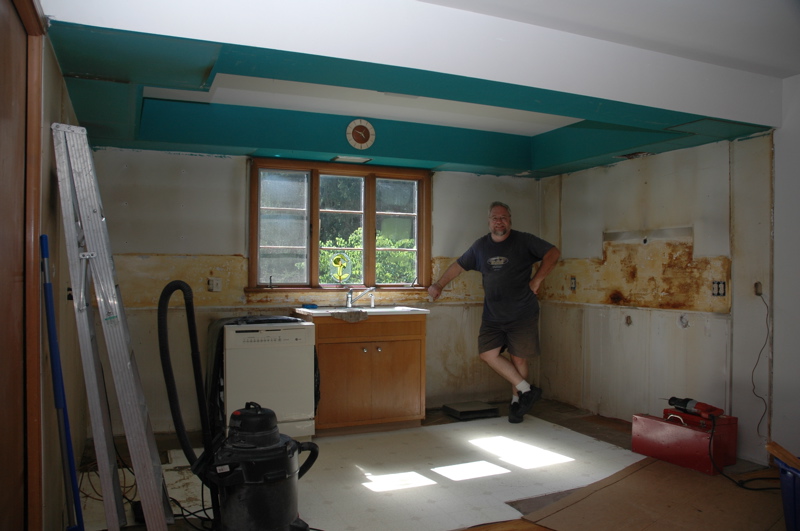
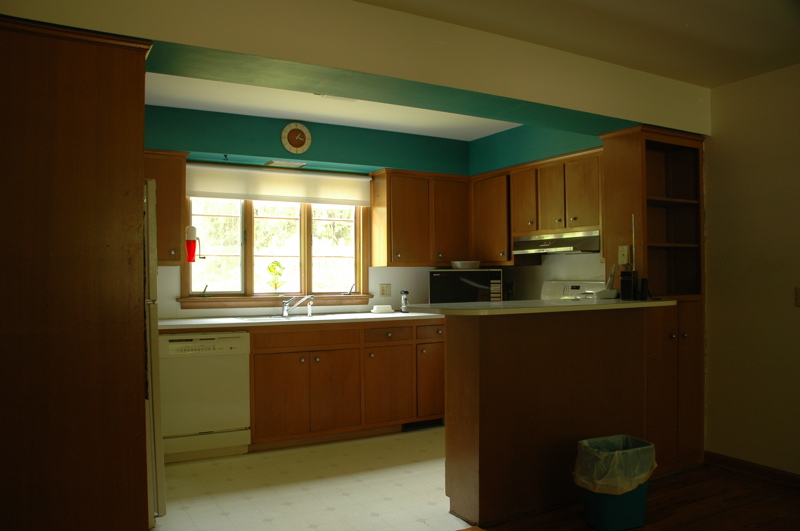
When we bought our current house, my dear wife Sharon said that she would like to have the carpet replaced throughout the house and that she’d like to have a new kitchen. The carpet was replaced during the three weeks of work that we did on the house before we moved in. However, this past spring, Sharon reminded me that I hadn’t yet kept my promise to remodel the kitchen.Actually, I did start to work on the house last year. Our friend, Terry Sordelet, designs house remodels for a living. He had started to work on our kitchen (and “den”) remodel last summer. Now was the time to drag out those preliminary plans and to get together with Terry to finish them. So, during the spring of 2007, we met with Terry to design the new kitchen, to select cabinets, and to select the countertop.But why would I want to go through all this time and expense anyway? Short answer: Happy Wife, Happy Life. Longer answer: We (O.K. Sharon and the kids) spend a lot of time in the kitchen. Here were some problems with the old kitchen:
- The house was built in the late 1950′s. It was/is showing it’s age. The kitchen is small and it had very little countertop. It was frustrating to have two people in the kitchen at one time.
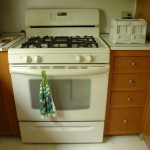
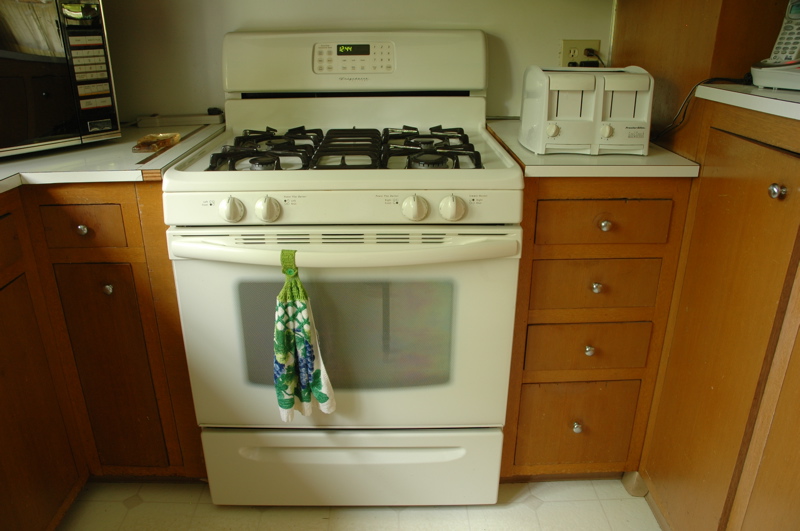
- The old stove was a tiny, wall-mount unit and the door wouldn’t even stay open. (Look at the cloth covered opening on the left of the first picture.) On our 25th anniversary, we splurged and bought a gas range with a convection oven. (Yea. I’m quite the romantic.) I had to modify the kitchen for it. I eliminated the countertop stove, cut out the countertop and cabinets, patch the cabinets to match the new opening, and run a new gas line. If you click on the picture to open it, you’ll see that the countertop and cabinet patches were only temporary.
- You could not open the refrigerator and the dishwasher at the same time.
- Everything in the house smelled like smoke when we moved in. Sharon’s dad covered the inside of the kitchen cabinets with B-I-N to seal the smell.
- Half of the cabinet doors would not close. The hinges were worn out. Don’t get me wrong. These are some cool Soss invisible hinges. I learned about them when I had to replace the (worn out) Soss hinges when I repaired my baby grand piano. But they are also expensive. I would spend a lot of money to replace them.
- The cabinets really were worn out. Look at the first picture. See the steam damage above the old stove opening?
- The cabinet handles would catch on cargo pants pockets and rip them.
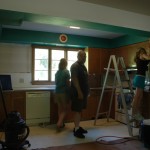
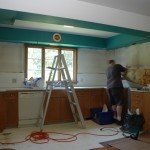
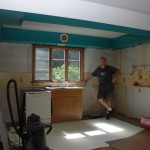
I promised Sharon that as soon as my Summer 1 class was over, I’d start remodeling the kitchen. I went to work today. But tonight, I ripped out the old stove cabinet. The work has begun.
Images (L -> R):
- SW view of old kitchen
- NW view of old kitchen
- New stove in temporary location
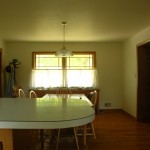
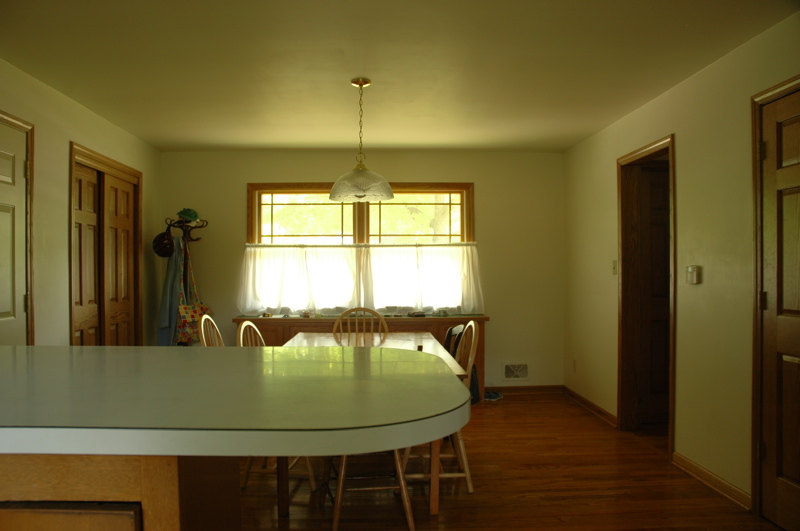
- E view of the dining area. I gutted and remodeled this area several years ago.
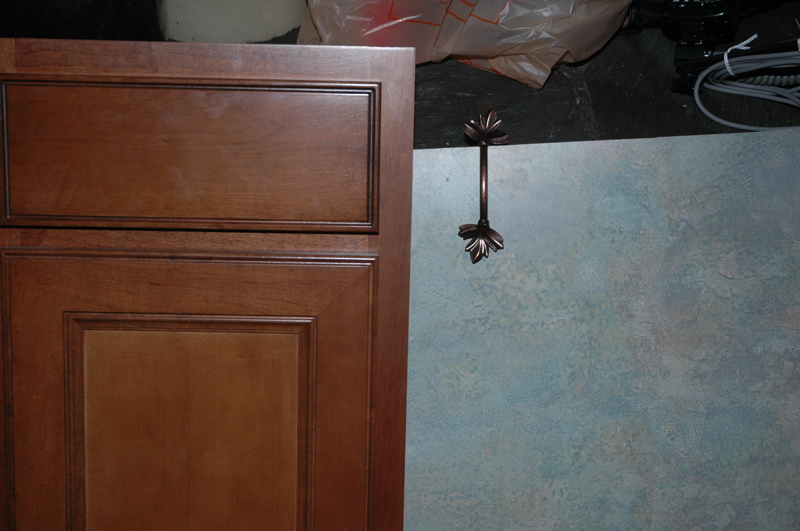
- The new kitchen – a sample door, door pull, and countertop.