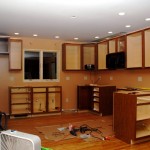
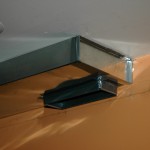
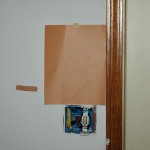
The base cabinets are sitting in the kitchen. I screwed them together today. I have not leveled them nor have I screwed them to the wall. I’ll do that tomorrow. I lost time today trying to find a kickplate vent. After running lots of errands, I ended up modifying and reusing the old one. You can see it beneath the left-most cabinet.
I’m getting there…
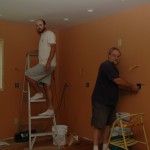
…thanks to help from Sharon, Noel, and Luke. I started out slowly at first. After all, a mistake is pretty costly. This is one of those days where it seems like you have gotten tons of work done.
The “white” strip above the cabinets is a 1″ x 2″ laid on side and nailed to the top of the cabinet. It’s a cleat for the trim that will go to the ceiling.
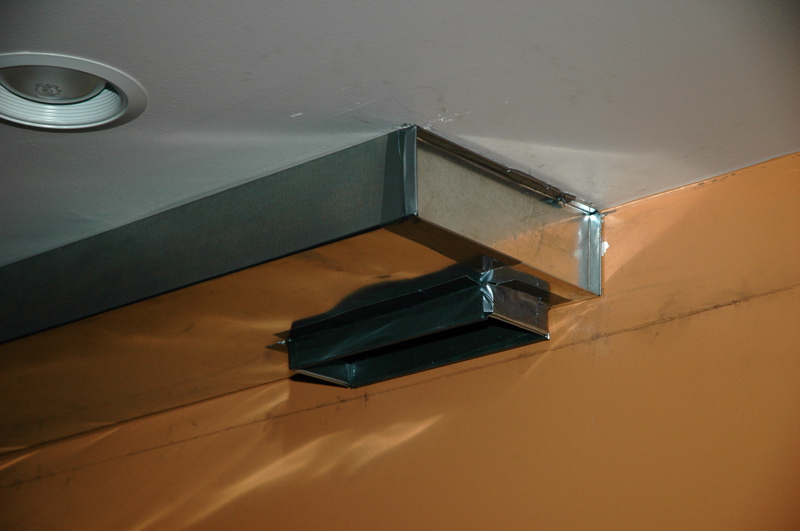
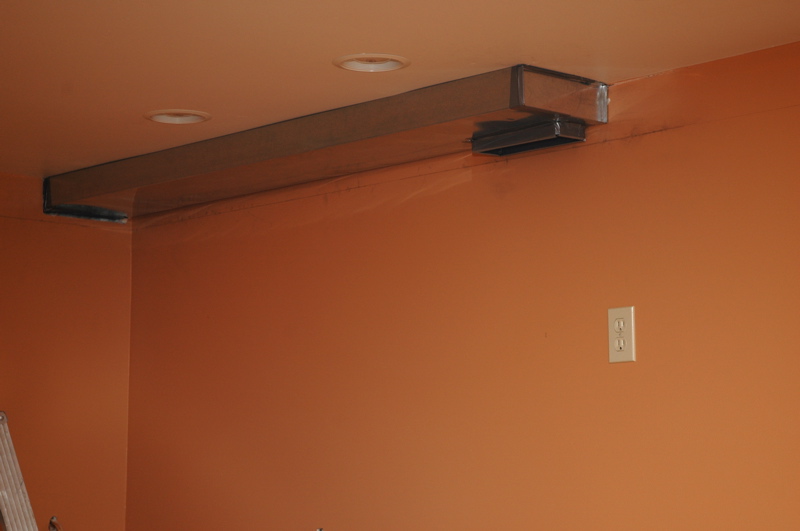
I started working on the microwave vent about 8 this morning. Then I headed out with Noel about 9:30 to the Southwood Park Addition Neighborhood Garage Sale. He’s off to graduate school next week, and we were shopping for bargains for his appartment. The rest of the family joined us around 11 and we got home around 12:30. I then continued working on the vent until about 3:30. You see, no one makes the part that I needed, so I had to improvise making the transition from vertical to horizontal. After this, we went shopping for screws to hold the cabinets together side-by-side. It took forever to find what we needed.
I got the first cabinet in today. I centered it on the opening between. Oh, that’s right… the trim wasn’t in on the right side. Let’s see, before I got the trim in, I had to put the jams in and before I got the jams in, I had to put the floor edge in.
I got the first cabinet in today.
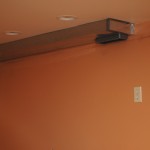
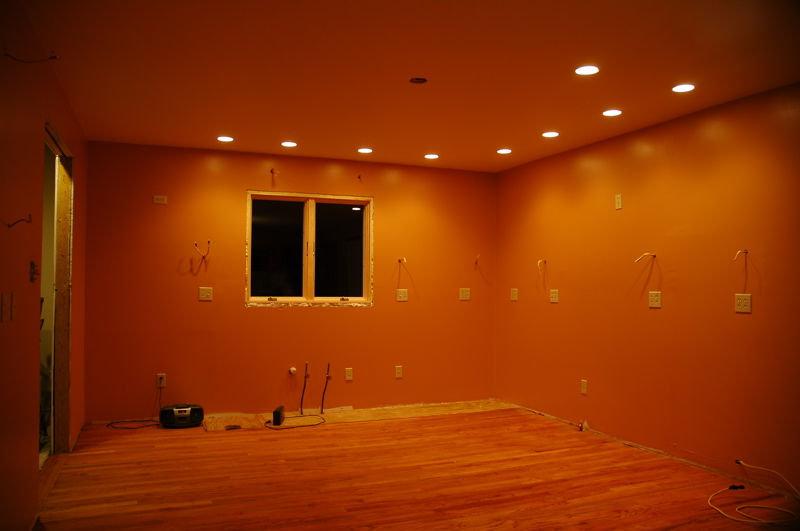
So, I got the lights installed a couple of days ago. The problem is that they showed up my errors in mudding the drywall. Oh, it may not have been a big thing for some folks, but imperfections in mudding show up like burnt toast to me. If the errors had been in a location that was to be covered by cabinets, they would no have been a problem. They weren’t. They were in the space between the countertop and the cabinets.
Find imperfections -> mud -> wait -> mud again -> wait -> sand -> prime -> wait -> paint -> wait -> paint again -> wait.
And what do you do during the -> wait -> part? Here’s what I did:
- Go to Lee’s to cut oak plywood into 4 3/4″ strips that will fit in the opening to “back center” room,
- Sand and prime the wall in the garage,
- Talk to Terry and let him know how the project is going, that you have questions, and tell him that you will be home to help the guy unload the countertop about 1 p.m.,
- Help unload the countertop that came today,
- Go to Elwood’s Appliance to purchase the microwave and to order a dishwasher,
- While at Elwood’s, have your wife show you the $1150 scratch-and-dent gas range that would be really nice to have and that you’d really like to buy for her,
- Read cabinet installation and microwave installation directions,
- Talk to neighbor and loan him tools so that he can trim the bottom off some doors so that they fit under his new tile floor.
- Take one cabinet out of its box to try to install it,
- Realize that you have to build a toe kick under the floor cabinet and you don’t know how Terry wants that done,
- Realize that you have to install the trim around the doorway before you can center the cabinet on the wall,
- Drive to Roethle Lumber to buy 50′ of 3/4″ oak glue strip to finish the edge of the oak plywood for the doorway,
- Cut oak plywood to length, glue oak strip to edge, cut off extra edging, and sand all pieces,
- Realize that even though it’s only 8 p.m., you’re too tired to keep working for an hour or two,
- Write blog entry and expose your flaws to the entire world.
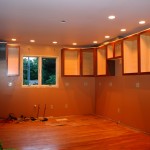
I got the first coat of paint on the walls last Saturday. I wanted to see what it looked like before I painted the dining area as well. Everyone liked it. So, on Monday I painted the first coat of the dining area and the second coat of kitchen. I also took a vacation. Sharon and I went to lunch and to a movie! Yahoo! We also ran some errands. Later in the day, I started some of the finish wiring. On Tuesday, I painted the second coat in the dining area. I then put on the last coat of mud on the garage wall. I also spent a lot of time finishing the wiring. It was exciting to turn four breakers on for the first time. Here are two pictures:
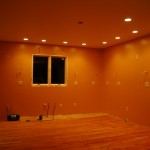
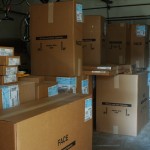
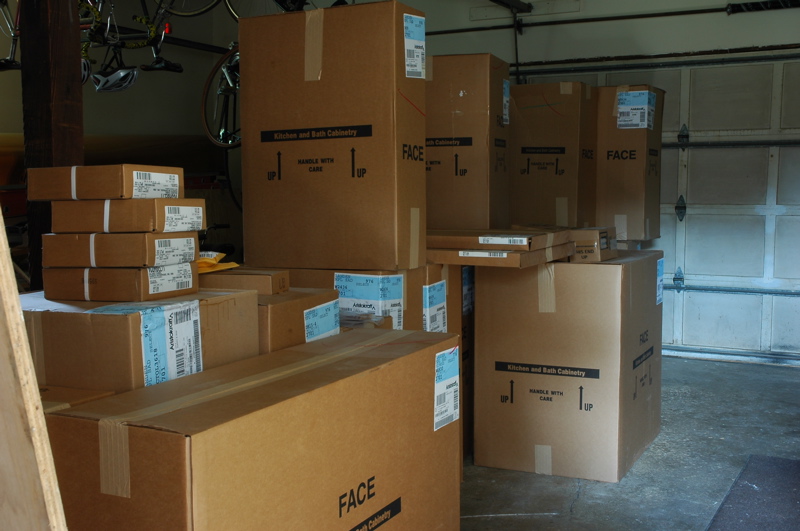
Once the lights were on, I noticed that I had not put enough mud on the joints where the counter is going to be installed. So today, I mudded a section of the kitchen wall again. The cabinets came today and the counter top is supposed to come tomorrow.
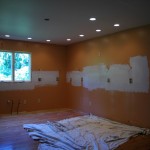
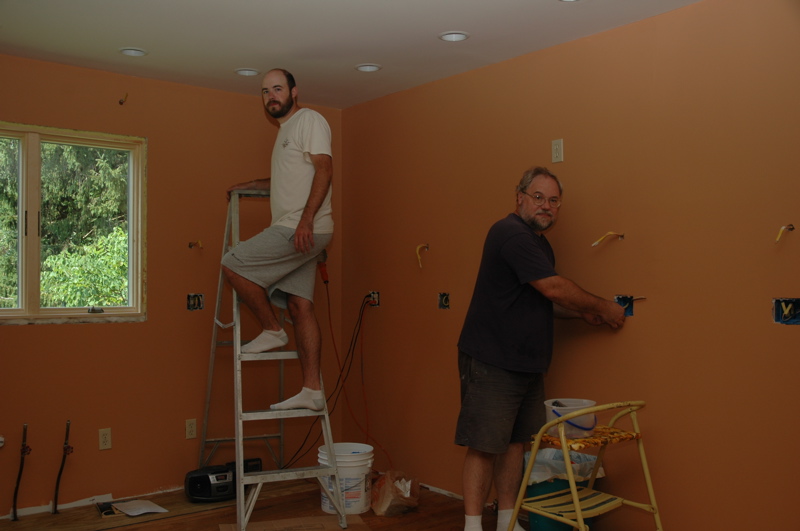
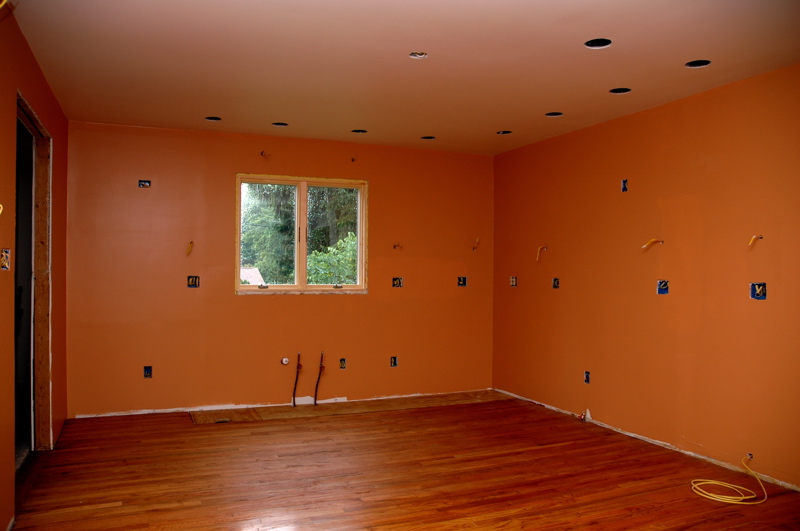
I got the first coat of paint on the walls. I’m not so sure that the color is perfect in this image. I set my camera on automatic white balance. On the right is a picture of the design team of Sharon and Terry.
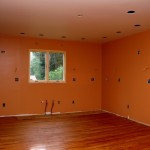

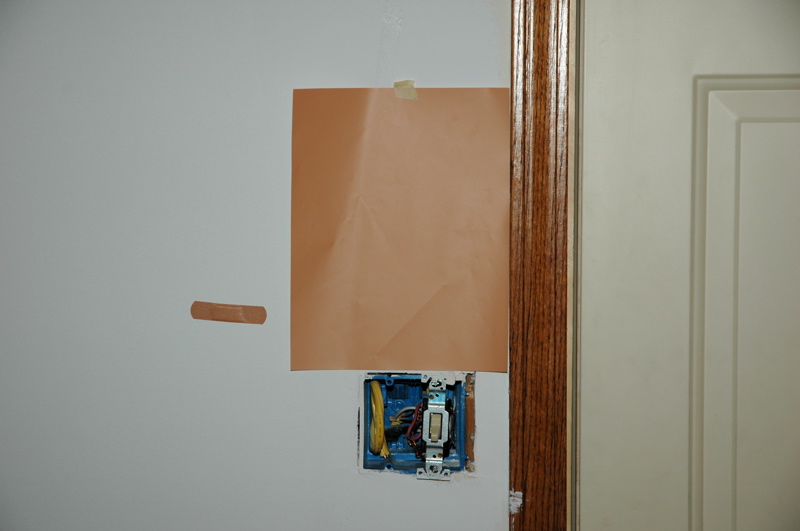
Officially, the paint’s name is “Rustic Adobe.” It’s a Sherwin-Williams color. Sharon and Terry have been working on selecting the wall color for some time. I admit that it does go well with everything else in the kitchen. Terry ordered three 8″ x 10″ samples of the color to tape on the wall for the final color evaluation.
Janelle came home from working at camp this week. She looked at the samples on the wall and said, “That’s the Band-Aid color.” She then decided to get a Band-Aid for comparison and to post it in the wall next to the paint sample. You can see the image below. Ah, you just have to love her creativity. I did. Sharon wasn’t so pleased.
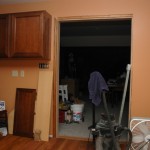
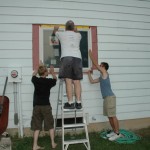
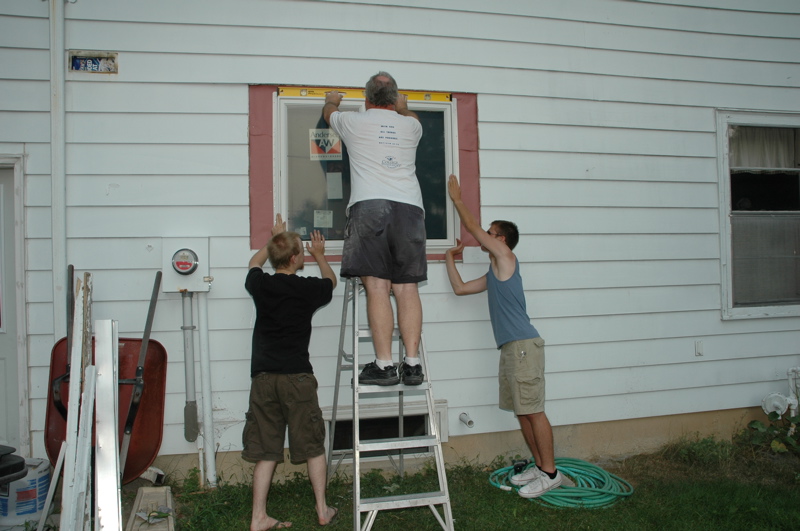
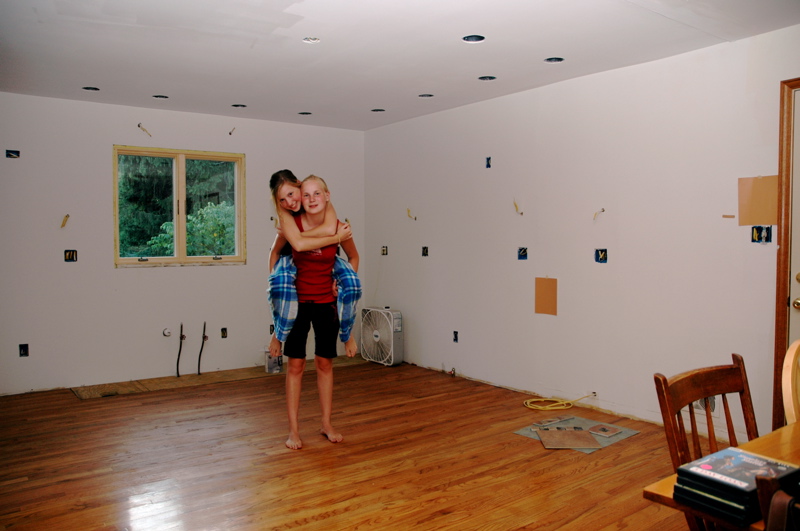
Yes. I did get the window in yesterday. Yes. It was really hot outside.
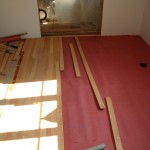
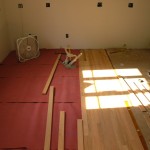
Today was a day of doing “little” things. The largest was to add some 3/4″ plywood to the floor under part of the floor. I also did some mudding in the garage, tore down the plastic “walls,” removed the cardboard that had been protecting the floors, vacuumed the kitchen and garage, touched up some paint in the basement, returned some excess electrical boxes, and painted the kitchen ceiling.
Images: (L -> R) Luke, yours truly, Luke’s friend Adam help install the window. (Noel helped too.) The installed window and floor. Janelle and Anna. (You can also see the plywood and that the plastic is gone.) The new wall color with Janelle’s Band-Aid.
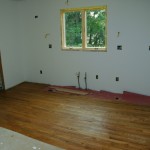

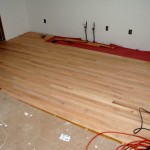
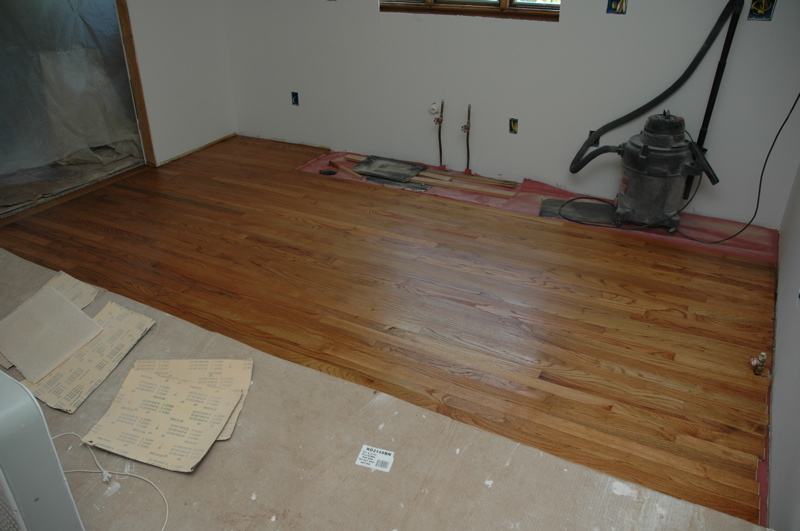
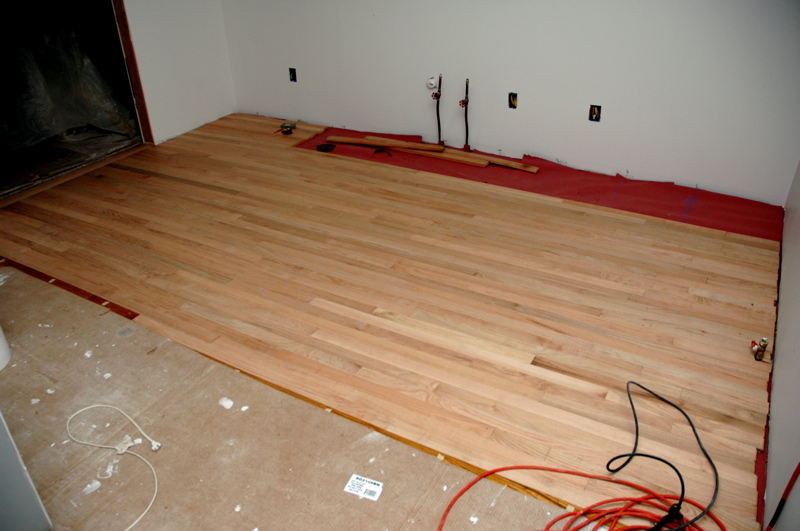
Yeah! I sanded the floor yesterday. Finding the rental place was as difficult as finding nails for the flooring gun on Tuesday. Nonetheless, the floor is installed, sanded, and stained. I’ll put polyurethane on it once the cabinets have been installed.
So what’s next? I could do the window. I picked it up in my wanderings yesterday. However, it may be the hottest day of the year today with an anticipated high of 95.
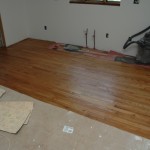
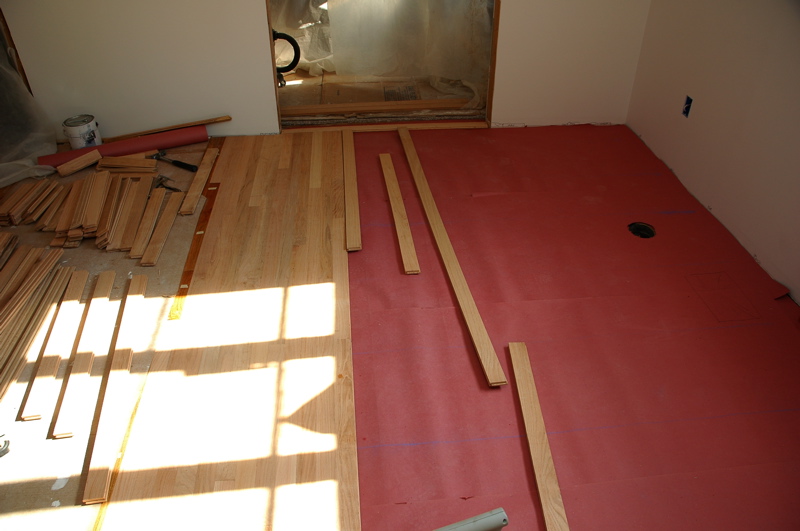
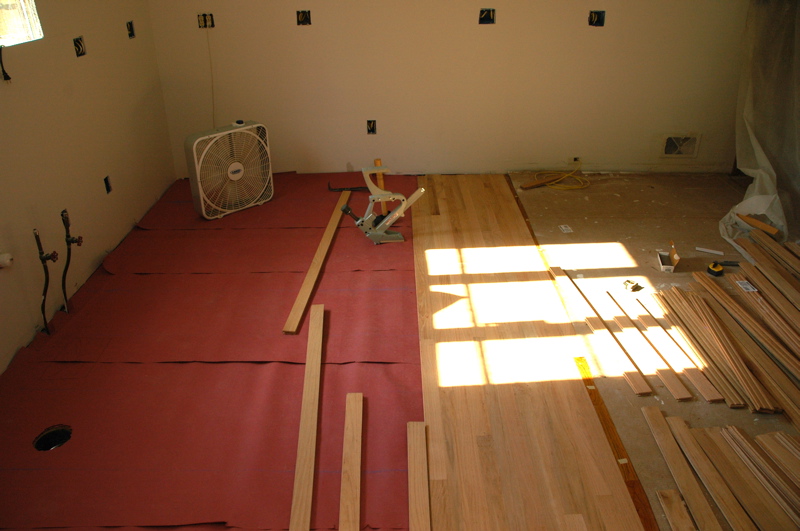
I was going to write a creative post telling about my trials and tribulations about trying to find nails to fit the flooring tool that I rented at the hardware store. I won’t. Suffice it to say that I started the floor about 5 p.m. It’s in. (First, I moved the gas line to the range shortly after noon.) Now I have to sand it, stain it, and, after the cabinets are in, to put on three coats of polyurethane.


