Archive for November, 2014

Happy Story!

Friday, November 28th, 2014

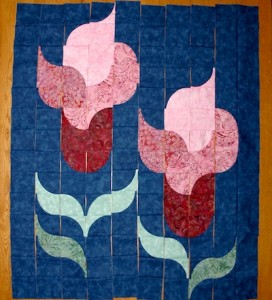
I wrote to Lynne Edwards, the creator of the Creative Grids Corner to Corner Curve Strip Ruler. I inquired about the picture of the blue lily quilt on the Creative Grids website, lovely picture, no pattern. She wrote back saying she would send a copy of her Blue Lily Pattern to me. She gave me permission to use it as long as I give recognition to her. She is so sweet and a very generous quilter!

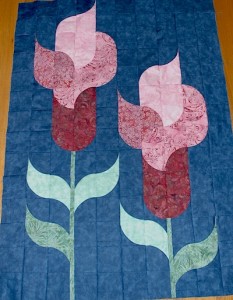
Here is my Pink Lily all sewn together. Flower stems are raw edge applique.

Visit Lynne Edwards website to see her other beautiful designs and a list of her lectures and classes. She has created several rulers for Creative Grids and also has written books, all listed on her website.

I’m linking to Vicki’s Cross the Drunkard’s Path Quilt Along.

Another Drunkard’s Path Design

Friday, November 21st, 2014

Here is just a little something I’m working up. Inspiration from the Creative Grids Rule website, for possibilities on how to use the Curve Strip Ruler.  All the curve units are a variation of Drunkard’s Path units, with the curve going into the corners.

My version so far. Now that I see the photo, I think I’ll make a few more changes.

The quilt posted on the Creative Grids website does not list a pattern, just a picture. I’m trying to locate the pattern/designer, hoping there is one available – so I can purchase it.

Plans are to  return to my regular scheduled Black and White Drunkard’s Path soon. I have some baby items I need to whip up first. This weekend. For a shower Sunday. I’m so behind.

Linking to Vicki Welsh’s Cross the Drunkard’s Path Quilt Along.

Decorative Tote Covers

Thursday, November 20th, 2014

Oldie but goodie. I created this tote cover back in 2010, or there about.
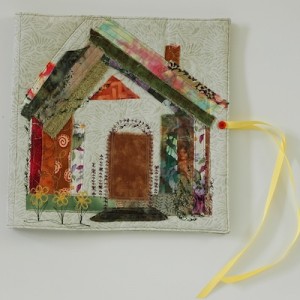
And it has just recently surfaced on Pinterest labeled as ‘uploaded by user’. I thought I should straighten that out and take credit where credit is due. I’m still not sure what to call it, it’s a tote without handles, it’s a cover for storage using ziplock bags. Future plans are to use mesh bags now available to quilters and crafters in place of plastic bags. Anyway, it is a handy little thing that I get lots of compliments on, with gallon and quart size bags for storage on the inside, and good size pockets on the inside front and back covers. I guess it is a ‘journal’ tote with the bags being the pages. I use it to carry around my bits and pieces of hexies in progress. A quilting friend made one for me years ago with a quilt block as the front and no added pockets on the inside. I have no idea where she got the idea from, put it is very handy.

When gals at the quilt shop or retreats see it, they love the front cover. Then when they open it and see the storage, they always want to make one. A class is being planned for early next year, 2015, at Fabrics and Friends Quilt Shoppe in Roanoke, IN. We are just now working up the next class list, so time and dates to be announced.
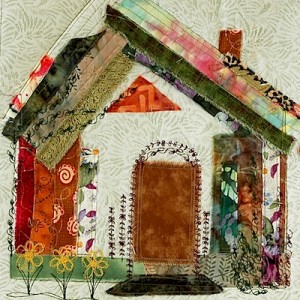
The cover was made with Misty Fuse and scrap fabric, and then machine embellished with free motion quilting and decorative stitches. This is just a house shape I dreamed up,  you can use any design you like for the cover. Have fun being creative with shapes and colors! I’ll show a few more covers at the end of this post.
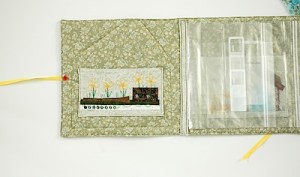
Inside front pocket and Ziplock bags sewn into spine.
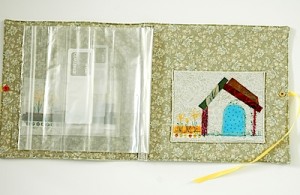
Baggies, and back pocket.
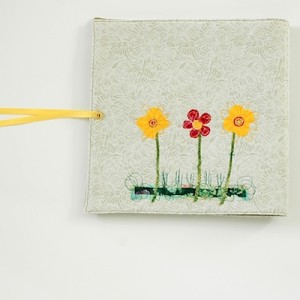
Free Form Applique and decorative stitching on back. By ‘free form applique’ I mean using scraps of fabric with fusible webbing – I use Misty Fuse – already fused to fabric, usually left from other projects, and just cutting out shapes and ironing in place in designs I like.

Here are a few more covers that are not quite as ‘free’
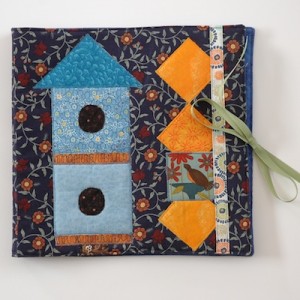
Fusible applique, fussy cut bird, ribbons.
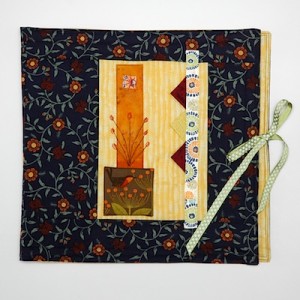
Fusible applique pieces, prairie points, ribbon, decorative stitching.

That’s it folks!


Chair Progress

Wednesday, November 12th, 2014

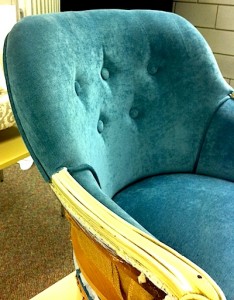
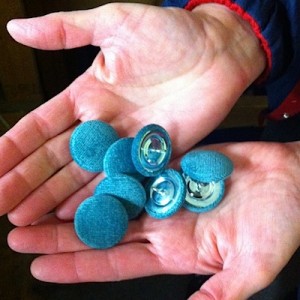
The inside back is now complete! In the last class, I attached the buttons and cording along the back edge.

Next up is to make double welting to attach to the inside  arms to cover up staples. And then attach fabric to the back of the chair. There is only one session left to this series of classes. I won’t be finished. I will still have other trim to add and also the bottom dust cover. I think I’ll use youtube to walk me through the final steps.

I’m pretty pleased with how the chair is coming along!

The Chair

Tuesday, November 4th, 2014

Progress!

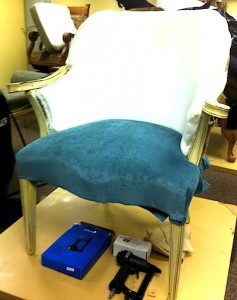
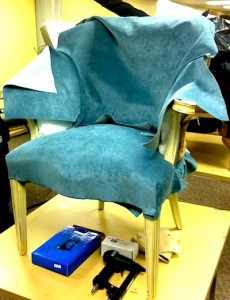
The seat is covered and foam in place on the back.

Cording made and the three inside pieces sewn together.

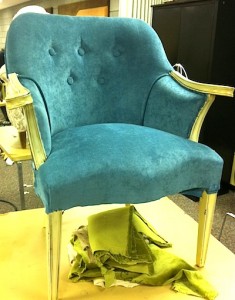
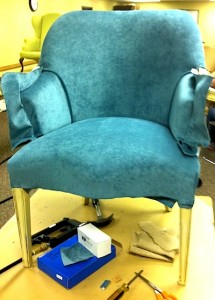
Back covered! See the cording in the seam where the back and sides meet? This photo is the most accurate to the color of the upholstery fabric. Yes, we are working on ugly yellow tables.

Next up, buttons!

Upholstery is hard work!  But I am enjoying the time with my daughter!